How to Make a Battery Powered Heating Pad
Cold weather kills lithium battery performance fast. Below freezing, charging becomes unsafe, and many BMS units shut down entirely to protect the cells. A battery powered heating pad keeps your pack above 40°F so you can charge and discharge safely. Buying a commercial heated battery costs $200 or more, but you can build your own for a fraction of that price using common parts and basic tools.
This guide covers two reliable DIY methods: an internal heating pad built into a custom enclosure, and an external heating wrap for retrofitting existing batteries. You will learn how to size components, wire the circuits correctly, and avoid the safety mistakes that damage batteries or start fires.
Build an Internal Heating Pad for Custom Enclosures
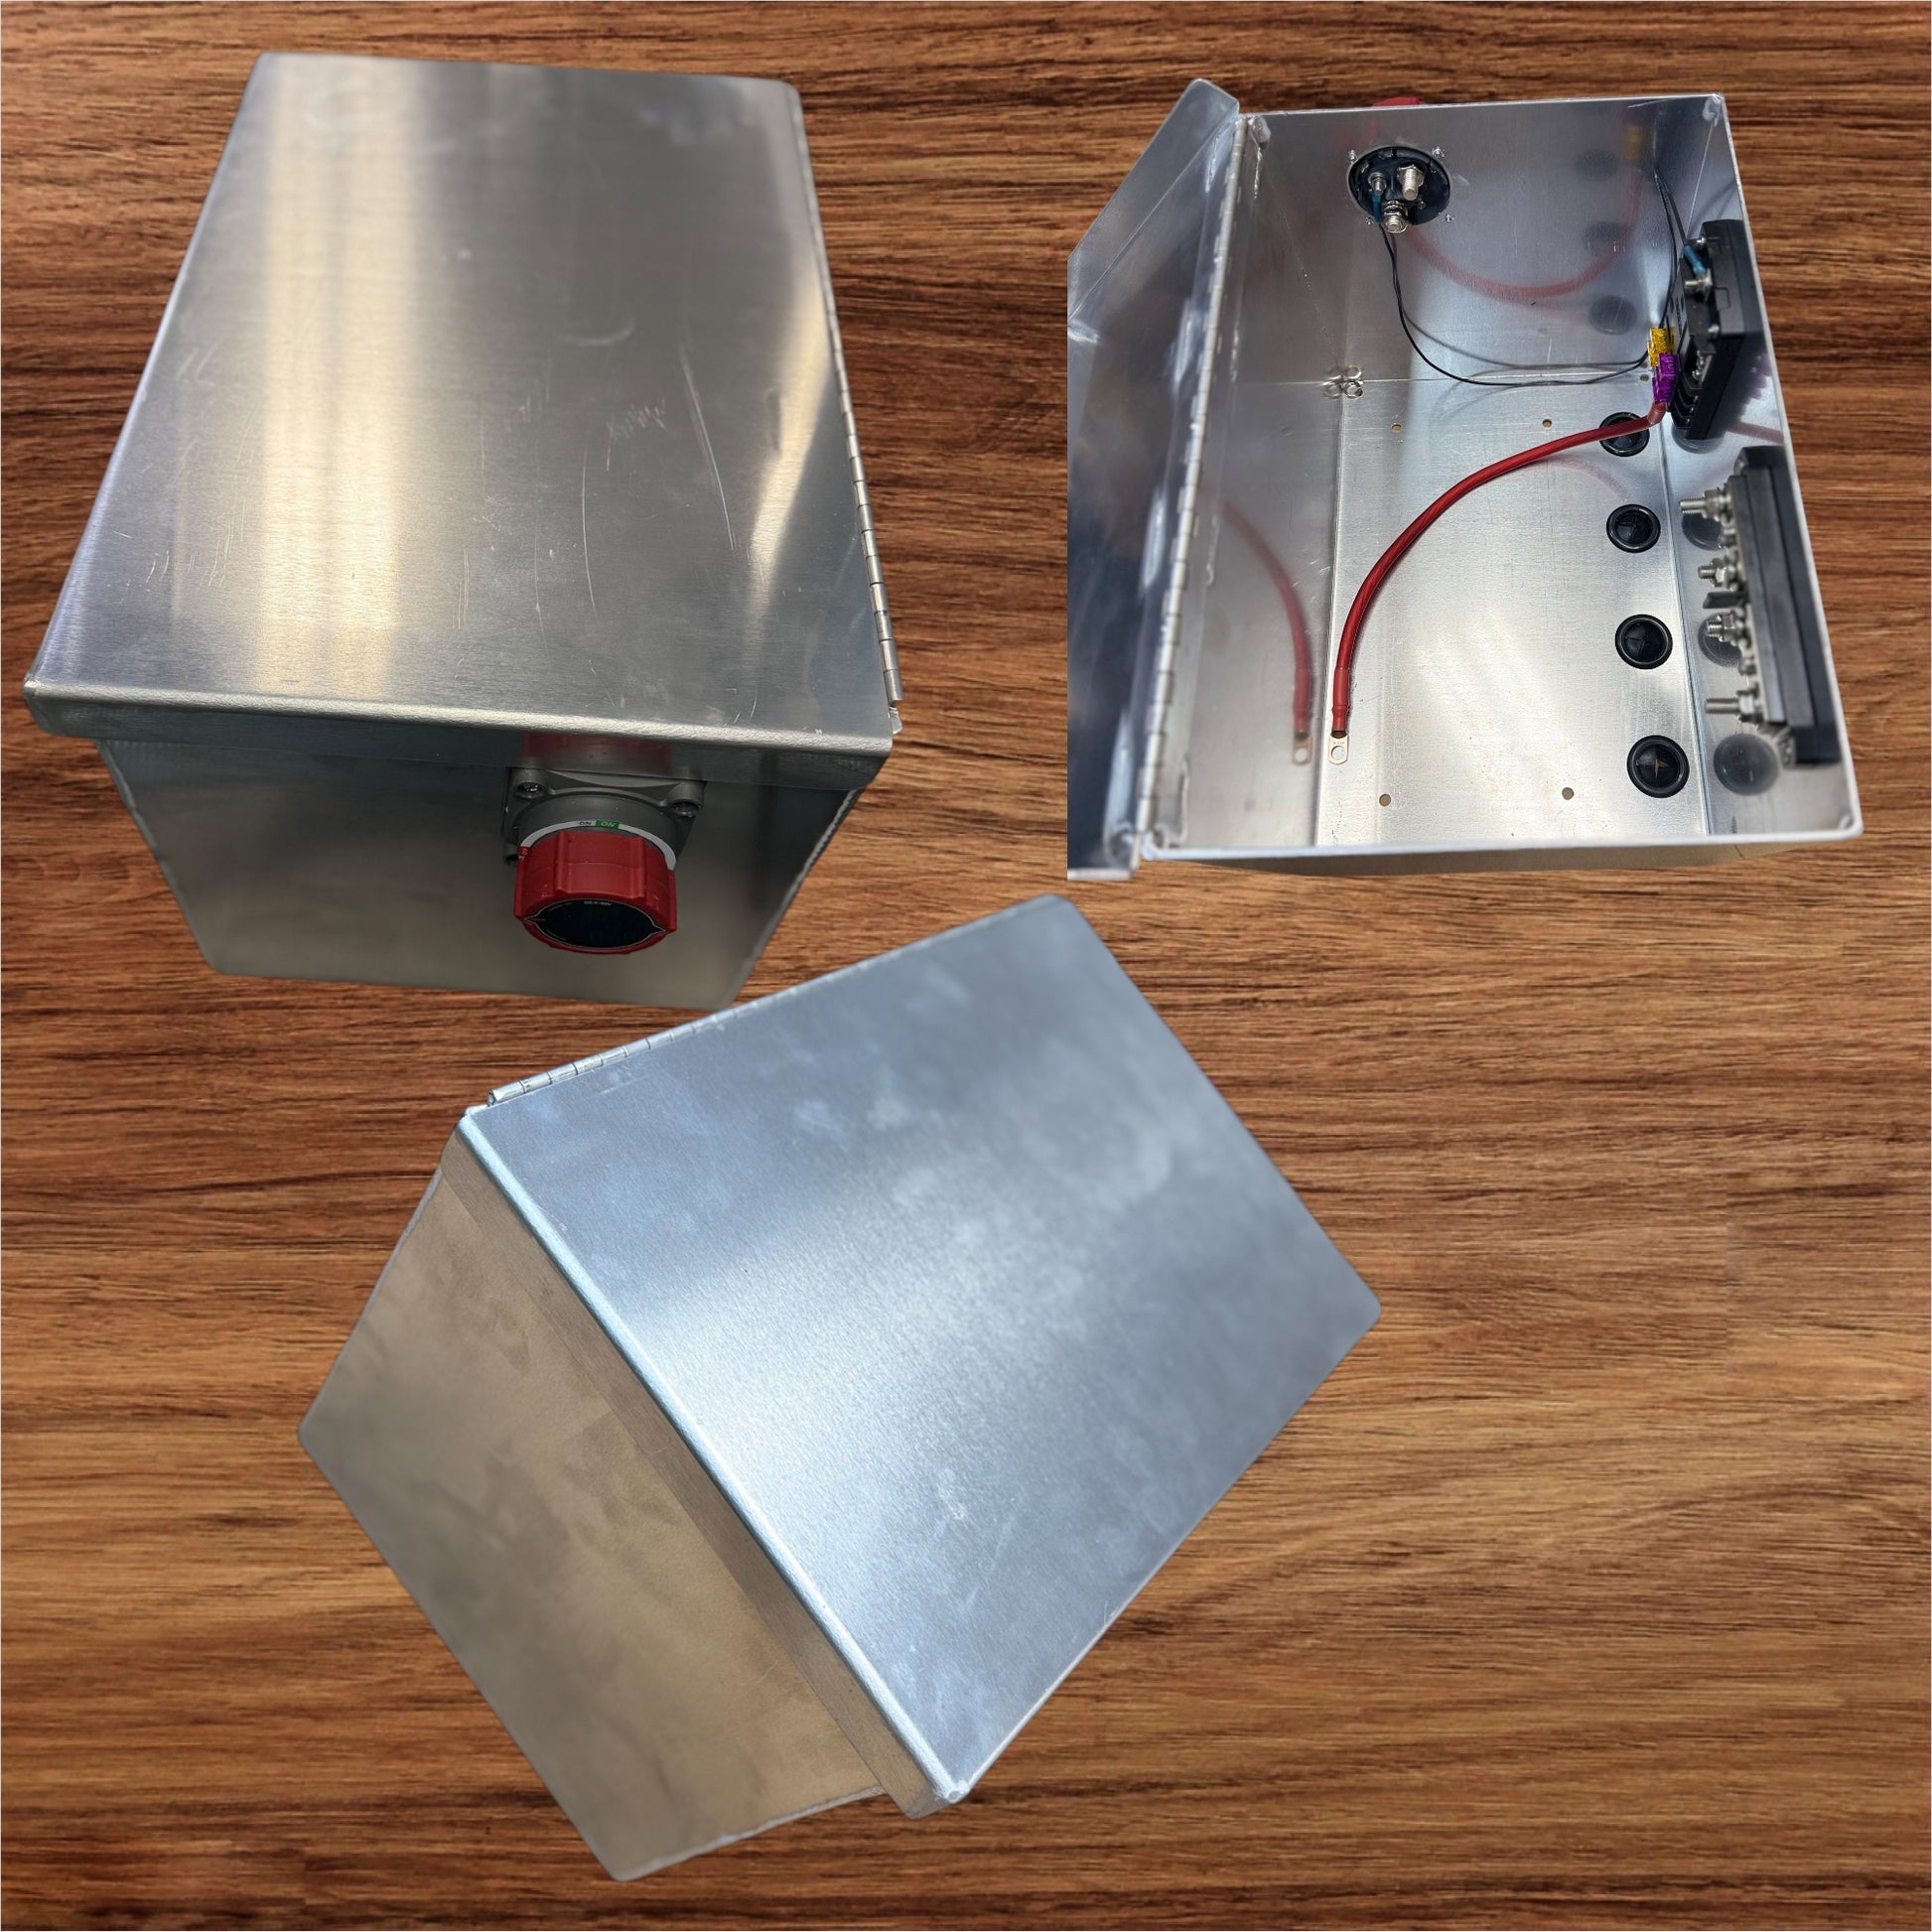
For new battery builds, embedding a heating element inside the enclosure delivers the most even heat distribution. The aluminum base acts as a heat spreader, warming every cell uniformly through conduction.
Mill Slots in the Aluminum Base
Start with a 1/2-inch thick aluminum battery box. Use a milling machine or drill press to cut a 1/4-inch wide slot along the base where the heating cable will sit. This recess protects the cable and improves thermal contact with the metal.
If your box geometry does not allow milling, fabricate a separate aluminum plate and attach it to the bottom. Route the cable across this plate instead. Plan the slot path to cover as much surface area as possible without crossing mounting points or terminal channels.
Install Parallel Heating Cables
Use low-voltage heating cable rated at 15 ohm/meter. This resistance balances power draw and safety for 24V systems. Install three parallel strands in the milled slots for even coverage.
Cut each strand to roughly 2.7 meters (106 inches). When wired in parallel, three 40.5Ω strands yield a total resistance of 13.5Ω, drawing about 1.9A at 25.6V. This stays well under the typical 3A BMS limit with a 30% safety margin.
Secure the cables with silicone adhesive. Silicone holds the cable in place, dampens vibration, and enhances heat transfer into the aluminum. Never let the cable touch battery cells directly. The aluminum serves as a thermal buffer that prevents hot spots.
Connect to the BMS for Automatic Control
Wire one end of the parallel heating assembly to the “Heat” port on a compatible BMS, such as the JK-B2A8S20P. Connect the other end to the battery positive terminal. This setup lets the BMS activate the heater when its internal temperature sensors detect cold conditions.
The BMS logic only runs the heater when needed, typically below 5°C (41°F), and cuts power once the pack warms up. You get automatic thermal management without any user intervention.
Add a Manual Override Switch
Even with automatic control, install a DPST (Double Pole Single Throw) switch in the heater circuit. This lets you manually turn on the heater before startup, which helps when the BMS is in sleep mode or the battery is too cold to communicate.
Mount the switch somewhere accessible. Flip it on for 10 to 15 minutes to pre-warm the pack before charging in freezing conditions. Return it to auto mode afterward to maintain safety controls.
Test Heat Output Before Final Assembly
After wiring, verify continuity and correct switching. Power the system and confirm current draw is around 1.9A (48 to 50W total). After 3 hours of operation, the silicone-covered cable surface should reach approximately 43°C (110°F). After 4 hours, the internal battery temperature should rise by about 11°C (20°F).
Use an IR thermometer or digital probe to check actual cell temperature. The aluminum base will run hotter than the cells due to thermal resistance. Your goal is a battery core above 40°F, not a specific surface reading.
Retrofit an External Heating Wrap for Existing Batteries
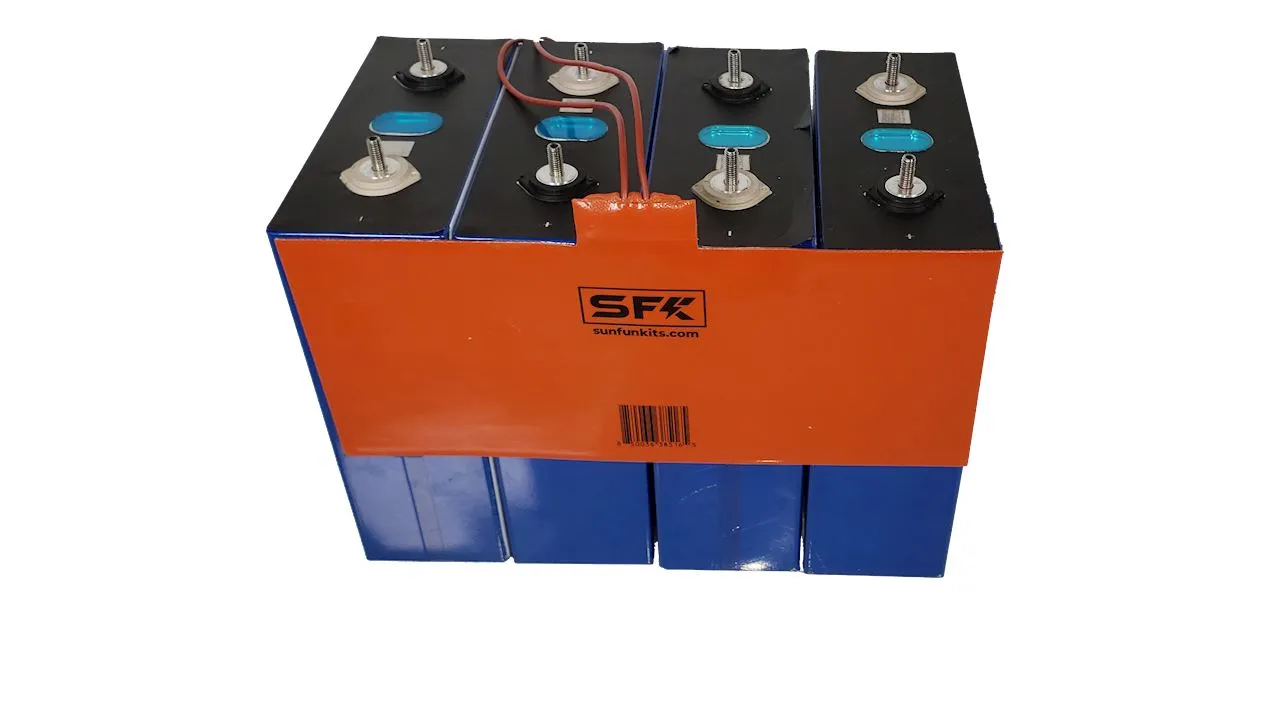
If you cannot modify your battery enclosure, wrap it with external silicone heating mats. This fast, reversible solution works perfectly for Renogy, Battle Born, or any standard LiFePO4 pack.
Choose the Right Heating Mats
Search online for “heater mat 25W 12V.” These flexible silicone pads are designed for low-voltage use and safe surface temperatures. For a dual 100Ah setup, use four mats (100W total), two per battery, one on each side.
Each 25W mat draws roughly 2.1A at 12V. When wired in series-parallel for 24V systems, total current drops to about 0.6 to 0.7A, making the system efficient and easy to fuse. Always match mat voltage to your system or reconfigure the wiring as needed.
Install Dual Thermal Switches for Safety
Use two normally closed (NC) thermal switches per circuit, each set to trigger at 5°C (41°F). Place one switch on the positive line and the other on the negative return. This redundancy ensures the heater shuts off even if one switch fails.
When temperature drops below 40°F, both switches close and power the mats. When temperature rises, they open and cut power. This hysteresis prevents rapid cycling and protects against overheating.
Wire with 18 AWG and a 2A Fuse
Use 18 AWG stranded wire for all connections. It is rated for up to 2A and handles sub-1A loads easily. Crimp connections with butt connectors and ring terminals for reliable contact.
Install an inline 2A mini blade fuse on the positive lead near the battery. This protects against shorts and is your first line of defense if insulation gets damaged. Route wires neatly and secure them with zip ties. Avoid sharp bends or stress points that could break internal conductors over time.
Wrap with Foam Insulation
Heat escapes quickly without insulation. Cut 1-inch thick foam panels to fit all four sides and the top of each battery. Standard Renogy 100Ah dimensions are 12.99″ x 6.77″ x 8.43″.
Score the foam with a box cutter and snap along the line for clean edges. Leave terminals and vents exposed. Use high-temperature water heater insulation tape to secure mats and seal foam seams.
Place batteries on a 1.5-inch wooden frame to prevent heat loss to cold floors. Wrap the entire assembly tightly with no gaps. In field tests at 36°F ambient, this setup maintained battery temps between 50°F and 55°F with just 0.6A draw.
Calculate Safe Power and Resistance

Choosing the wrong heating element can overload your system or overheat your cells. Use these calculations to pick the right cable or mat for your setup.
Find the Minimum Resistance
For a 24V LiFePO4 pack (25.6V full) and a BMS with a 3A heater port limit, apply a 30% safety margin:
- Target max current = 3A × 0.7 = 2.1A
- Minimum resistance = 25.6V ÷ 2.1A ≈ 12.2Ω
Any heating circuit must have at least 12.2Ω total resistance to stay safe.
Size Cable for Parallel Strands
Using three parallel strands means each strand carries one-third of the total resistance:
- Strand resistance = 12.2Ω × 3 = 36.6Ω per strand
- Required ohms/meter = 36.6Ω ÷ 2.7m ≈ 13.5Ω/m
The closest standard cable is 15Ω/m. This slightly higher value means lower current and safer operation.
Check Power Density
With 15Ω/m cable, verify the actual power output:
- Resistance per strand: 15 × 2.7 = 40.5Ω
- Total parallel resistance: 40.5 ÷ 3 = 13.5Ω
- Current: 25.6V ÷ 13.5Ω ≈ 1.9A
- Total power: 25.6V × 1.9A = 48.6W
- Power per meter: (48.6W ÷ 3 strands) ÷ 2.7m ≈ 6W/m
At 6W/m, surface temperature stays around 100°F to 110°F, well within safe limits. Standard heating cables handle up to 10W/m (surface temp around 125°F), so you have plenty of margin.
Follow Critical Safety Rules
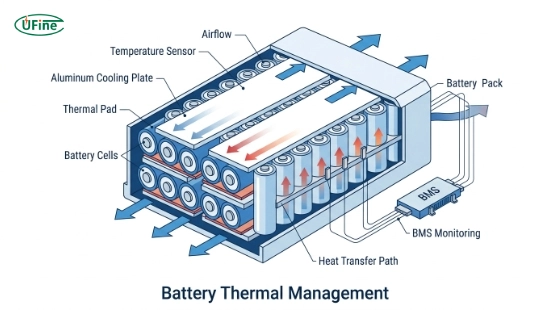
A DIY heating pad is powerful, but mistakes can lead to fire or permanent battery damage. Follow these rules without exception.
Prevent Direct Cell Contact
Never let heating cables or mats touch bare battery cells. Always use aluminum, silicone, or insulation as a thermal buffer. Direct contact creates hot spots that can trigger thermal runaway in lithium batteries.
Even with external wraps, ensure mats lie flat with no folded edges or crimps that could overheat.
Use Redundant Thermal Protection
One thermal switch can fail. Always install two NC switches: one on positive, one on negative. If the first sticks closed, the second breaks the circuit when temperature rises.
Test switches periodically by cooling the battery with ice packs and verifying heater activation.
Fuse Every Circuit
A 2A fuse is non-negotiable. It protects against short circuits in wires, mats, or connectors. Replace it immediately if blown, and never bypass it. Mount the fuse close to the battery positive terminal for maximum protection.
Remove Insulation in Summer
Batteries generate heat during charging and high loads. In warm weather, remove foam insulation and disable heaters. Trapping heat can push cells above 140°F, degrading lifespan or triggering BMS shutdowns.
Set a seasonal reminder to swap configurations every spring and fall.
Optimize for Long-Term Use
A well-built heating system can last years with minimal upkeep. Here is how to keep it running safely and efficiently.
Monitor Temperature Regularly
Use a digital thermometer with a probe to check actual battery core temperature, not just surface readings. Place the probe between cells if possible. Log data during cold snaps to verify performance.
Smart BMS systems with Bluetooth, like the JK series, let you monitor temperature and heater status from your phone.
Inspect Wiring and Tape
Every 3 to 6 months, check for:
- Loose connections
- Cracked silicone or insulation
- Deteriorated tape or foam
- Corrosion on terminals
Re-tighten connections and re-seal with fresh high-temp tape as needed.
Upgrade to Smart Controllers (Optional)
For advanced users, replace thermal switches with a programmable thermostat or Arduino-based controller. These can:
- Activate the heater only when charging is needed
- Stagger startup to reduce surge current
- Log temperature history
- Send alerts via Bluetooth
For most users, simple thermal switches are reliable and fail-safe.
Frequently Asked Questions About Battery Powered Heating Pads
What temperature should I keep my lithium battery above?
Keep your lithium battery above 40°F (4.4°C) for safe charging. Below 32°F (0°C), charging lithium-ion cells becomes unsafe and can cause permanent damage. Below 0°F, many BMS units shut the pack down entirely to protect the cells.
Can I use any heating element for a DIY battery warmer?
No. Use only low-voltage heating cable rated for DC systems or silicone heating mats designed for 12V/24V use. Household heating pads run on AC voltage and create fire risks. Match the element’s voltage and resistance to your battery system to stay within safe current limits.
How much power does a battery heating pad use?
A properly sized system draws between 0.6A and 2A depending on configuration. The external wrap method using four 25W mats draws about 0.6A at 24V. The internal cable method draws about 1.9A at 25.6V for roughly 48W total. Both stay well within typical BMS heater port limits.
Do I need a BMS with a heating port?
For the internal pad method, yes. A BMS like the JK-B2A8S20P has a dedicated heating port that automatically controls the heater based on temperature sensors. For the external wrap method, you can use standalone thermal switches instead of a BMS-controlled port.
Is it safe to leave a battery heating pad running unattended?
Yes, if you follow safety protocols. Use dual thermal switches for redundancy, install a properly rated fuse, and ensure no direct contact between heating elements and battery cells. Test the system thoroughly before leaving it unattended for extended periods.
When should I turn off my battery heating system?
Turn off the heating system and remove insulation during warm weather. Batteries generate internal heat during charging and high-discharge use. Trapping that heat with active heaters and foam insulation can push cells above 140°F and degrade battery lifespan.
Key Takeaways for Building Your Own Battery Powered Heating Pad
Building a battery powered heating pad saves money and keeps your lithium batteries functional in cold weather. The two methods covered here, internal pad and external wrap, both work reliably when built correctly. Focus on three critical factors: correct resistance calculations to stay within BMS limits, redundant thermal switches for safety, and proper insulation to maximize efficiency.
Start by deciding which method fits your situation. New builds benefit from the internal pad approach with BMS integration. Existing batteries work best with the external wrap method using silicone mats and foam insulation. Either way, follow the safety rules, test thoroughly, and remove insulation during summer months.