How to Make a Bean Bag Heating Pad
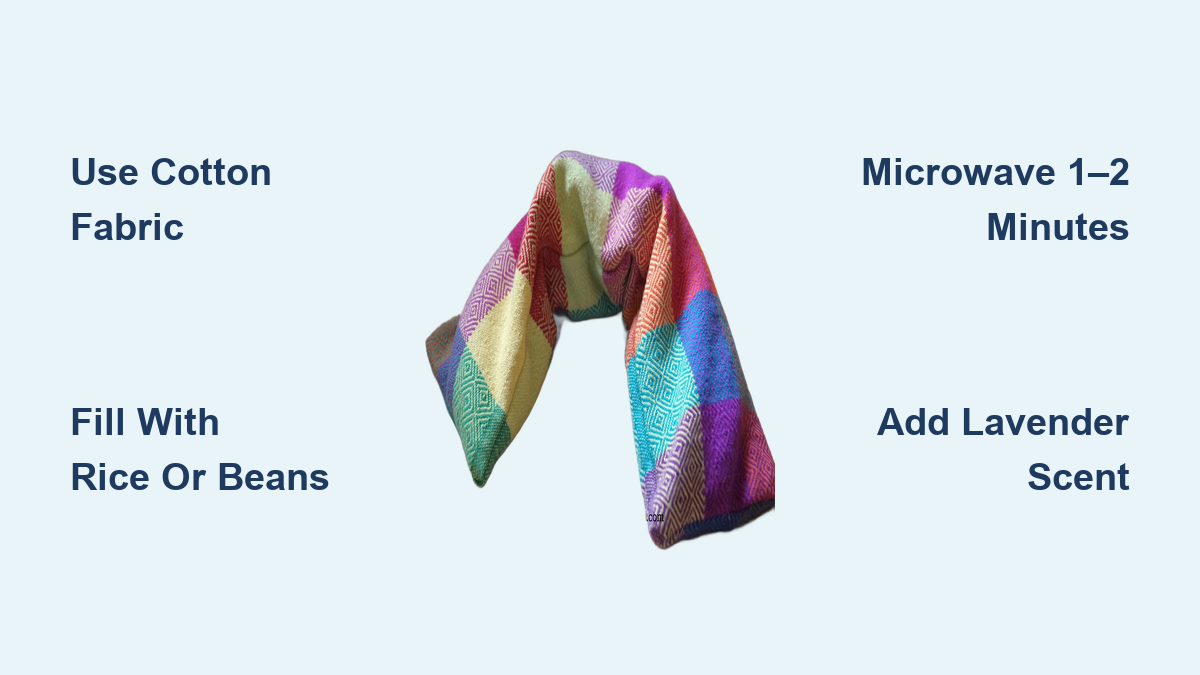
There’s nothing quite like the soothing warmth of a homemade heating pad fresh from the microwave. If you’re looking for a quick, affordable, and thoughtful DIY project, especially as a gift or self-care essential, learning how to make a bean bag heating pad is a perfect solution. This cozy, customizable pad can relieve sore muscles, ease tension in the neck and back, or warm up a chilly bed. Best of all, it takes less than 30 minutes to sew and costs under $5.
Unlike store-bought versions, a DIY heating pad lets you choose your fabric, size, and even add calming scents like lavender. While rice is the most common filling, beans, flaxseed, or a rice-bean blend work just as well, making “bean bag” a fitting name regardless of the filler. This guide walks you step by step through creating a durable, microwave-safe heating pad that molds comfortably to your body. Whether you’re a beginner or experienced sewer, this project is simple, satisfying, and endlessly giftable.
Choose the Right Fabric
Use 100% Cotton Fabric
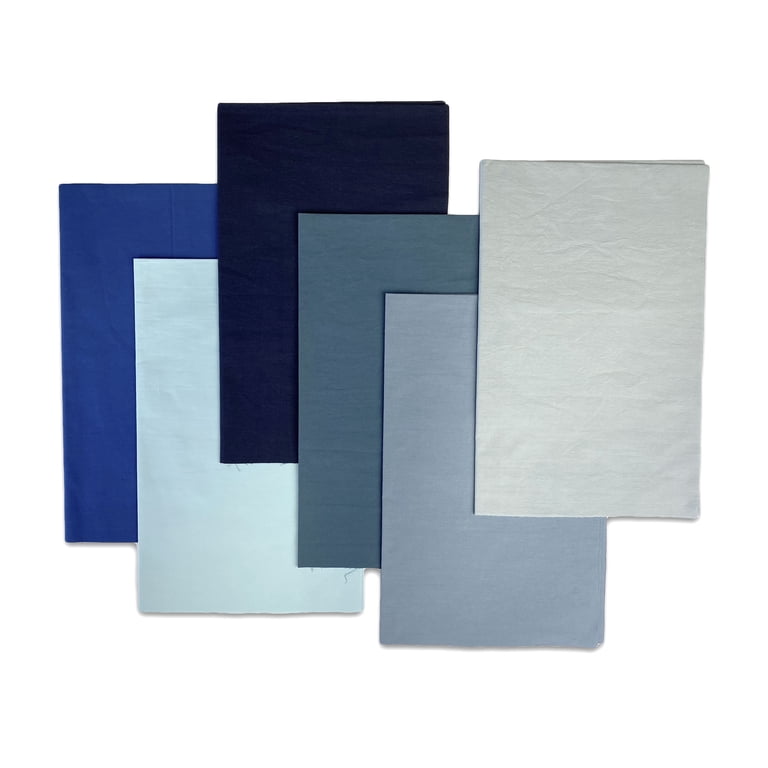
Always choose 100% cotton for both the outer and lining fabric. Cotton is breathable, durable, and safe for microwave use. Avoid synthetic blends, as they can melt or catch fire under high heat.
A fat quarter (18″ x 22″) or 1/4 yard of quilting cotton is enough for one heating pad. Pick a fun or soothing print to personalize your pad. Pre-wash the fabric to prevent shrinkage later.
Cut Two 6″ x 20″ Rectangles
Using a rotary cutter, ruler, and cutting mat, cut two identical rectangles measuring 6 inches by 20 inches. These dimensions create a long, flexible pad ideal for draping over shoulders, wrapping around the neck, or placing on the lower back.
Keep edges straight and corners square for clean seams. Save fabric scraps for future projects or smaller pads.
Sew the Outer Shell

Set a Short Stitch Length
Before sewing, reduce your stitch length to 1.5 mm. A tighter stitch prevents rice or beans from leaking through the seams over time. Use a coordinating 50wt cotton thread for strong, seamless results.
Place the two fabric rectangles right sides together. Align all edges neatly.
Sew With a 1/4″ Seam Allowance
Begin sewing about 1 inch from one short edge, leaving a 1-inch tail of thread. Sew with a 1/4″ seam allowance around the entire rectangle, but stop sewing 1 inch before you close the starting end. This leaves a 2-inch opening for turning and filling.
At each corner, lower the needle, pivot the fabric, and continue sewing along the next side. This creates clean, boxy corners.
Clip and Turn the Corners
After sewing, clip the four corners at 45-degree angles, being careful not to cut the stitches. This reduces bulk and helps the corners turn out sharply.
Turn the fabric right side out using a chopstick, knitting needle, or turning tool. Gently push out each corner until it’s crisp and flat.
Press the edges lightly with an iron if desired, but avoid high heat on cotton that may scorch over time.
Fold and Mark for Filling
Fold Into Three Equal Sections
Lay the tube-shaped pad flat. Fold one end toward the center, then fold the opposite end over it, like folding a letter. This creates three 6.5″ sections (two filled, one open for final stitching).
Adjust the folds until all sections are even. Use your fingers to crease the fold lines clearly.
Mark the Division Lines
With a hera marker, air-erasable pen, or chalk, draw a straight line across the pad at each fold. These lines will guide your stitching to divide the pad into three compartments.
Mark both sides of the pad so you can see the lines from either angle while sewing.
Fill With Dry Beans or Rice
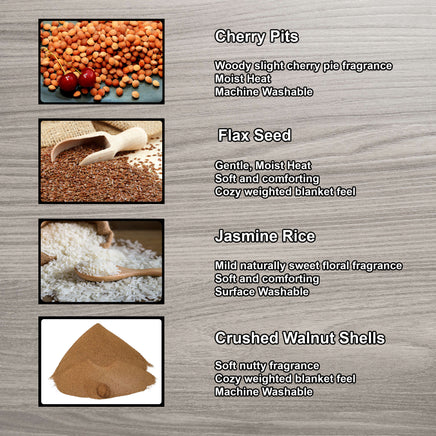
Use Microwave-Safe Fillers
You can use dried beans, rice, lentils, or flaxseed. Avoid instant rice or any treated grains. Beans and rice heat evenly and retain warmth for 1–2 minutes.
Lentils and flaxseed are excellent alternatives. Flaxseed holds heat slightly longer and emits a mild, nutty aroma.
Add Scent With Lavender (Optional)
For aromatherapy benefits, mix in 1–2 tablespoons of dried lavender buds or a few drops of lavender essential oil on the beans. Be cautious with oils, as too much can stain or degrade fabric over time.
Mix the scent thoroughly into a small batch of filler before adding.
Fill and Stitch Each Section
Pour in First Batch of Filler
Cut the corner off the bean or rice bag and slowly pour about 10–11 ounces into the first empty section. A small funnel or paper cone helps avoid spills.
Use a postal scale or kitchen scale to measure evenly. A 2-pound (32 oz) bag yields roughly three 10–11 oz sections.
Sew the First Divider Line
Lay the pad on your sewing machine. Hold the marked line taut and sew directly on the drawn line from edge to edge. Backstitch at the beginning and end for strength.
Sew slowly and use your fingers to keep beans or rice away from the seam line. If filler gets caught, it can break the needle or create gaps.
Repeat for Second Section
Add another 10–11 oz of filler to the middle section. Again, sew along the second marked line, backstitching at both ends.
The final section will remain open for now. Keep the last end open until all filler is inside.
Close the Final Opening
Fill the Last Section
Pour the remaining beans or rice into the last compartment. Gently shake the pad to distribute evenly.
Avoid overfilling. There should be no bulging or strain on the seams. The pad should feel firm but flexible.
Fold and Topstitch the Opening
Fold the raw edges of the opening inward by 1/4 inch. Use sewing clips to hold the edges closed.
Topstitch across the end, as close to the edge as possible, to seal the pad. Backstitch at start and finish.
For extra durability, stitch a second line parallel to the first. This secures the closure and prevents unraveling.
How to Use Your Heating Pad Safely

Heat in the Microwave Properly
Place the heating pad in the microwave. Heat for 1 minute to start. Check the temperature, as every microwave varies.
If needed, heat in 15-second increments up to a maximum of 2 minutes. Never leave unattended.
Never overheat, as excess heat can scorch filler or ignite fabric. Always test on your skin before applying.
Use as a Cold Pack Too
For a cooling effect, place the pad in a zip-top plastic bag and freeze for at least 2 hours. Use it to soothe headaches, swelling, or sore muscles.
The fabric stays pliable when frozen, thanks to the grain filler.
Care and Maintenance Tips

Keep It Clean and Dry
Never wash the heating pad. Moisture can lead to mold, clumping, or spoilage of the filler.
To freshen the fabric, spot clean with a damp cloth and mild soap. Air dry completely before reuse.
Replace if Damaged or Damp
If the pad smells musty, feels damp, or shows signs of wear, discard and remake it. Safety comes first.
Store in a cool, dry place away from humidity.
Customize Your Design
Try Different Shapes and Sizes
This rectangular design is just one option. Try:
– Round pads for joints like knees or elbows
– Small squares for hands or eyes
– Long snakes for necks or backs
Adjust fabric and filler amounts accordingly.
Personalize With Prints and Scents
Use holiday-themed fabrics, children’s prints, or calming solids. Add different essential oils like eucalyptus for sinuses or chamomile for relaxation.
Label handmade gifts with care instructions and heating times.
Frequently Asked Questions About Bean Bag Heating Pads
What Type of Rice Works Best for a Heating Pad?
Any regular rice works well, including Jasmine rice. The key rule is to avoid instant rice, since it can scorch or ignite in the microwave. A 2-pound bag provides enough filler for one standard-sized pad.
Can I Use Beans Instead of Rice?
Yes, dried beans, lentils, or flaxseed all work as fillers. Each option heats evenly and retains warmth. Flaxseed holds heat slightly longer than rice and adds a subtle nutty scent.
How Long Should I Microwave the Heating Pad?
Start with 1 minute and check the temperature. If needed, add time in 15-second increments up to a maximum of 2 minutes. Never microwave for more than 2 minutes to avoid scorching or fire risk.
Is It Safe to Add Essential Oils to the Filler?
Yes, but use them sparingly. Add 1–2 tablespoons of dried lavender buds or a few drops of essential oil mixed into the beans or rice. Too much oil can stain fabric or cause the filler to degrade over time.
Can the Heating Pad Be Used as a Cold Pack?
Absolutely. Place the pad in a zip-top plastic bag and freeze for at least 2 hours. The grain filler stays pliable when frozen, making it perfect for headaches, swelling, or sore muscles.
How Do I Clean the Heating Pad?
Never machine wash or submerge the pad in water. Spot clean only with a damp cloth and mild soap, then air dry completely. Moisture inside the pad can cause mold or spoilage of the filler.
Final Thoughts on Making a Bean Bag Heating Pad
Making a bean bag heating pad is a simple, rewarding project that combines practicality with creativity. Using just fabric, thread, and dry beans or rice, you can craft a soothing, reusable therapy tool in under 30 minutes. This DIY project is perfect for gifts, self-care routines, or seasonal comfort, and it delivers warmth one microwave cycle at a time.
Start by gathering your materials today. Cut your fabric, pick your filler, and sew your first pad this weekend. Once you experience the comfort of a homemade heating pad, you’ll want to make one for every friend and family member on your list.