How to Make a Cherry Pit Heating Pad
There’s nothing quite like the soothing warmth of a homemade cherry pit heating pad. Lightweight, naturally aromatic, and endlessly reusable, this DIY comfort bag delivers moist heat therapy to ease neck pain, menstrual cramps, sore muscles, and cold hands without the chemical fillers or synthetic materials found in store-bought options. Unlike grain-filled packs that can develop a stale odor after repeated microwaving, a cherry pit heating pad retains a sweet, earthy scent and won’t degrade over time. The secret lies in the tiny amount of natural oil inside each pit, which absorbs and slowly releases heat for long-lasting relief.
Best of all, you can make one at home with minimal supplies, especially if you’ve ever pitted cherries for jam, syrup, or liqueur. With a fat quarter of cotton fabric, a sewing machine, and a few cups of dried cherry pits, you can craft a therapeutic tool that doubles as a thoughtful handmade gift. Whether you’re battling winter chills, office stiffness, or just need a cozy bedtime companion, this guide walks you through every step from cleaning and drying pits to stitching channels and safely heating your finished pad. Let’s get started.
Choose Your Filling Wisely
Why Cherry Pits Outperform Grains
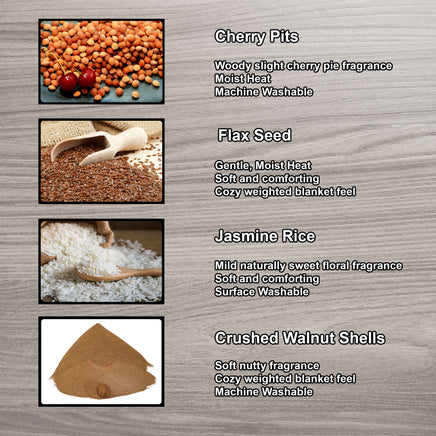
Cherry pits are the gold standard for DIY heating pads. Their small internal oil core allows them to absorb heat efficiently and release it slowly, providing sustained warmth without becoming heavy or smelly. Unlike wheat, beans, or rice, cherry pits don’t emit unpleasant odors after repeated microwave use because they’re low in moisture and free from starches that break down and ferment. They’re also significantly lighter than grain-filled alternatives, making them ideal for draping across the neck, chest, or abdomen without discomfort.
Another major advantage? Cherry pits stay dry and stable. Grains can generate steam when heated, leading to texture changes or mold if not perfectly dried. Popcorn kernels are a no-go because they may explode. Properly dried cherry pits remain intact, safe, and effective for years.
Best Alternatives: Flaxseeds and Buckwheat
If cherry pits aren’t available, flaxseeds are your next best option. Like cherry pits, they contain natural oils that retain heat well and don’t develop off-odors. However, they’re denser and heavier, which some users prefer for deeper pressure on sore muscles.
Buckwheat hulls offer a lightweight, mold-resistant option with neutral scent, but they don’t hold heat as long as oil-rich fillers. Avoid beans, wheat, barley, and maize because they tend to smell bad when heated and have poor heat retention.
Add Aromatherapy Safely
Boost relaxation by adding essential oils, but never apply them directly to the pits. Instead, use 100% cotton balls with no polyester. Place 5 drops of lavender, eucalyptus, or chamomile oil on each ball and tuck one into each fabric channel before sealing. The heat will gently diffuse the scent without degrading the filling. You can also add a few drops to the outer fabric just before use for a quick refresh.
Prepare Cherry Pits Properly
Clean Pits Thoroughly
If you’re using pits from home-canned cherries, syrup, or liqueur, they must be cleaned of all fruit residue. Leftover pulp can trap moisture and lead to mold. Use a stiff brush or scrubby pad to scrub each pit under running water, or lay them out on a tray and scrub in batches. Rinse well and spread them on a clean towel to air-dry briefly.
Dry Pits Completely
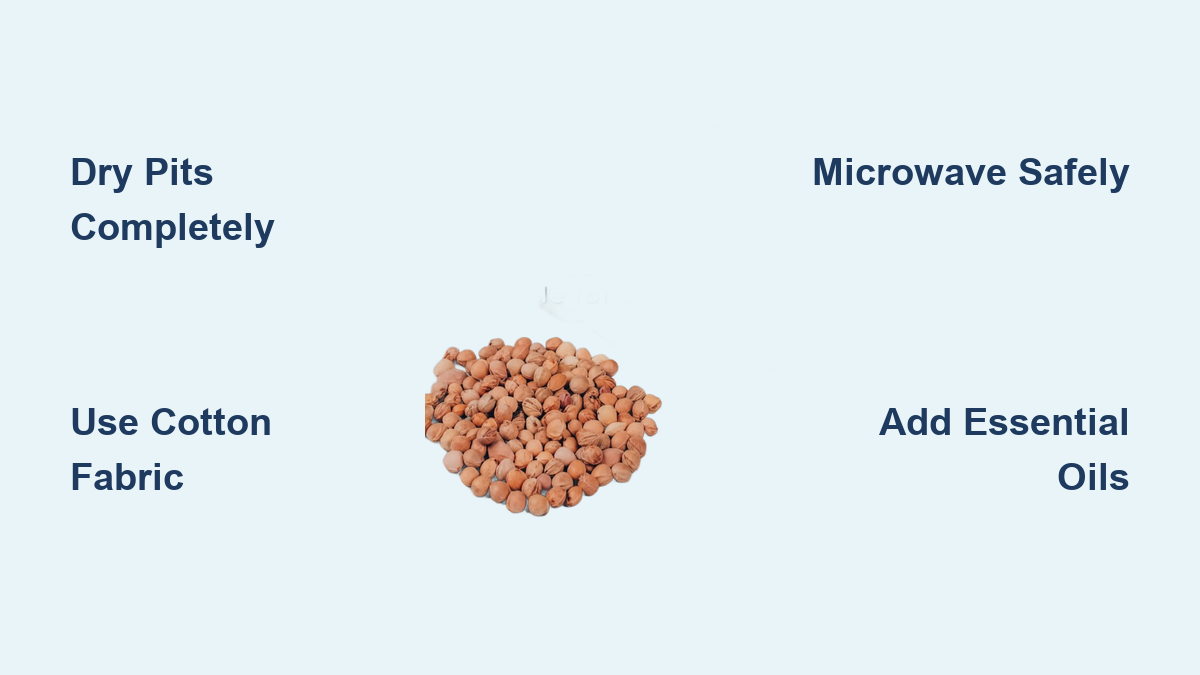
Moisture is the enemy of a long-lasting heating pad. Even slightly damp pits can spoil or heat unevenly. The best method is a food dehydrator. Place pits on the bottom rack and dry for 24 to 48 hours until completely brittle. Alternatively, bake them in the oven at 200°F (93°C) for 2 to 3 hours, stirring occasionally. Let cool before storing.
Store Until Ready
Once fully dry, keep pits in an airtight container away from humidity. They’ll stay good indefinitely. A half-pound batch yields about 3 cups of filling, enough for one neck pad and two hand warmers.
Cut and Sew the Fabric
Use Cotton Fabric on the Grain
Choose a 100% cotton fat quarter because it’s breathable, durable, and safe for high heat. To prevent twisting, cut along the grain. Measure from the selvedge (finished edge), make a small perpendicular cut, then tear the fabric. This follows the natural weave and ensures straight edges.
Cut to Standard Sizes
From one fat quarter, you can make:
- Neck Pad: 10″ x 20″ to 22″ (use 3 cups filling)
- Hand Warmers: 10″ x 5″ (½ cup per pair)
Tearing ensures grain alignment, which helps the pad lie flat and drape comfortably.
Stitch a Durable Bag
- Fold fabric lengthwise, right sides together.
- Sew along the long open edge and bottom with a ¼-inch seam allowance.
- Reinforce with a zigzag or overlock stitch to prevent fraying.
- Turn right-side out and press seams flat with an iron.
Avoid polyester thread because it can melt in the microwave. Stick to cotton or high-heat polyester.
Create Filling Channels
Divide into Three Sections
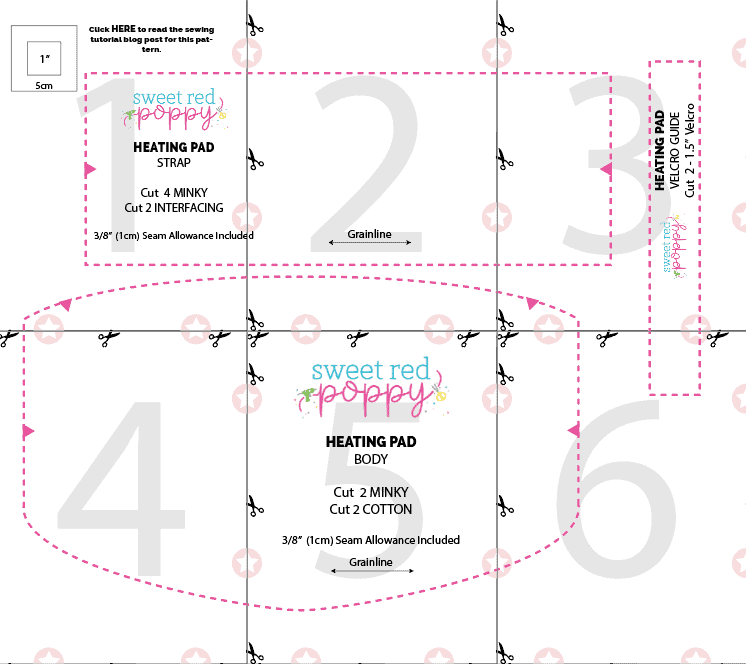
Even distribution prevents clumping and keeps the pad flexible. Measure 1.25 inches from each side and stitch two vertical lines from the bottom up, stopping 1 inch from the top. This leaves space to fill all channels.
Fill Evenly and Securely
Use a funnel or paper cone to pour dried cherry pits into each channel. Don’t overfill; the pad should bend easily. If using scented cotton balls, place one in the center of each channel before filling.
Seal with a Whip Stitch
Fold the top edge inward ½ inch to hide raw fabric. Hand-sew with a tight whip stitch using strong thread. Knot securely. This closure stays shut during use and can be reopened later for re-scenting or refilling.
Heat and Cool Safely
Microwave with a Plastic Bag
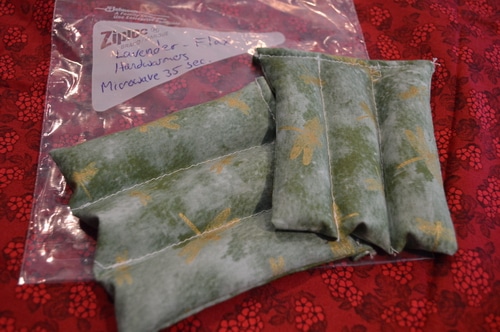
Never microwave the pad bare. Always place it inside a Ziploc bag to protect the fabric from scorching and contain any potential leaks. It also helps regulate heat distribution.
- Neck Pad: 60 to 90 seconds on HIGH (varies by wattage)
- Hand Warmer: No more than 35 seconds
Test warmth on your inner wrist before applying. If it’s too hot, let it cool 15 to 30 seconds.
Try Stovetop Heating
No microwave? Use a double boiler method:
- Place the pad in a Ziploc bag.
- Set the bag in a pot.
- Place that pot inside a larger pot with simmering water.
- Heat until warm. Never let steam enter the bag.
Steam can wet the filling, leading to mold. Never boil or submerge the pad.
Use as a Cold Pack
Cherry pits freeze solid and stay cold longer than gel packs. Just place the dry pad in a freezer-safe bag and freeze for 2 or more hours. Apply to sore joints, bruises, or inflamed areas. The fabric insulates slightly, preventing ice burn.
Apply for Pain Relief

Target Common Ailments
This pad excels at delivering moist heat therapy to:
- Neck and shoulders: Drape behind the neck to ease tension
- Lower back: Lay flat across the lumbar area
- Abdomen: Relieve menstrual cramps or digestive discomfort
- Hands and feet: Warm cold extremities or soothe arthritis
The channels let it bend naturally around joints and curves.
Ideal for Kids and Gifts
Children love these pads for bedtime warmth or tummy aches, but keep them supervised. Cherry pits are a choking hazard if the seam fails. For kids, reinforce seams with double stitching and inspect regularly.
As a gift, pair the pad with cherry syrup, a small bottle of lavender oil, or handmade soap. Wrap in a cherry-colored cloth with a ribbon for a rustic, heartfelt touch.
Avoid Safety Risks
Prevent Choking Hazards
Cherry pits are not edible and pose a serious choking risk to toddlers and pets. Always:
- Use tight, reinforced seams
- Perform regular checks for tears
- Store out of reach when not in use
If your pet chews through a pad, seek vet care immediately.
Prevent Fire and Scorching
Overheating can scorch fabric or ignite dry organic material. Always:
- Use a plastic bag barrier
- Follow time guidelines strictly
- Never leave unattended in the microwave
- Let the pad cool completely before re-heating
If you smell burning, stop immediately.
Keep Filling Dry
Moisture leads to mold. Never wash the filled pad. If the exterior gets dirty, spot-clean with a damp cloth. If the filling ever gets wet, empty it, re-dry completely, and refill.
Maintain and Reuse Indefinitely
Refresh Scent When Needed
Essential oil scent fades over time. Recharge by:
- Adding 3 to 5 drops to the outer fabric before heating
- Or reopening the seam, replacing cotton balls, and resewing
This also lets you switch scents. Try peppermint for energy or eucalyptus for congestion.
Inspect for Wear
Check seams monthly, especially if used daily. Re-stitch any loose threads. With care, a cherry pit pad can last 5 or more years.
Refill or Upgrade
If pits break down (rare), empty and refill. You can also upgrade to flaxseed or mix in dried lavender buds for added aroma. Just keep the oil-rich core filling dominant.
Frequently Asked Questions About Cherry Pit Heating Pads
Are Cherry Pits Safe to Heat in the Microwave?
Yes, dried cherry pits are safe to microwave as long as they’re completely dry and you follow time guidelines. Always place the pad inside a plastic bag and heat for 60 to 90 seconds for a neck pad or no more than 35 seconds for hand warmers. Never leave the pad unattended while heating.
How Long Does a Cherry Pit Heating Pad Stay Warm?
A properly heated cherry pit heating pad typically retains warmth for 20 to 30 minutes, depending on room temperature and insulation. The natural oil inside each pit slows heat release, giving you longer-lasting warmth than many grain-filled alternatives.
Can I Use Fresh Cherry Pits Without Drying Them?
No, fresh cherry pits contain too much moisture and can develop mold, heat unevenly, or even burst during microwaving. Always dry pits thoroughly in a food dehydrator for 24 to 48 hours or in an oven at 200°F for 2 to 3 hours before using them in a heating pad.
What Can I Use Instead of Cherry Pits?
Flaxseeds are the best alternative because they contain natural oils similar to cherry pits and don’t develop off-odors. Buckwheat hulls work for a lighter option but retain less heat. Avoid wheat, beans, barley, and popcorn kernels because they can smell bad or pose safety risks when heated.
How Do I Clean a Cherry Pit Heating Pad?
Never wash the filled pad because moisture can damage the filling. Instead, spot-clean the exterior with a damp cloth. If the filling ever gets wet, empty the pits, re-dry them completely, and refill the pad before using it again.
Is a Cherry Pit Heating Pad Safe for Children?
Cherry pit heating pads can be safe for children when used with extra precautions. Always double-stitch the seams, inspect them regularly for wear, and supervise use. Cherry pits are a choking hazard, so store the pad out of reach when not in use and keep it away from pets.
Key Takeaways for Making Your Own Cherry Pit Heating Pad

A cherry pit heating pad is more than a DIY project. It’s a sustainable, therapeutic tool that combines kitchen scraps with craft to deliver real comfort. Lightweight, odor-free, and endlessly reusable, it outperforms commercial heat packs in both performance and safety. By following these steps, you’ll create a custom pad that soothes aches, warms cold hands, and even makes a cherished gift, powered by nothing more than dried fruit pits and a few yards of cotton.
Your next step is simple: gather your materials, set aside an afternoon, and start crafting. Whether you keep your finished pad for personal use or gift it to someone special, you’ll have a handmade comfort item that delivers warmth and relief for years to come.