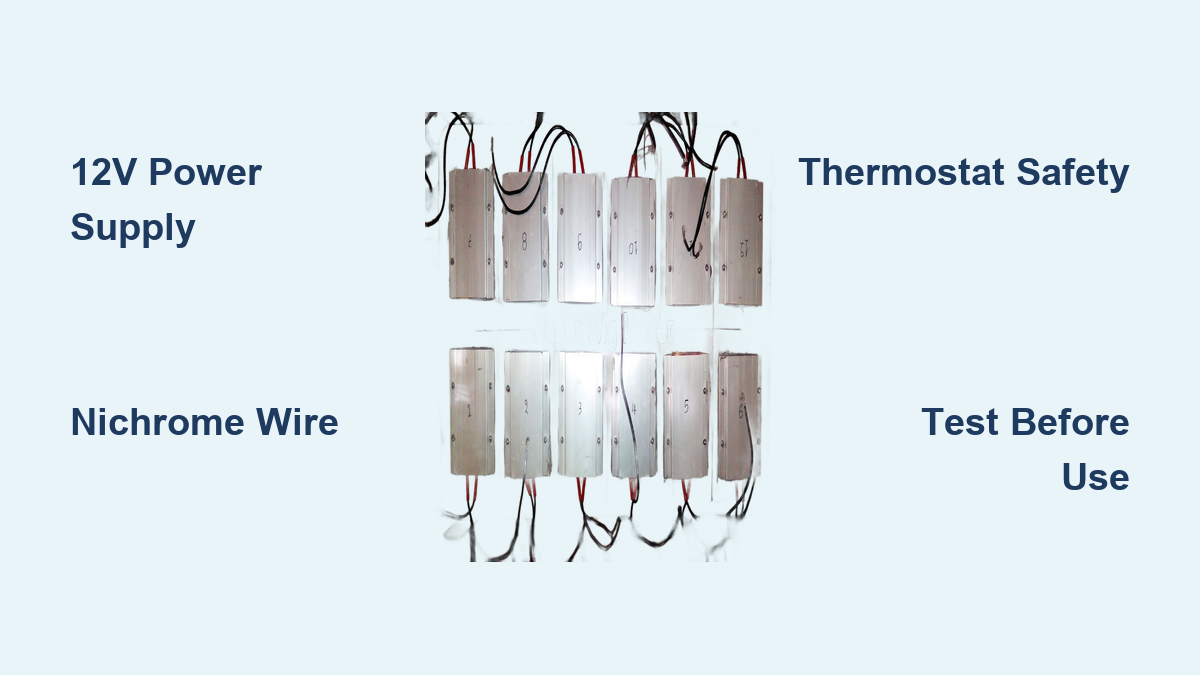
How to Make an Electric Heating Pad
You’re tired after a long day, and your back aches. A warm compress would help, but store-bought electric pads are expensive and microwaveable ones cool too fast. What if you could build your own? A DIY electric heating pad offers continuous, controllable warmth exactly where you need it, using simple materials and safe low-voltage power.
The catch is that most DIY attempts fail because they underestimate power needs. Using a 5V USB charger with thin wire produces barely any heat, just 0.33 watts, like a faint glow from a tiny resistor. Real comfort requires 10 to 20 watts, which means smart electrical design. The secret is using 12V or 24V power and properly sized nichrome wire, not random cords or battery hacks. This guide walks you through building a safe, effective heating pad from scratch, covering resistance calculations, material selection, wiring, and essential safety features.
Choose the Right Voltage for Your Heating Pad

Use 12V or 24V Instead of 5V
A 5V power source, like a phone charger or USB port, cannot deliver enough power for meaningful heat unless you use complex parallel wiring. Even then, the current demands are high and risky. Instead, use a 12V or 24V DC adapter. These are common, safe, and powerful enough to generate 10 to 20W of heat with simple wiring.
For example, at 12V, achieving 20W requires just 7.2Ω of resistance. At 24V, the same 20W needs 28.8Ω, easily achieved with a few feet of wire. These voltages are low-risk for electric shock but strong enough to warm fabric effectively.
Avoid 9V Batteries Entirely
They look convenient, but 9V batteries cannot sustain the current needed. Under load, they overheat, drain fast, and may leak. Never use them for heating projects.
Pick a Reliable Power Supply
Choose a regulated DC adapter rated at least 2A. For a 20W pad at 12V, you need 1.67A, so a 2A supply gives a safe margin. Look for one with a barrel jack or screw terminals for secure connections.
Calculate Wire Resistance for Optimal Heat
Match Power to Voltage Using Ohm’s Law
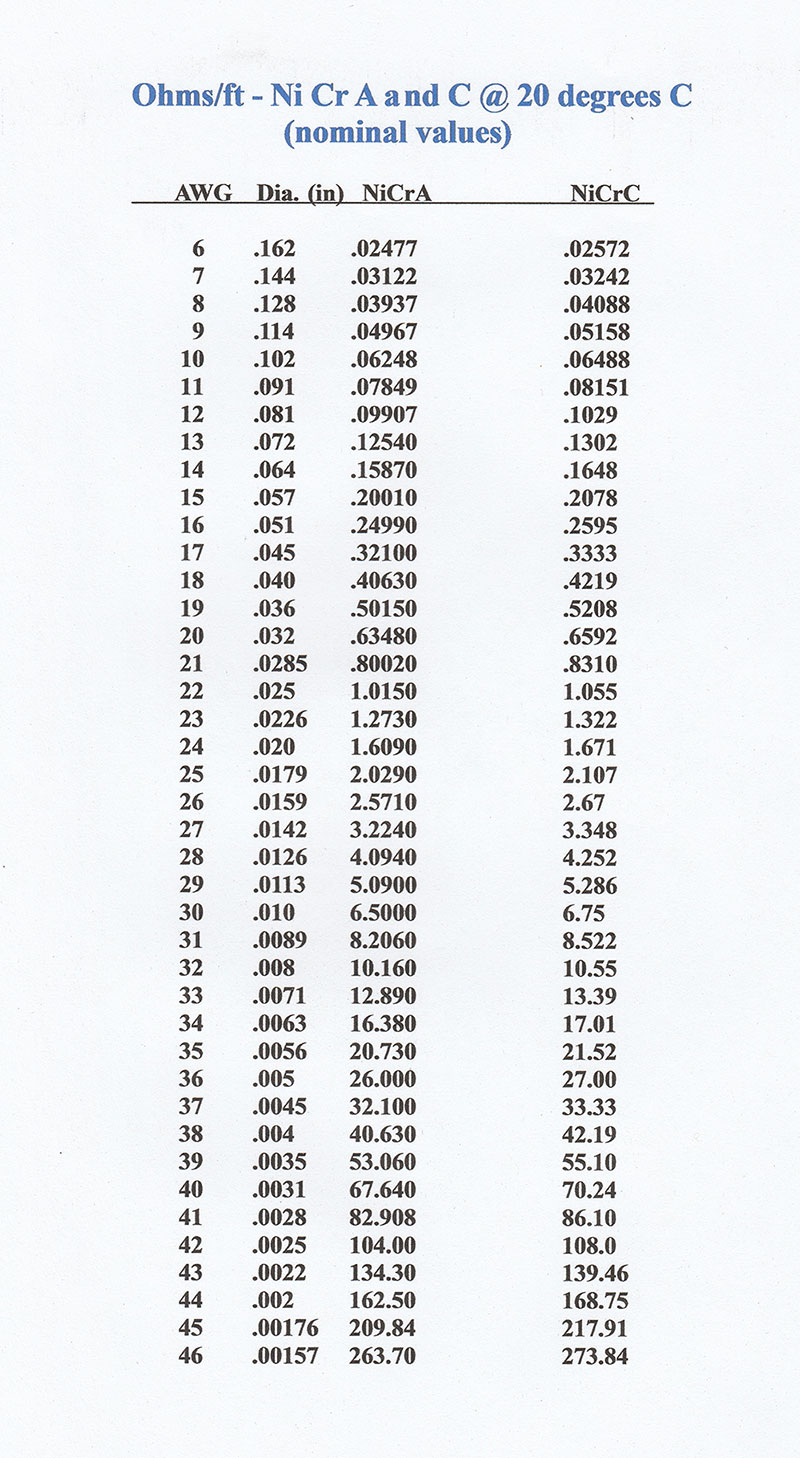
Use the formula R = V² / P, where R is resistance in ohms, V is voltage, and P is desired power in watts. For 12V at 20W: R = 144 / 20 = 7.2Ω. Now calculate how much wire you need.
Use 26AWG Nichrome Wire
Nichrome (nickel-chromium) is ideal because it resists oxidation, doesn’t corrode, and handles heat well. 26AWG nichrome has about 2.67Ω per foot. To get 7.2Ω, divide 7.2 by 2.67, which equals roughly 2.7 feet of wire. That’s manageable, with no need for hundreds of feet or complex circuits.
Avoid High-Resistance Insulated Wire
Some heating wires sold online have 60Ω per meter (about 18Ω per foot). That resistance is too high for low voltage. You’d need 24V or more just to get heat. Stick with standard nichrome unless you’re building for higher voltage systems.
Gather Materials for Your DIY Heating Pad
Essential Electrical Parts
Collect these components before starting:
– Nichrome wire (26AWG, 3 to 10 ft depending on design)
– 12V or 24V DC power supply (2A minimum)
– Thermostat or thermal cutoff (105°C max, non-resettable fuse recommended)
– Multimeter (to test resistance and continuity)
– Electrical tape or heat-shrink tubing (for insulation)
– Solder and iron (for strong connections)
Textile and Assembly Supplies
You’ll also need:
– Outer fabric (fleece, flannel, or soft cotton, two pieces)
– Insulating layer (cotton batting or thermal fabric)
– Sewing machine or needle and thread
– Scissors, ruler, and safety pins
– Zipper (optional) for a removable heating element
Build the Heating Element Step by Step
Plan the Wire Layout
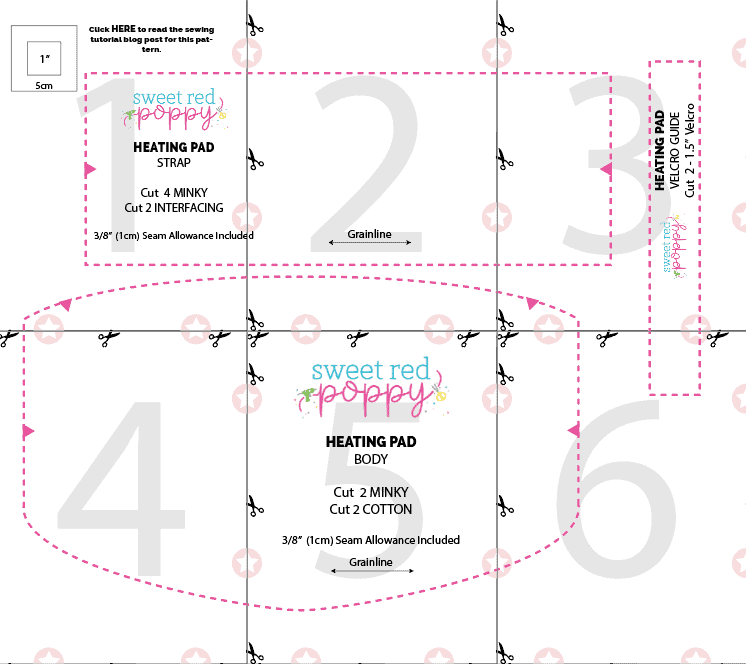
Lay out your pad size, such as 15 inches by 15 inches. Trace a spiral or zigzag path for the wire, keeping it at least 1 inch from edges to avoid burning stitches. Use parallel runs only if working with 5V. For 12V or higher, a single continuous run works fine.
Cut and Test the Wire
Cut the nichrome to the calculated length (around 2.7 ft for 7.2Ω at 12V). Use a multimeter to verify resistance before assembly.
Pro tip: Resistance increases slightly when hot, so aim for 5 to 10% lower resistance when cold.
Prevent Hot Spots in the Layout
Keep wire runs evenly spaced with no bunching or crossing. Tight loops create hot spots that can melt insulation or fabric. Secure the wire with non-conductive clips or fabric basting, never metal pins.
Assemble the Heating Pad Layers

Layer the Materials in Order
Stack your materials in this sequence:
– Bottom fabric (right side down)
– Insulation layer (cotton batting)
– Heating wire (centered and secured)
– Top fabric (right side up)
This sandwich design keeps heat directed toward the user and protects the back surface.
Sew the Edges Carefully
Sew around the perimeter, leaving a 3 to 4 inch gap to turn the pad right-side out. Do not pierce the wire with the needle. After turning, close the gap by hand or machine. Alternatively, install a zipper so you can remove the heating element for washing.
Wire the Circuit Safely

Connect in Series with Safety Devices
Wire the circuit in this order: power supply → thermostat → heating element → back to power. The thermostat cuts power if temperatures get too high, which is critical for safety. Use soldered joints, not twists, then insulate each connection with heat-shrink tubing or double-layer electrical tape.
Create a Strain Relief Point
Where the power cord exits the pad, reinforce the hole with a grommet or fabric patch. This prevents pulling on internal wires. If using an external adapter, route the cord cleanly and secure it with stitching or tape.
Test the Heating Pad Before Regular Use
Check Continuity First
With the multimeter, test for:
– No breaks in the wire (continuity confirms good)
– Correct resistance (within 10% of target)
– No short circuits (wire not touching itself)
Power Up and Monitor Closely
Plug in the pad and run it for 5 to 10 minutes while watching for:
– Even heat distribution
– No hot spots
– No burning smell
Use an infrared thermometer or hand test to check surface temperature. It should feel warm, not scalding. Safe skin contact stays below 50°C (122°F). If it gets too hot, add a thermostat or reduce voltage.
Add Essential Safety Features
Install a Thermal Cutoff Fuse
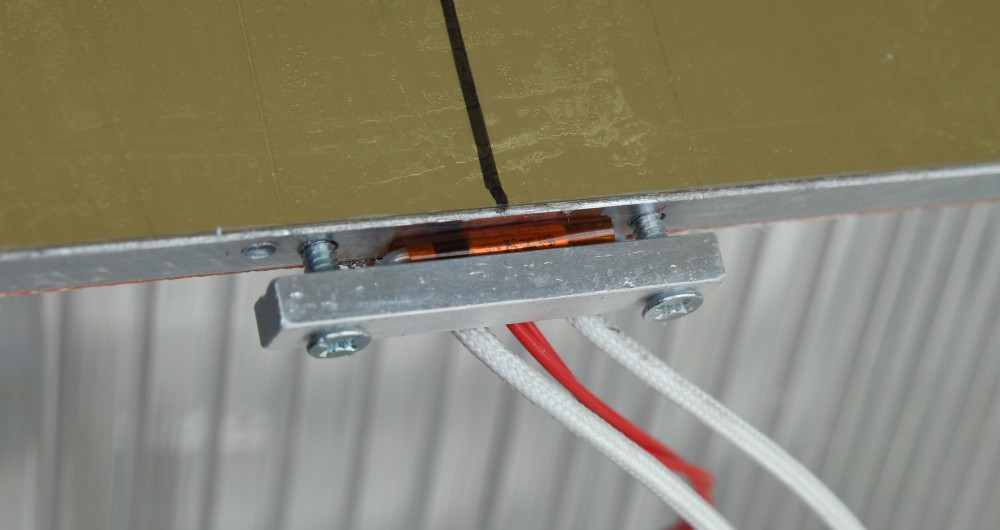
Use a one-time thermal fuse rated for 105°C. It permanently breaks the circuit if overheating occurs, with no reset and no risk. Attach it near the heating element with metal tape for good thermal contact.
Never Fold the Pad While Powered
Warn all users: folding or rolling the pad while powered traps heat, leading to melting or fire. Always use the pad flat.
Don’t Leave the Pad Unattended
Even with safety devices, never use the pad while sleeping unless it has an automatic timer built in.
Troubleshoot Common Heating Pad Problems
No Heat at All
Check for a broken wire (test with multimeter), loose connection (resolder), or blown thermal fuse (replace).
Not Hot Enough
Likely causes include voltage too low (such as 5V instead of 12V) or resistance too high (wire too long or thin). Fix this by switching to 12V or adding parallel wire strands.
Too Hot
Resistance is too low (wire too short) or there’s no thermostat. Fix this by adding a thermostat, increasing wire length, or using lower voltage.
Uneven Heating
Wire bunching or poor spacing causes this issue. Re-lay the wire evenly and resew the pad.
Optimize Your Heating Pad for Comfort
Pick the Right Fabric for Your Needs
Different fabrics offer different benefits:
– Fleece or flannel: cozy for winter use
– Cotton: breathable for longer sessions
– Velvet: soft and luxurious
Avoid synthetic fabrics that melt under heat.
Add a Timer or Smart Control
For advanced builds, use an Arduino with a thermistor to maintain 40°C. Program a 30-minute auto-shutoff and add PWM (pulse-width modulation) to adjust heat levels. Bluetooth modules allow app control, which is great for custom projects.
Make the Pad Washable
Use a zippered pocket for the heating element so you can remove it before washing the fabric cover. Never submerge electrical parts in water.
Know the Risks and Health Limitations
Who Should Avoid Heating Pads
Certain groups should avoid heating pads or use them only under strict supervision:
– Infants and young children (sensitive skin)
– Pregnant people (avoid abdominal use)
– Diabetics (reduced heat sensitivity)
– People with nerve damage or poor circulation
Heat can cause burns without warning in these groups.
Stop Use Immediately If Warning Signs Appear
Discontinue use right away if you smell burning plastic, notice fabric discoloration or scorching, or see wires melting or shorting. Disassemble and inspect the pad. Never ignore warning signs.
Final Tips for a Successful Heating Pad Build
Stick to 12V or 24V Systems
Forget 5V unless you’re an expert. 12V is the sweet spot, offering safe, strong, and simple operation.
Always Include a Thermostat
This isn’t optional. A thermostat is the difference between safe warmth and fire hazard.
Test Outside the Fabric First
Run the bare wire on a heat-safe surface to confirm performance before sewing it into fabric.
Store the Pad Properly
Store flat or loosely rolled. Sharp folds can break the nichrome wire inside.
Inspect Regularly Before Each Use
Check for frayed wires, loose stitches, or discoloration before every use.
Frequently Asked Questions About Making an Electric Heating Pad
What voltage is best for a DIY heating pad?
12V or 24V DC power supplies work best for DIY heating pads. These voltages provide enough power (10 to 20W) for noticeable warmth while staying below the dangerous mains voltage range. A 5V USB source produces only about 0.33W with standard nichrome wire, which is too weak for comfort.
How much nichrome wire do I need?
For a 12V system targeting 20W, you need about 2.7 feet of 26AWG nichrome wire, which provides 7.2Ω of resistance. For 24V at 20W, you need roughly 10.8 feet. The exact length depends on your wire gauge and target wattage.
Can I use a 9V battery to power a heating pad?
No, 9V batteries cannot sustain the current needed for a heating pad. Under load, they overheat, drain quickly, and may leak. Always use a regulated DC adapter rated for at least 2A instead.
Is it safe to make your own heating pad?
Yes, when built correctly with proper safety features. Use low voltage (under 24V), include a thermal cutoff fuse or thermostat, insulate all connections, and never fold the pad while powered. Test thoroughly before regular use and inspect regularly for damage.
What fabric works best for a heating pad?
Fleece, flannel, and soft cotton work well because they’re breathable and don’t melt easily. Avoid synthetic fabrics that can melt under heat. Cotton batting makes a good insulating layer between the heating wire and outer fabric.
How long does a DIY heating pad take to warm up?
A properly built electric heating pad should reach therapeutic temperature within 2 to 5 minutes. Unlike microwaveable pads that last about 20 minutes, electric pads provide continuous heat as long as they’re powered, though sessions of 15 to 30 minutes are recommended.
Key Takeaways for Building a Safe DIY Heating Pad
A DIY electric heating pad can be safe and effective when built with care. Use 12V power with 26AWG nichrome wire to hit the 10 to 20W sweet spot for comfort. Always include a thermostat or thermal cutoff, calculate resistance precisely, and test thoroughly before regular use. With proper construction, you’ll create a pad that warms on demand, lasts for years, and costs a fraction of store-bought models. Start by gathering your materials, calculate your resistance needs, and build with safety as your top priority.