How to Make a Shoulder Heating Pad
If you’ve ever tried to relax with a store-bought heating pad draped across your shoulders, you know the frustration. It slides off, barely covers one shoulder, and loses heat within minutes. Worse, most commercial options aren’t designed to deliver warmth across both shoulders and the upper back at the same time. A DIY shoulder heating pad solves every one of these problems.
In this guide, you’ll learn how to sew a 17″ x 19″ microwaveable shoulder heating pad with built-in 10-inch sleeves that anchor it securely in place. Filled with rice and lavender, this custom pad delivers deep, even heat plus calming aromatherapy. From fabric selection to microwave safety, every step is designed for comfort, durability, and long-lasting relief.
Design a Custom Shoulder-Fit Pad

Build for Full Shoulder Coverage
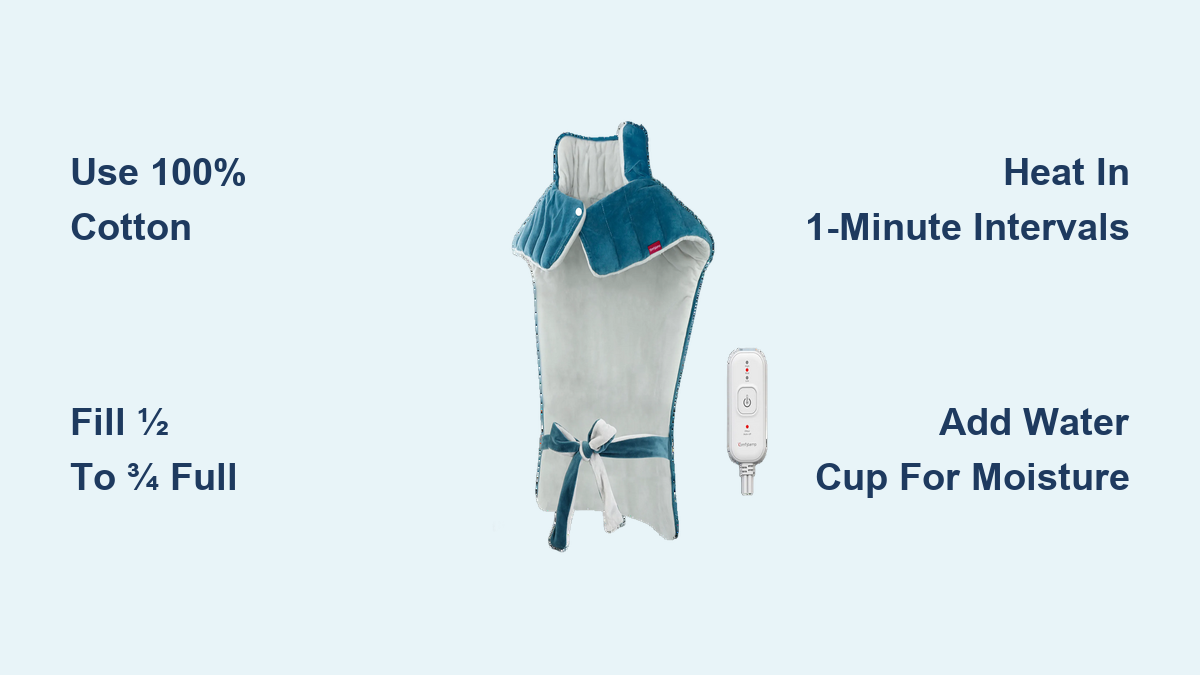
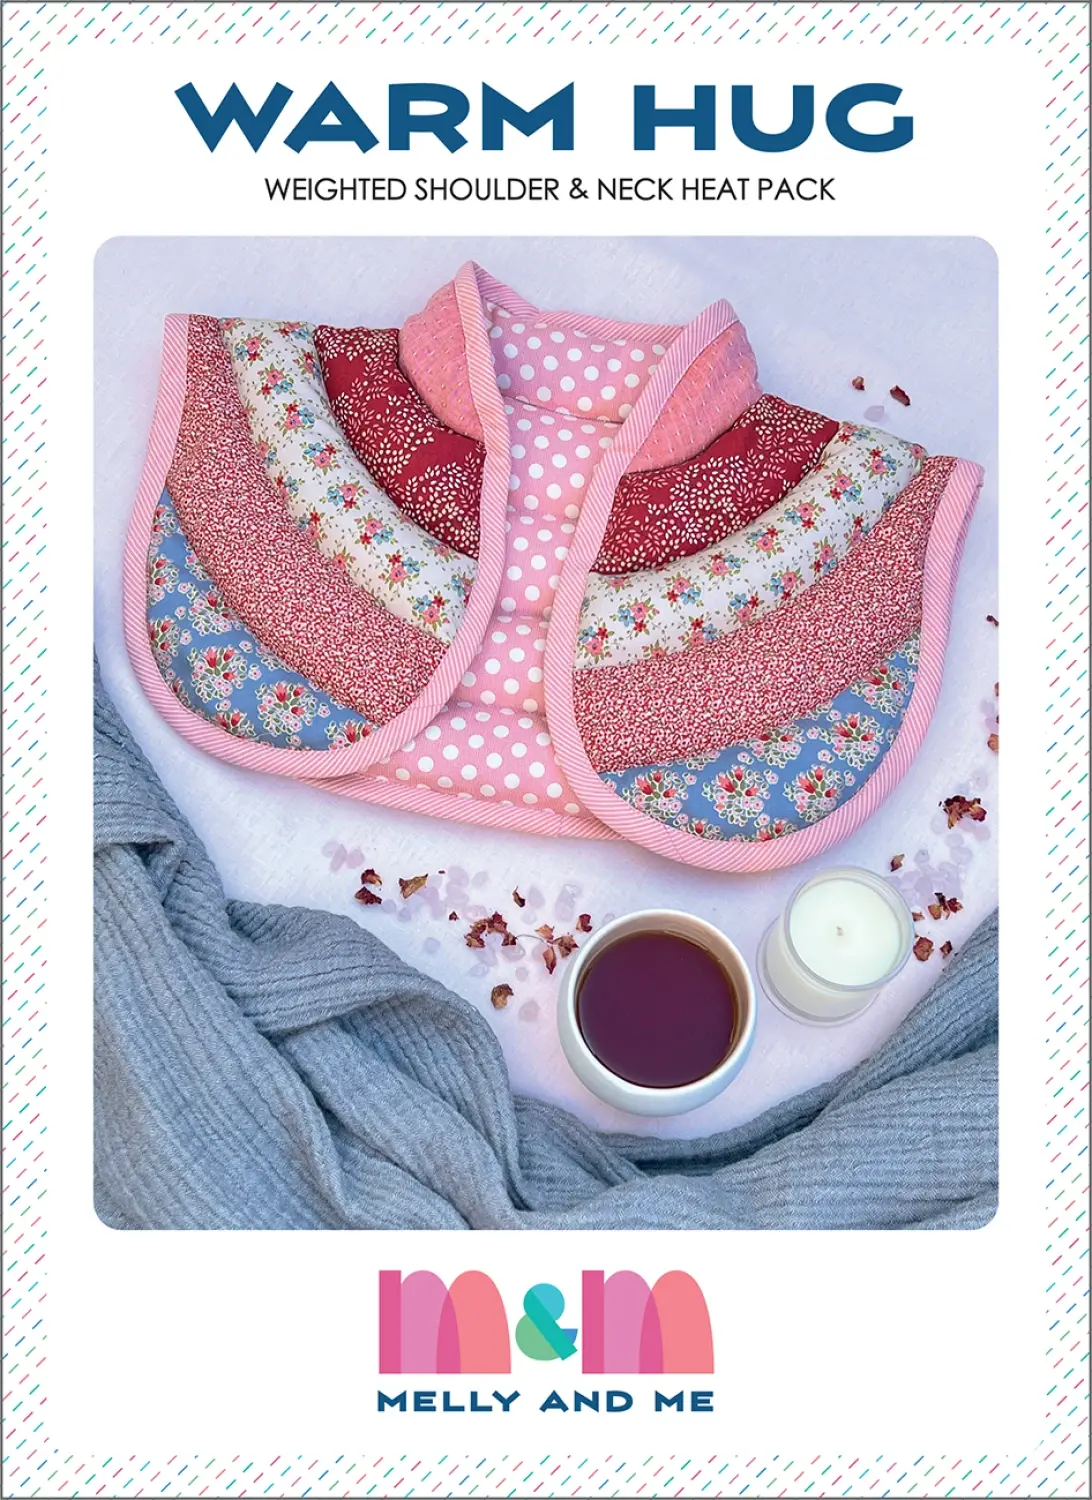
The biggest advantage of making your own shoulder heating pad is full-coverage design. Standard pads cover a small area, but this DIY version spans both shoulders and the upper back. The 17-inch width fits most adult frames, while the 19-inch height reaches from the base of the neck down to the mid-back. This broad surface targets the trapezius, rhomboids, and neck muscles all at once.
Staying in place is just as important as coverage. The pad includes 10-inch-long sleeves that drape over the front of the shoulders. These narrow extensions act like built-in straps, using gentle weight and body positioning to keep the pad from slipping forward. No more readjusting every few minutes.
Use 100% Cotton for Safety and Washability
Because the pad goes in the microwave, only 100% natural fibers are safe. Synthetic fabrics or threads can melt or ignite under heat. Use quilting cotton for the outer layer since it’s durable, soft, and available in countless patterns. For inner layers, muslin or leftover cotton works perfectly.
Pre-wash all fabric before sewing. The pad isn’t designed with a removable cover, so you can’t wash it after filling. Pre-washing prevents shrinkage and keeps the finished product intact after repeated use.
Cut and Layer Fabric Correctly
Follow the 4-Layer Stack Sequence
Accurate layering creates a clean, professional finish. You’ll need four fabric pieces: two outer and two inner layers. Arrange them in this exact order from bottom to top:
- Inner layer, wrong side up
- Outer layer, right side up
- Outer layer, right side down
- Inner layer, wrong side up
This creates a double-sided, fully enclosed pad with no raw edges exposed after turning. Secure the stack with pins or sewing clips to prevent shifting during stitching.
Cut to Exact Pattern Dimensions
Print your pattern at 100% scale to maintain accuracy. The finished pad should measure 17″ wide by 19″ tall, with narrow sleeves extending from the top. Each sleeve must be exactly 10 inches long to function properly as an anchor point.
Cut two identical shapes from each fabric type. A rotary cutter and self-healing mat speed up the process, but sharp scissors work fine too. Mark seam lines with a chalk marker or fabric pen if needed.
Sew the Outer Shell Securely
Stitch with a ⅜” Seam Allowance
Using a ⅜” (1 cm) seam allowance, sew around the entire perimeter of the layered fabric. Keep stitches straight and consistent. Reinforce stress points by double-stitching or triple-stitching along curved areas and near the sleeve bases, since these zones bear the most weight when filled.
Leave a 4-inch opening on each short end (the sleeve ends). These openings let you turn the pad right side out and later fill it with rice. Do not sew them closed yet.
Trim, Clip, and Turn Without Damage
After sewing, trim the seam allowance to reduce bulk. Clip curved sections and notch corners so the pad turns smoothly without puckering. Use a point turner or blunt knitting needle to push out corners and edges. Never use sharp tools that could pierce the fabric.
Turn the entire pad through one of the 4-inch openings. Press it flat with an iron to set the shape and create crisp edges before filling.
Create Internal Compartments
Space Seams 2–3 Inches Apart
To keep rice from pooling at the bottom, divide the pad into horizontal compartments. Sew straight lines across the width, spacing them 2–3 inches (5–7 cm) apart. These internal baffles maintain even heat distribution and preserve the pad’s flexibility.
Do not sew the compartments yet. Filling comes first. Think of this stage as preparing a series of pockets that will be sealed one at a time.
Use Pins to Protect Sewing Zones
When sewing each baffle, rice will be loose in the unfilled upper sections. Use pins or a clip-equipped pant hanger to hold grains away from the sewing line. This prevents clogging the machine and ensures clean, secure seams.
Work from bottom to top, filling and sealing each compartment individually.
Fill With Rice and Lavender Mix
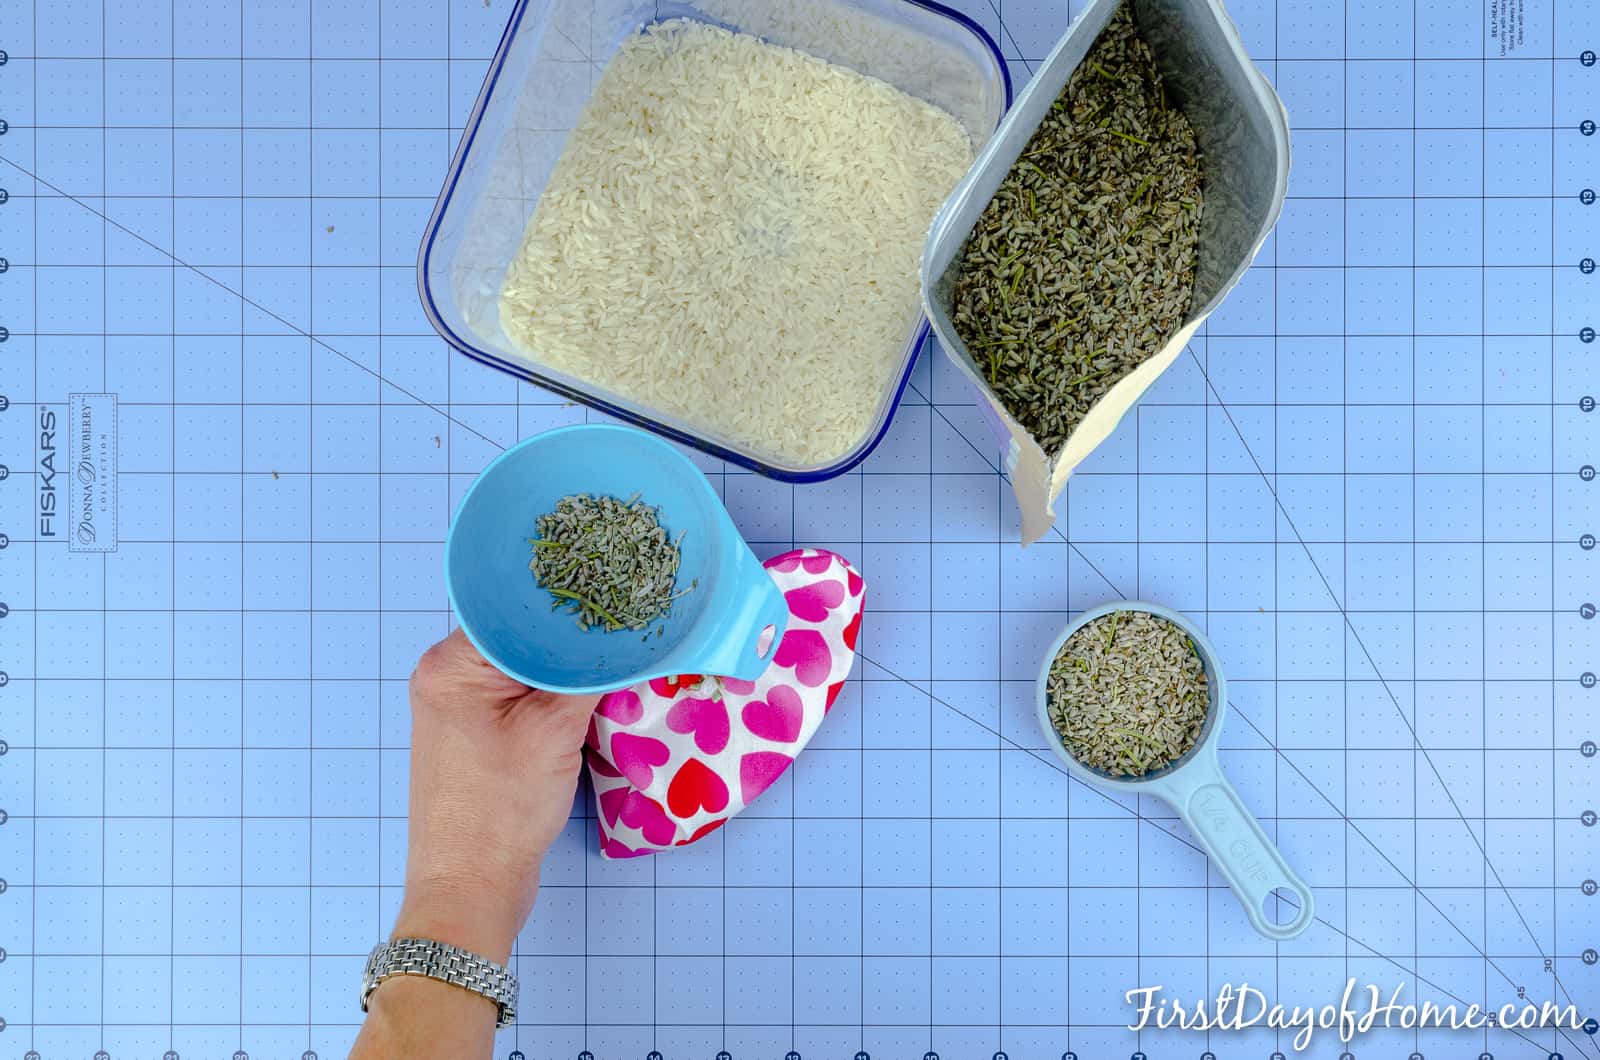
Mix 6 Cups Rice + 2 Cups Lavender
The ideal filling combines 6 cups of long-grain rice with 2 cups of dried lavender. Rice provides excellent heat retention, while lavender adds a calming scent that releases when warmed. No essential oils are needed.
Use dry, uncooked rice and crushed or whole dried lavender buds. Avoid moisture-rich or oily additives that could cause mold or scorching.
Fill Compartments ½ to ¾ Full
Overfilling makes the pad stiff and heavy. For optimal drape and comfort, fill each compartment only ½ to ¾ full. Shake or tap the pad gently to spread the mixture evenly before sewing each baffle.
Start with ¾ cup per wide section, then reduce to ½ cup per sleeve compartment due to narrower space.
Avoid Dangerous Fillers
Never use coffee beans, pine needles, or essential oils directly in the filling. They pose serious fire or scorching risks. If you want a different scent, place a cotton ball with a drop of essential oil inside the pad before use, not mixed with the grains.
Safe alternatives to rice include flax seeds, cherry pits, walnut shells, or wheat, all of which heat evenly and are microwave-safe.
Seal Sleeves and Finalize Construction
Close Sleeve Openings with Double Stitch
Once all compartments are filled and sewn, close the two 4-inch sleeve openings. Fold the raw edges inward and top-stitch twice close to the edge for maximum strength. This double stitching prevents tearing under the pad’s 3.5-pound weight.
Repeat for both sleeves. Use a backstitch at the beginning and end of each seam to lock stitches in place.
Maintain Pliability and Balance
A well-made pad should feel soft and flexible, not rigid. If it feels too stiff, you may have overfilled the compartments. The goal is a pad that drapes naturally over the shoulders and conforms to body curves.
Check that weight is evenly distributed. If one side feels heavier, redistribute the filling before final closure.
Heat Safely in the Microwave

Use 1-Minute Intervals Max
Always heat the pad in 1-minute intervals. Start with one minute, then check the temperature by touching it with your hand. Never exceed 3 minutes total on high power.
Place the pad on a clean, microwave-safe plate to protect surfaces and ensure even heating.
Add Moist Heat with a Water Cup
For deeper penetration, place a half-full coffee mug of water in the microwave alongside the pad. The steam creates moist heat, which soothes muscles more effectively than dry heat and helps prevent the rice from drying out or scorching.
Never Leave Unattended
Never walk away while the pad is microwaving. Stay nearby and check it after each minute. If you smell burnt rice or any smoke, stop immediately and discontinue use.
Prevent Overheating and Scorching
Monitor for Burning Smells
A faint rice smell is normal. But if you detect a sharp, burnt odor, the grains are scorching. This can happen if the pad is overheated, contains moisture, or uses unsafe fillers. Discard the pad if scorching occurs.
To reduce risk, consider switching to flax seeds or cherry pits, which may heat more evenly than rice.
Avoid Direct Essential Oils
Do not mix essential oils directly with rice or other fillers. The oils can concentrate and ignite when heated. Instead, apply a drop to the fabric surface or place a scented cotton ball inside the sleeve before use.
Extend Pad Longevity and Comfort
Hand Wash Only if Necessary
The pad is not machine washable after filling. Spot clean with a damp cloth if needed. The pre-washed fabric and sealed compartments minimize odors and stains, so cleaning should rarely be required.
If the scent fades, refresh with a new lavender-filled cotton ball.
Store in a Dry, Cool Place
Keep the pad in a dry, ventilated area away from humidity. Moisture can cause mold in organic fillers. Do not store in plastic bags. Use a cotton pillowcase or breathable container instead.
Replace Filling When Needed
Though built to last, rice may degrade over time. If heating performance drops or you notice lumps, carefully open the top stitch with a seam ripper, remove old filling, and refill with fresh rice and lavender.
Frequently Asked Questions About Making a Shoulder Heating Pad
What type of fabric is safe for a microwaveable heating pad?
Only 100% cotton fabric and thread should be used. Synthetic materials can melt or ignite when heated. Quilting cotton works well for the outer layer, while muslin or leftover cotton is suitable for inner layers.
How much rice do I need to fill a shoulder heating pad?
The recommended amount is 6 cups of long-grain rice combined with 2 cups of dried lavender. This creates a finished pad weighing approximately 3.5 pounds, which is heavy enough to drape securely without being uncomfortable.
Can I add essential oils to the rice filling?
No. Essential oils should never be mixed directly with rice or other fillers because they can concentrate and ignite when heated. If you want added scent, place a cotton ball with a drop of essential oil inside the pad before each use.
How long should I microwave a homemade heating pad?
Heat the pad in 1-minute intervals, checking the temperature after each minute. Do not exceed 3 minutes total on high power. Always place a half-full mug of water in the microwave to create moist heat and prevent scorching.
How do I prevent the rice from shifting to one side?
Sew horizontal compartment seams spaced 2–3 inches apart across the width of the pad. Fill each compartment only ½ to ¾ full so the rice can shift slightly within its section but cannot migrate to other areas.
Can I wash the heating pad after it’s filled?
The pad is not machine washable after filling. Spot clean only with a damp cloth. Pre-washing the fabric before construction is essential because it prevents shrinkage later. Store the pad in a dry place to avoid mold in the organic filling.
Final Thoughts on Building Your Own Shoulder Heating Pad
A homemade shoulder heating pad combines ergonomic design, safe materials, and therapeutic function into one practical DIY project. By following the steps above, you’ll create a 3.5-pound, 17″ x 19″ pad that delivers long-lasting, aromatic warmth exactly where you need it without slipping or overheating.
The key takeaways are simple: use 100% cotton for safety, fill compartments only ½ to ¾ full for flexibility, and always heat in 1-minute intervals with a water cup nearby. Whether you’re making this for personal relief or as a heartfelt handmade gift, this project proves that the best solutions are often the ones you create yourself.
Your next step: Gather your materials, print your pattern at 100% scale, and set aside a few hours this weekend to sew your own custom shoulder heating pad.