How to Make a Rice Bag Heating Pad
You’ve pulled a muscle, have a stubborn headache, or just want soothing warmth on a cold night. Store-bought heating pads work, but a homemade rice bag heating pad is cheaper, customizable, and easy to make with just a few basic supplies. This simple DIY project uses rice as a natural heat retainer, wrapped in breathable cotton fabric, and can be microwaved in under a minute for fast relief.
The best part? You likely already have everything you need at home. No fancy tools or experience required, just fabric, rice, and a needle or sewing machine. In minutes, you can create a soft, moldable pad that conforms to your neck, back, hands, or feet. This guide walks you through the step-by-step process, variations, safety tips, and creative upgrades so you can make your perfect rice heating pad.
Choose the Right Materials for Your Rice Bag Heating Pad
Before stitching, gather simple, breathable materials that ensure safe and effective heat distribution.
Use 100% Cotton Fabric
Opt for natural, tightly woven cotton like quilting fabric or an old pillowcase. Cotton withstands microwave heat without melting and allows steam to escape. Avoid synthetic fabrics like polyester, as they can overheat or release harmful fumes.
Pick Long-Grain White Rice
Use uncooked long-grain white rice as the filling. It heats evenly, retains warmth for 15 to 20 minutes, and won’t go rancid quickly. Standard white rice is cheapest and most accessible. Don’t use instant or flavored rice.
Optional: Add Aromatherapy
Boost relaxation by adding 5 to 10 drops of essential oil to the rice before filling. Alternatively, mix in 1 to 2 tablespoons of dried lavender buds for extra scent and texture.
Cut and Sew the Fabric

Start with a clean, simple design that’s easy to assemble, even by hand.
Cut a 12×6 Inch Rectangle
Measure and cut a 12×6 inch piece of cotton fabric. This size fits perfectly along the neck or lower back. For smaller pads, cut 8×4 inches. Double the size if you want a two-layer pouch.
Fold and Stitch Three Sides
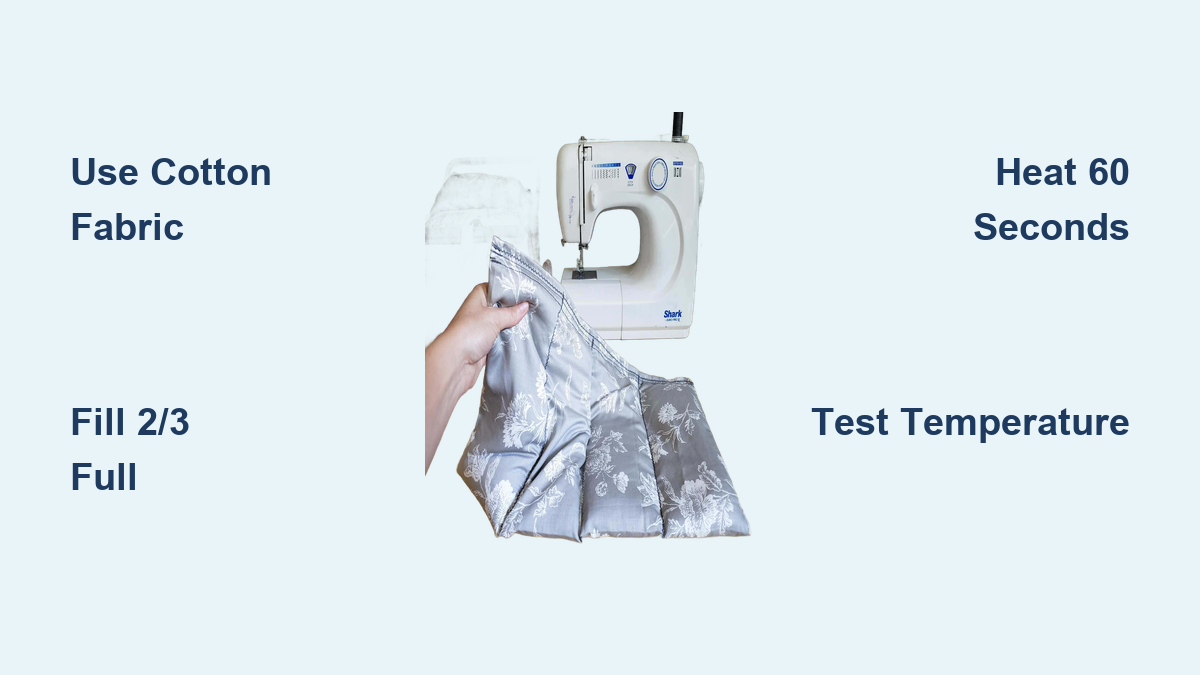
Fold the fabric in half with the right sides facing each other. Pin in place. Sew along both long edges and one short edge using a ½ inch seam allowance. Leave one short end open for filling.
Pro Tip: Use a straight stitch on a sewing machine for speed, or hand-sew with a backstitch for durability. Reinforce corners with a few extra stitches.
Fill With Rice

Proper filling ensures even heat and prevents lumps or bursting.
Fill 2/3 Full With Rice
Pour uncooked rice into the open end using a funnel or rolled paper. Fill to about two-thirds capacity. Overfilling increases pressure and risk of seams splitting. A 12×6 inch pad typically holds 1.5 to 2 cups of rice.
Mix in Essential Oils (Optional)
Add a few drops of essential oil directly to the rice and shake gently to distribute. Wait 10 minutes before sealing to prevent oil from weakening the fabric.
Warning: Never use too much oil. Excess can stain fabric or create hot spots in the microwave.
Seal the Opening
Close the bag securely to prevent leaks and ensure long-term use.
Fold and Sew the Open End
Fold the open edge inward by ½ inch to hide raw fabric. Pin shut. Sew across the end with a straight stitch, backstitching at start and finish for strength.
Alternative: Use a Knot or Tie
If using a cotton tube sock, simply fill it 2/3 full and tie a double knot at the end. This no-sew version works well for quick prototypes.
Heat and Use Safely
Microwave use requires caution to avoid burns or fire hazards.
Microwave for 60 Seconds
Place the rice bag in the microwave and heat on high for 60 seconds. Start with 30 seconds, check warmth, then add time in 15-second increments. Most pads reach optimal heat in 60 to 90 seconds.
Never leave unattended. Overheating can scorch rice or ignite fabric.
Test Temperature Before Use
Always test the pad on your wrist or inner forearm first. It should feel warm, not hot. If it’s too hot, let it cool for a few minutes.
Apply for 15 to 20 Minutes
Use the pad to soothe sore muscles, stiff joints, menstrual cramps, or sinus pressure. Limit continuous use to 20 minutes to avoid skin irritation.
Try Easy Variations
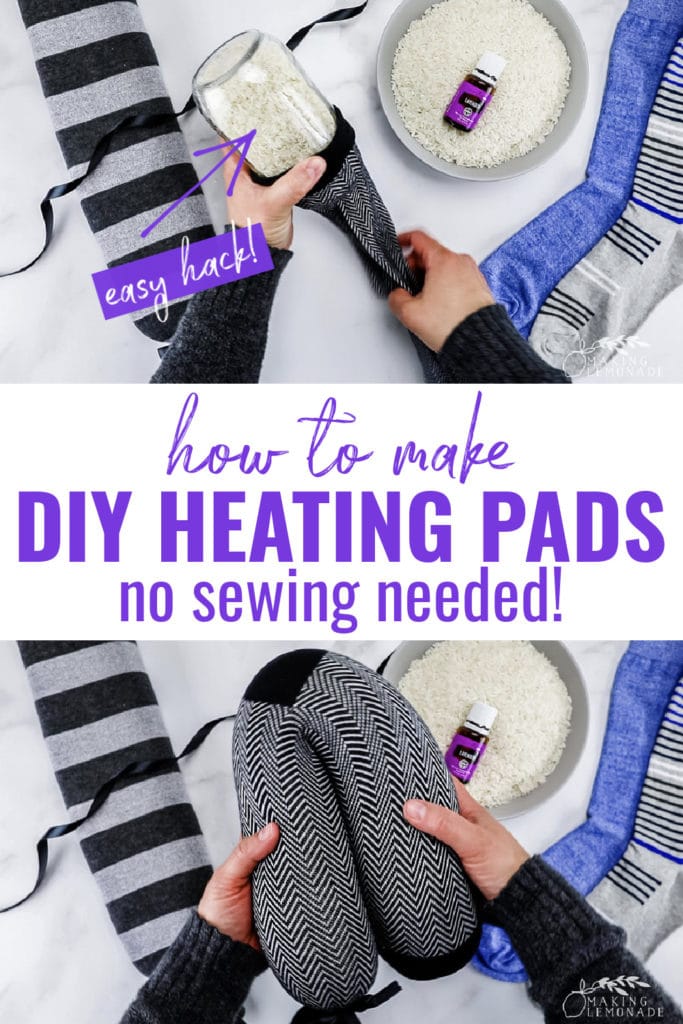
Customize shape, size, and style based on your needs and available materials.
Make a Rice Sock Pad
Grab an old cotton tube sock. Fill with 1 to 2 cups of rice. Tie the end with yarn or sew shut. This no-sew option takes 5 minutes and molds perfectly around the neck or feet.
Create a Multi-Chamber Pad
Cut a pillowcase in half. Starting from the closed end, sew horizontal lines 4 inches apart. Fill each chamber with ½ cup of rice through the open end, then sew shut. This prevents rice from shifting and ensures even heating.
Sew a Smaller Eye Mask
Cut two 8×4 inch fabric pieces. Sew around three sides, fill with ½ cup rice and 5 drops lavender oil, then seal. Chill in the freezer for 20 minutes to use as a cool compress for puffy eyes.
Maintain and Store Properly
Extend the life of your rice heating pad with simple care.
Clean the Exterior Only
Never submerge the pad in water. Rice will absorb moisture and mold. Instead, wipe the surface with a damp cloth and mild soap. Air dry completely before storing or reheating.
Store in a Dry Place
Keep the pad in a sealed container or zip-top bag to prevent moisture and pests. Avoid humid areas like bathrooms.
Replace Every 6 to 12 Months
Over time, rice can dry out, clump, or develop odors. If you notice a burnt smell after heating, discard and make a new one.
Troubleshoot Common Issues
Fix problems fast to keep your pad safe and effective.
Rice Leaks Out
This means seams are too loose or fabric is thin. Always use a tight stitch and 100% cotton. Double-stitch all seams and check for holes before filling.
Pad Heats Unevenly
Caused by rice clumping or overfilling. Fill only 2/3 full and shake gently before heating. Multi-chamber designs help prevent this.
Smells Burnt After Microwaving
Your microwave may be too powerful, or the bag was overheated. Reduce time to 45 seconds and use medium power. If rice is scorched inside, discard the pad.
Fabric Feels Too Hot
Use thicker cotton or double-layer fabric. You can also wrap the pad in a towel before use to reduce direct heat.
Customize for Gifting
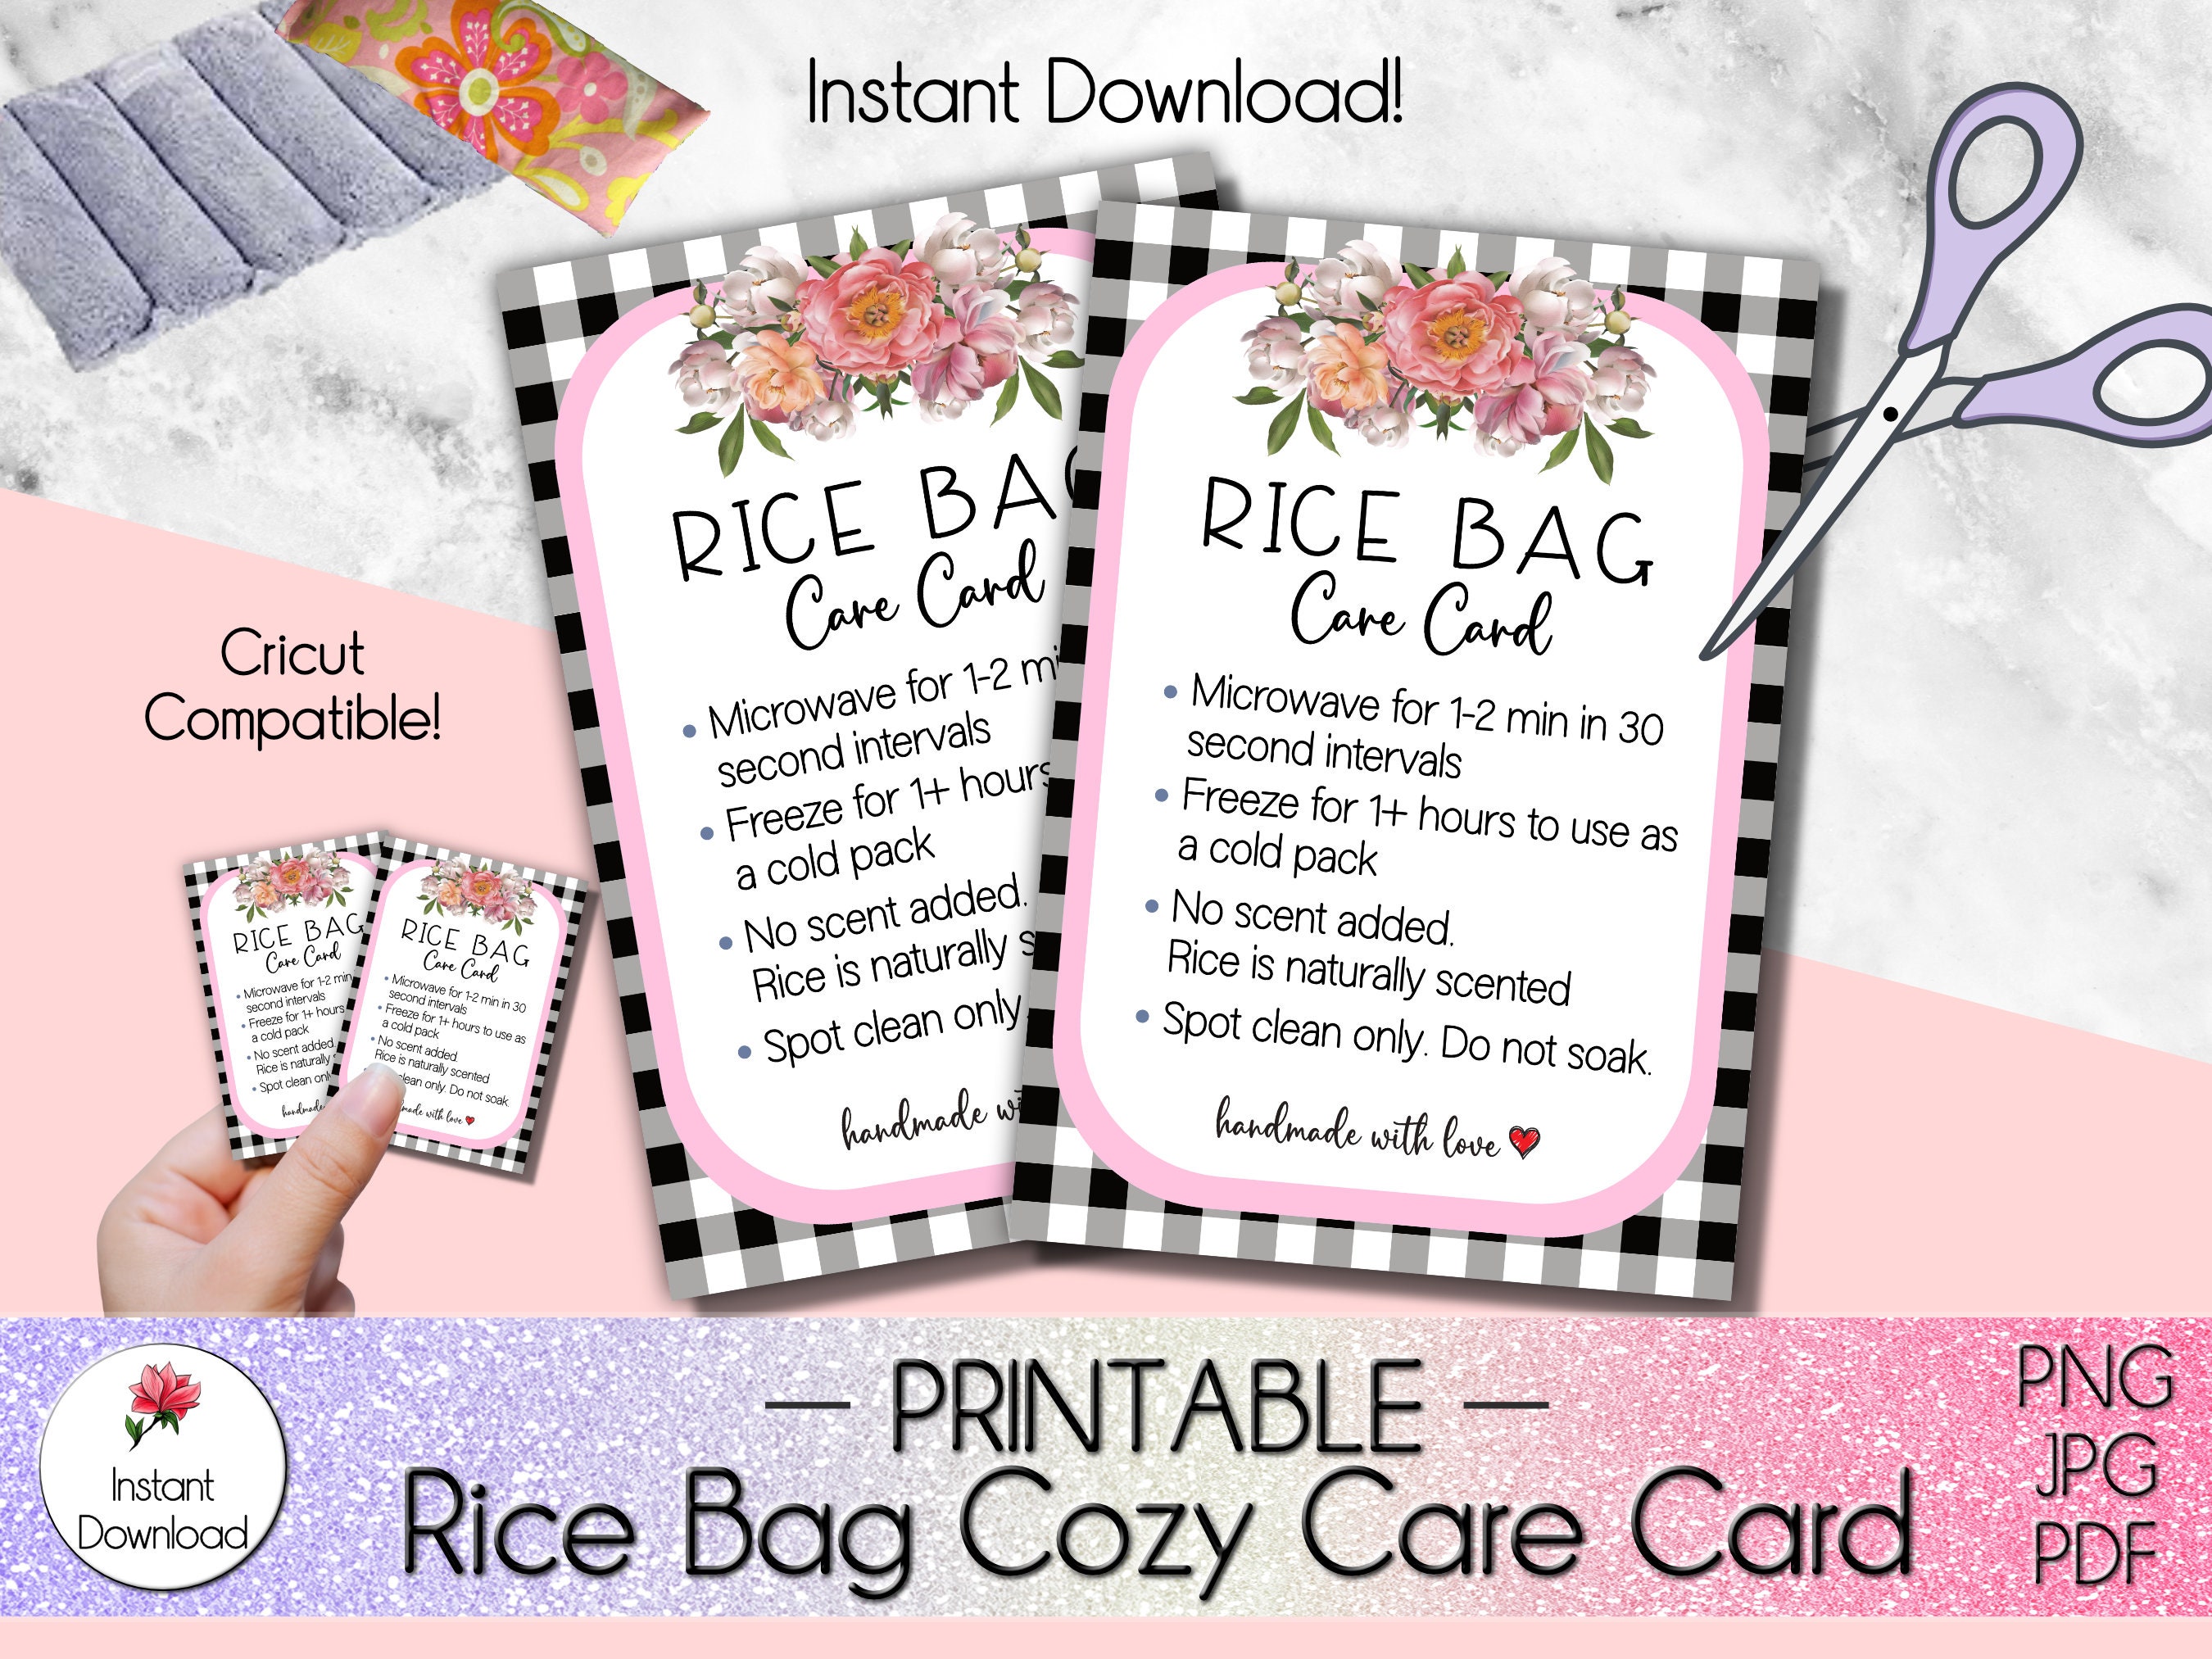
Turn simple rice pads into heartfelt handmade presents.
Choose Festive Fabrics
Use holiday-themed cotton, flannel, or patterned fabric for seasonal gifts. Add embroidery with names or messages for a personal touch.
Include Care Instructions
Attach a small tag with heating time, cleaning guidelines, and safety notes. This makes your gift both thoughtful and practical.
Pair With Relaxation Kit
Bundle your rice pad with a lavender sachet, tea, or bath salts in a gift basket for a self-care package.
Frequently Asked Questions About Rice Bag Heating Pads
How long do you microwave a rice heating pad?
Heat your rice bag heating pad on high for 60 seconds, adjusting in 15-second increments based on your microwave’s power. Always test the temperature on your wrist before applying to skin.
Can you use any type of rice in a heating pad?
Long-grain white rice works best because it heats evenly and resists clumping. Avoid instant or flavored rice, which can scorch or release additives when microwaved.
How long does a rice heating pad stay warm?
A properly heated rice bag retains warmth for 15 to 20 minutes, making it ideal for soothing muscle aches, cramps, or cold hands and feet.
Is it safe to sleep with a rice heating pad?
No. Limit use to 20 minutes at a time and never sleep with the pad active. Overheating or prolonged contact can cause burns or skin irritation.
How do you clean a rice heating pad?
Wipe the exterior with a damp cloth and mild soap. Never submerge the pad in water, as moisture will cause the rice inside to mold.
Why does my rice bag smell burnt?
Burnt smells mean the rice has scorched from overheating. Reduce microwave time and use medium power. If the smell persists after multiple uses, replace the pad.
Final Thoughts on Making a Rice Bag Heating Pad
Creating your own rice bag heating pad is a quick, affordable, and practical DIY project that delivers real comfort. With just fabric, rice, and a few minutes of work, you can craft a reusable heat therapy tool that soothes aches, reduces stress, and makes a thoughtful handmade gift.
Start with the basic 12×6 inch rectangle using cotton fabric and white rice, then experiment with shapes, scents, and sizes as you gain confidence. Always follow safety guidelines, test temperature before use, and replace the pad every 6 to 12 months for best results. Gather your materials today and enjoy soothing, natural warmth whenever you need it.