How to Make a Neck Heating Pad
Neck pain affects millions of people daily, often caused by poor posture, stress, or muscle strain. If you’re looking for a natural, cost-effective way to soothe tight muscles and improve circulation, a homemade neck heating pad might be the solution. These DIY pads deliver deep, moist heat that relaxes stiff tissues, eases tension in the scalene and trapezius muscles, and can even help with headaches or stress-related discomfort. Best of all, you can make one for under $15, far less than commercial versions that cost $50 or more.
You don’t need advanced sewing skills or rare materials. With simple supplies like buckwheat hulls, rice, or even old towels, you can create a reusable heating pad that molds perfectly to your neck. Plus, most designs double as cold packs when frozen. Whether you want a long-term solution or immediate relief, this guide covers every method, material, and safety tip you need to make a neck heating pad safely and effectively.
Pick the Best Filling Material for Your Pad
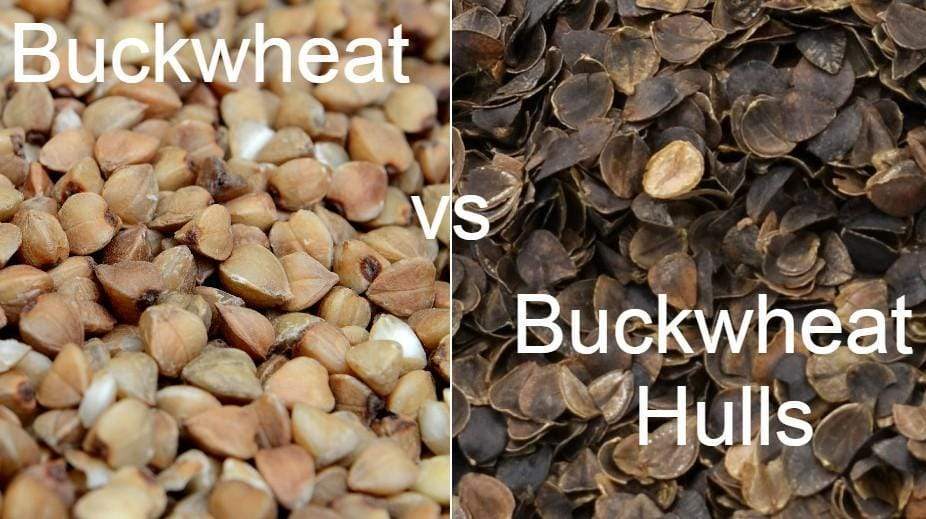
The core of any heating pad is its filler. The right material retains heat, conforms to your body, and lasts through repeated use.
Use Buckwheat Hulls for Deep, Lasting Heat
Buckwheat hulls are the top choice for professional-grade pads. They hold heat longer than rice and provide a firm, moldable texture that supports the neck. For an 8″ x 25″ pad, use 22 ounces of organic buckwheat hulls. A 5-pound bag costs around $5.75 and makes four pads, making it highly economical.
Pro Tip: Buy food-grade, organic hulls to avoid chemicals. Avoid roasted buckwheat, as it won’t heat properly.
Try Rice as a Budget-Friendly Option
Uncooked rice is widely available and heats evenly. It’s slightly less durable than buckwheat but still effective. Use long-grain white or brown rice in a cotton sock or fabric sleeve. Rice tends to break down faster with repeated heating, so replace it every 6 to 12 months.
Add Dried Lavender for Aromatherapy Benefits
Mix in 1/3 cup of dried lavender per pad to enhance relaxation and improve sleep quality. Ensure the flowers are fully dry to prevent moisture buildup. Avoid using essential oils directly in the filling, since they can degrade fabric or create fire risks when microwaved.
Select the Right Fabric for Comfort and Durability
Your fabric choice affects comfort, durability, and washability. Use two layers: one for the inner liner and one for the outer cover.
Use Cotton Knit for the Inner Lining
Cut the interior from a repurposed XL or XXL cotton t-shirt. This knit fabric stretches slightly, making it easier to sew over bulky fill. One XXL shirt yields two 8″ x 25″ pads, which cuts costs further.
Alternatively, buy 1/4 yard of cotton jersey or quilting cotton. Always pre-wash fabric to prevent shrinkage after assembly.
Pick Soft Minky for the Outer Cover
The exterior should feel cozy against the skin. “Soft N Comfy Minky” or similar plush fleece fabrics work best. They’re warm, durable, and come in many colors.
For a removable cover, construct an envelope-style closure using three overlapping pieces. This lets you machine-wash the outer layer without exposing the filling to water.
Build a Professional Buckwheat Neck Wrap
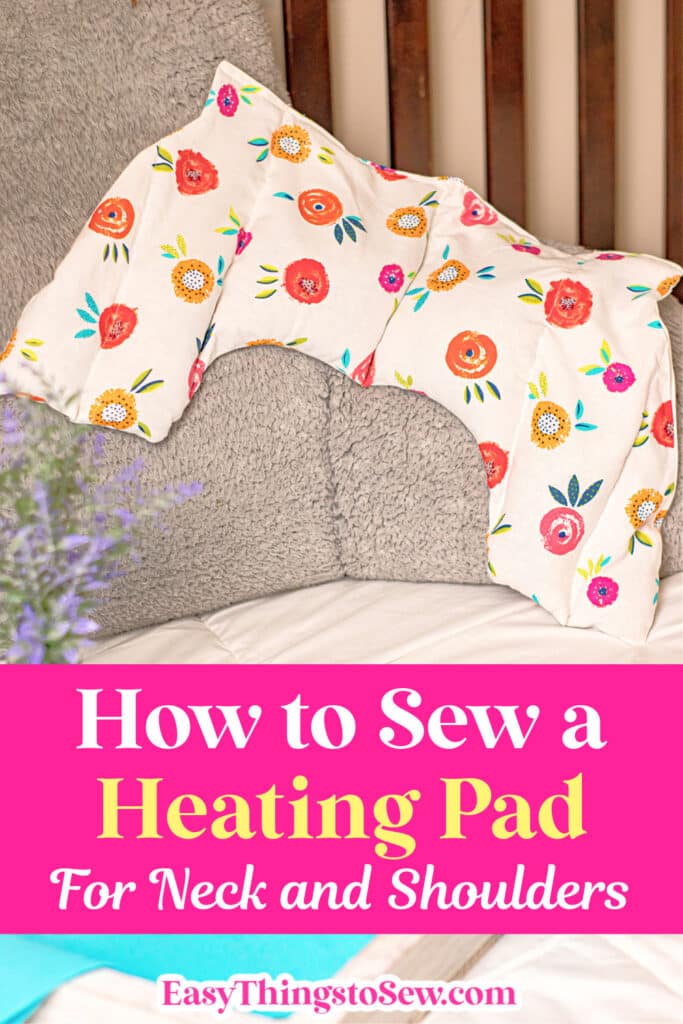
This sewn version offers long-term use, even heat distribution, and easy maintenance.
Cut and Sew the Interior Pillow
Start with a 9″ x 26″ piece of cotton fabric. This allows a 1-inch seam allowance for the final 8″ x 25″ size.
- Fold the fabric in half lengthwise, right sides together.
- Sew along both long edges and one short end. Turn right side out.
- Press flat and mark seven equally spaced vertical lines, creating eight horizontal channels.
- Sew along each line, backstitching at top and bottom for strength.
Channels prevent filling from shifting and ensure uniform heat distribution.
Fill and Seal the Inner Pad
- Measure 22 ounces of buckwheat hulls, or use the formula: total square inches ÷ 9.5 = ounces needed.
- Pour hulls into each channel, shaking gently to distribute evenly.
- Add 1/3 cup dried lavender if desired.
- Hand-sew the open end closed with a ladder stitch for invisibility.
Do not overfill. Bulging fabric makes sewing difficult and risks bursting seams.
Make a Removable Outer Cover
A washable cover extends your pad’s life. Use soft minky fabric and follow these cuts:
- Piece A (Main Body): Cut to pillow length + 1 inch (26″)
- Piece B (Middle Overlap): Cut to 75% of pillow length (19″)
- Piece C (Top Overlap): Cut to 40% of pillow length (10″)
All pieces should be 9″ wide (pillow width + 1 inch).
Sew Pieces B and C along one short edge to Piece A, aligning raw edges. Hem the free ends of B and C for a clean finish. When complete, the cover opens like an envelope. Slide the inner pad in and close by folding B over C.
Try No-Sew Alternatives for Fast Relief

Can’t sew or need instant relief? These quick methods work without tools.
Make a Towel Compress in Minutes
This method gives moist heat fast and works well for sudden stiffness.
- Wet two hand towels, then wring until damp but not dripping.
- Place one towel inside a ziplock bag. Leave the bag open.
- Microwave on high for 2 minutes.
- Remove carefully (it will be very hot), then seal the bag.
- Wrap the second damp towel around the sealed bag.
- Apply to your neck for up to 20 minutes.
Why leave the bag open? Trapped steam builds pressure and could cause burns or explosion.
Create a Rice Sock Pad
Grab a large cotton tube sock and fill it halfway with uncooked rice.
- Tie the open end tightly with a rubber band or string.
- Microwave on high for up to 3 minutes, checking every 30 seconds.
- Shake gently before use to distribute heat.
- Reheat in 1-minute intervals as needed.
Store in a dry place. Replace rice if it darkens or smells burnt.
Heat and Use Your Pad Safely
Even natural materials can cause burns if misused. Follow these safety rules.
Microwave in Short Intervals
Start with 30 seconds for buckwheat or rice pads. Test temperature, then add time in 15 to 30 second bursts. Most pads reach ideal warmth in 1.5 to 3 minutes, depending on microwave wattage.
Never leave the microwave unattended. Overheating can scorch buckwheat or ignite rice.
Test Temperature Before Applying
Always touch the pad to your inner forearm first. It should feel warm, not hot. Direct contact with overheated fabric can cause serious burns, especially for sensitive skin.
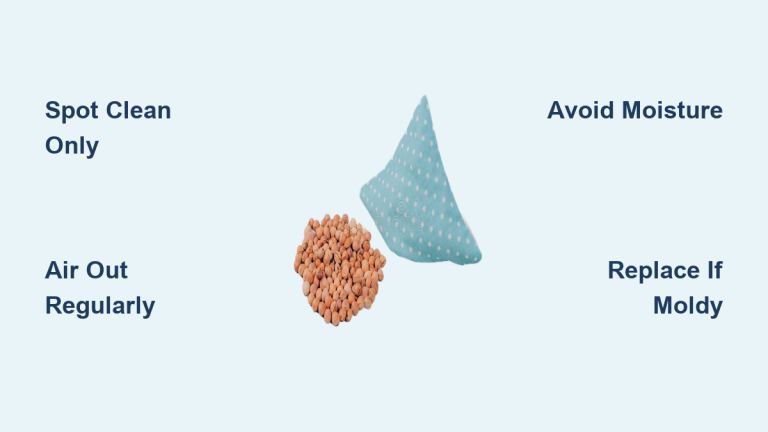
Never Wash the Filled Insert
Moisture ruins buckwheat and rice, leading to mold or clumping. Only the outer cover should be machine-washed. Remove the inner pad first and air-dry the cover.
Apply Your Pad for Maximum Relief

How you use your pad matters as much as how you make it.
Target Tight Scalene Muscles
Drape the warm pad over the back and sides of your neck. Sit upright or lie down with support. Focus on the area where neck meets shoulder, since this targets the scalene muscles, which often contribute to arm numbness and headaches.
Use for 15 to 20 minutes per session. Repeat twice daily for chronic tension.
Alternate Hot and Cold Therapy
For stubborn muscle knots, massage therapists recommend alternating heat and cold:
- Apply heated pad for 20 minutes to relax muscles.
- Switch to frozen pad for 10 minutes to reduce inflammation.
- Repeat cycle once.
Freeze your pad overnight for cold therapy. The buckwheat or rice will stay cold for 15 to 20 minutes.
Use for Stress and Sleep
Heat combined with lavender scent calms the nervous system. Use your pad before bed to unwind. Place it across your shoulders while reading or meditating.
This pad is also effective for menstrual cramps or abdominal discomfort. Just use a larger pad or the towel method.
Prevent Common Problems
Even simple projects can go wrong. Avoid these pitfalls.
Fix Sewing Machine Issues
Buckwheat hulls create thick seams. If your needle keeps breaking:
- Use a heavy-duty needle (size 90 or 100).
- Lower the presser foot pressure if your machine allows.
- Sew slowly and guide fabric gently. Don’t force it.
Stop Filling from Clumping
Clumps mean uneven heat. Prevent this by:
- Shaking hulls gently before sewing each channel.
- Not overstuffing. Leave slight give in the fabric.
- Using channels to lock material in place.
Eliminate Burning Smells
If your pad smells scorched:
- Reduce heating time. Start at 30 seconds.
- Stir filling between uses to redistribute heat.
- Ensure no metal tags or threads are inside.
Replace filling if it consistently burns. This may indicate your microwave runs hot.
Compare DIY vs. Store-Bought Options
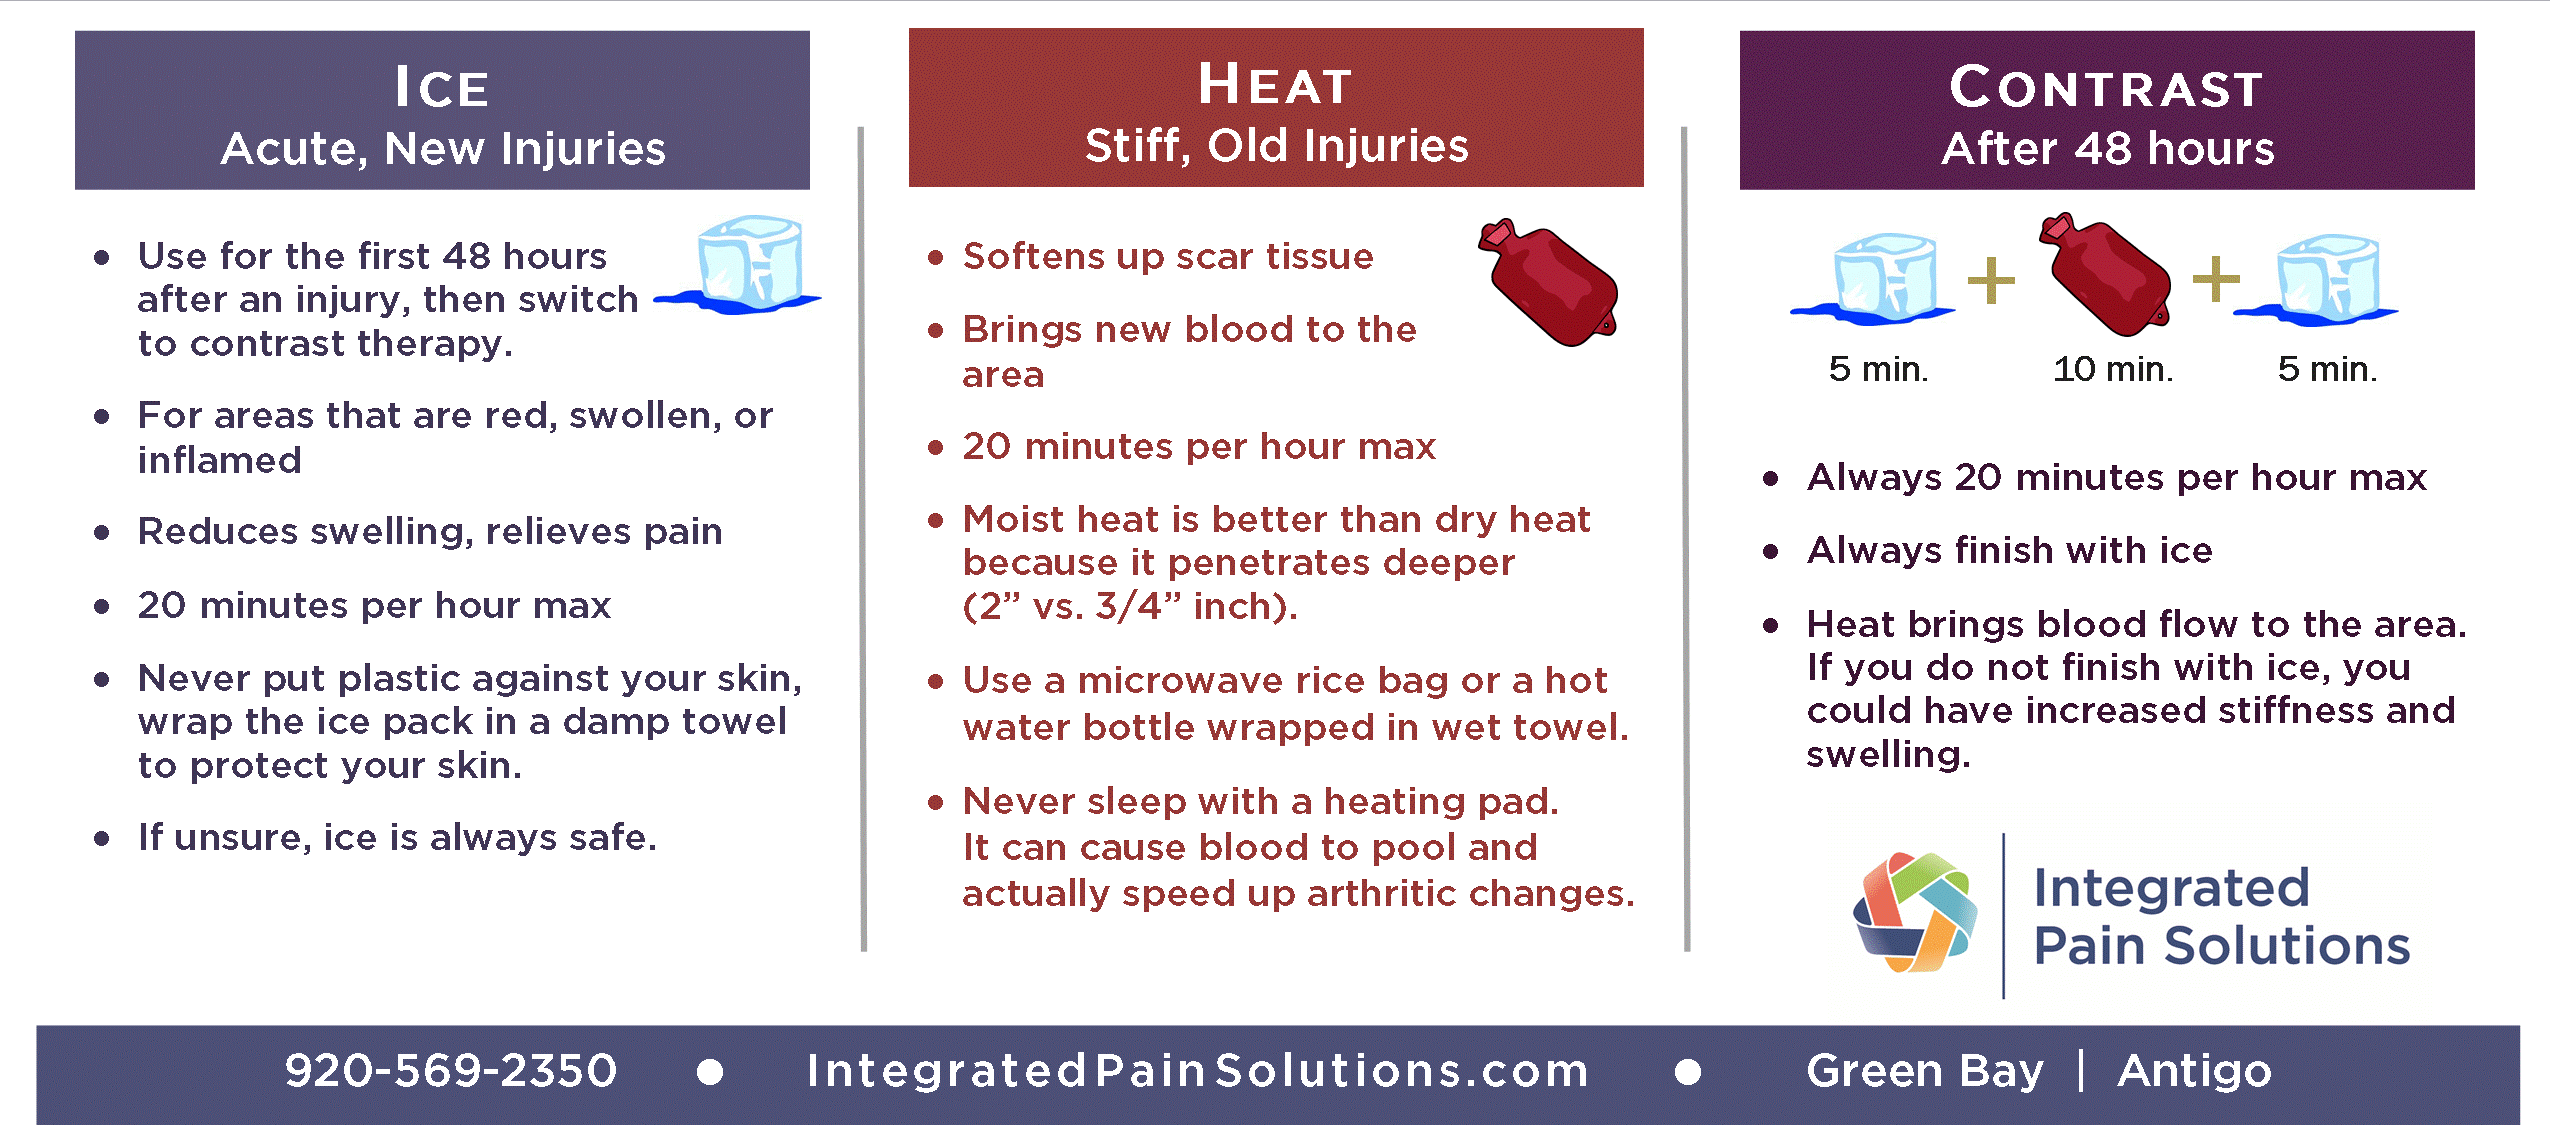
Why make your own? Here’s how DIY pads stack up:
| Feature | DIY Heating Pad | Electric Pad | Commercial Gel Pack |
|---|---|---|---|
| Cost | Under $15 | $20 to $60 | $15 to $50 |
| Heat Quality | Moist, deep-penetrating | Dry, surface-level | Varies |
| Safety | No cords or shock risk | Fire/burn risk | Safe unless cracked |
| Custom Fit | Fully adjustable | Fixed size | Fixed size |
| Portability | Cordless, travel-ready | Needs outlet | Easy to carry |
DIY pads win on safety, customization, and long-term value.
Frequently Asked Questions About Neck Heating Pads
What is the best filling for a homemade neck heating pad?
Buckwheat hulls are the top choice because they hold heat longer than rice and mold to your neck’s shape. Use 22 ounces for an 8″ x 25″ pad. Rice works as a budget-friendly alternative but breaks down faster with repeated heating.
How long should I microwave a neck heating pad?
Start with 30 seconds for buckwheat or rice pads, then add time in 15 to 30 second bursts. Most pads reach ideal warmth in 1.5 to 3 minutes. For towel compresses, heat for exactly 2 minutes. Always test temperature on your inner forearm before applying.
Can I freeze a homemade neck heating pad for cold therapy?
Yes. Place your buckwheat or rice pad in the freezer overnight. The filling will stay cold for 15 to 20 minutes, making it ideal for alternating hot and cold therapy to reduce inflammation and relax tight muscles.
How do I wash a DIY heating pad without ruining the filling?
Only wash the outer cover. Remove the inner filled insert first, since moisture will ruin buckwheat or rice and promote mold growth. Machine-wash the cover and air-dry it completely before reinserting the pillow.
Who should avoid using heat therapy on their neck?
Avoid heat therapy on infants, pregnant individuals (especially on the abdomen without medical consultation), and people with diabetes due to potential reduced heat sensitivity. Also avoid applying heat to areas with acute injury, swelling, or open wounds.
How much does it cost to make a neck heating pad at home?
A professional-grade 8″ x 25″ buckwheat neck wrap costs about $12.25 to make. One 5-pound bag of buckwheat hulls (around $5.75) produces four pads, making it highly economical compared to commercial versions that cost $50 or more.
Key Takeaways for Making Your Own Neck Heating Pad
Making a neck heating pad is simple, affordable, and highly effective. Choose buckwheat hulls for the best heat retention, or use rice for a quick budget option. Always test temperature before applying, and never wash the filled insert to prevent mold. With proper care, your homemade pad can last for years, delivering targeted relief from muscle tension, improved flexibility, and enhanced relaxation. Start today and turn everyday materials into lasting comfort.