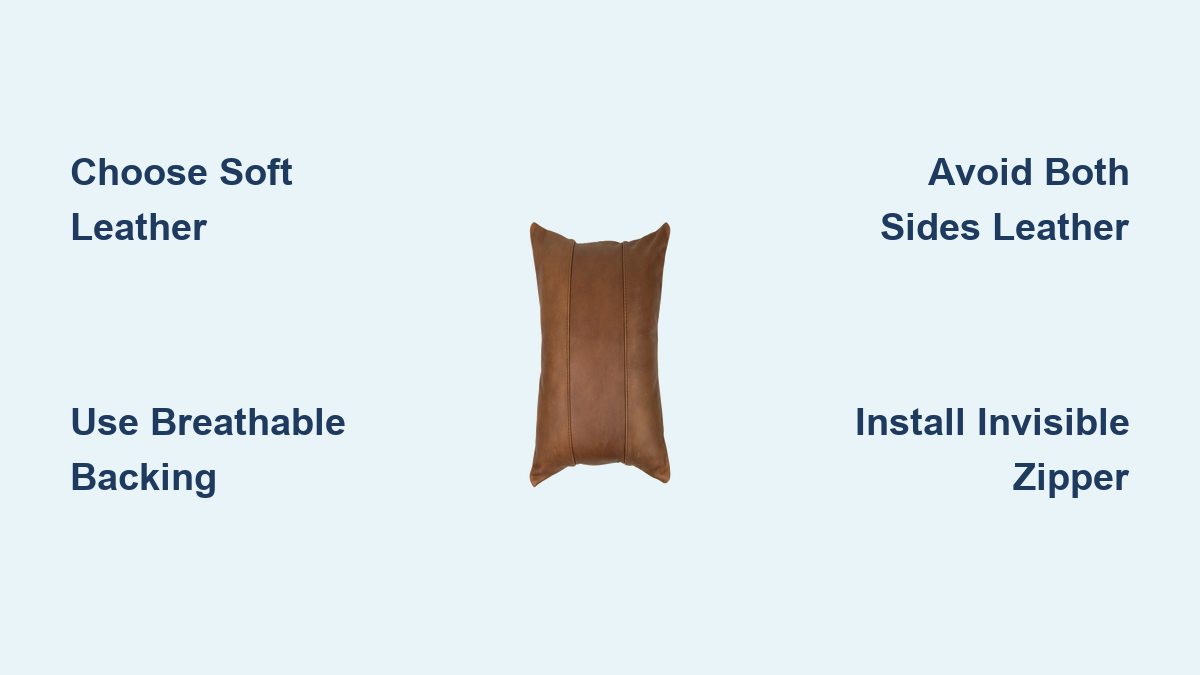
How to Make a Leather Pillow: Quick Steps
A handcrafted leather pillow brings unmatched texture and warmth to any room, blending rugged durability with timeless style. Many people assume leather projects require professional training, but the truth is that a beginner can create stunning results with the right materials and clear instructions. In this guide, you will learn how to make a leather pillow from start to finish, including how to choose materials, cut precise sizes, sew clean seams, and select the perfect closure. You will also discover how to avoid common mistakes like the dreaded “floatie effect” that ruins all-leather designs.
Choose the Right Leather Type

Pick Suitable Genuine or Faux Leather
Selecting the right leather is the foundation of a successful pillow. For genuine leather, upholstery leather or garment leather works best due to its softness and flexibility. Deerskin, elkskin, and pigskin suede are excellent choices if you want a supple, luxurious feel. If you’re upcycling, leather from old furniture like couches is a sustainable option, provided the backing does not unravel when cut.
For a budget-friendly alternative, faux leather mimics the look of real leather without the high cost. However, choose a high-quality version with a stable backing that will not fray. Keep in mind that faux leather can be bulkier at seams, so plan your stitching accordingly.
Avoid Common Material Mistakes
Never use leather that cracks easily or has a loose weave. Avoid thin or heavily coated faux leathers that can peel over time. Also, do not assume all bonded or processed leathers are equal. Test a small piece first for flexibility and durability. If you are combining materials, ensure the weight and drape of the leather and fabric are compatible.
Select the Best Backing Fabric

Use Durable, Breathable Fabrics
One of the most important decisions is what to use for the back of the pillow. Never use leather on both sides, because this creates an airtight seal that traps air and makes the pillow feel like a floatie. It can take up to an hour to deflate when sat on and up to two days to reinflate.
Instead, use a breathable fabric like duck cloth or heavy canvas. These are strong, widely available, and come in many colors. Home decor weight cotton or ticking fabric also works well, especially if you want to blend masculine leather with feminine floral patterns.
Match Fabric Weight to Leather
Using a lightweight cotton backing with thick leather can cause uneven wear and seam stress. Always pair leather with a medium to heavy-weight fabric to maintain balance and durability. If you are aiming for a southwestern or geometric look, consider using fabric scraps from kilim rugs or patterned home textiles as bold backings.
Cut the Right Size for Your Insert
Size for Loose or Tight Fit
The size you cut determines the final look, whether slouchy or plump. Use these guidelines:
• Loose/Slouchy Fit: Cut the leather 2 inches larger than the insert (for example, 16″x30″ for a 14″x28″ insert).
• Tight/Full Fit: Cut the fabric the same size as the insert. With a 1/2″ seam allowance, the finished cover will be slightly smaller, compressing the insert for a firm, full appearance.
• Euro Pillow (26″x26″): Cut 29″x29″ for a relaxed, shlumpy look.
Measure with Precision
Always use a clear acrylic ruler and measuring tape. Mark cutting lines with a fabric pen or chalk. For complex shapes, create kraft paper templates first to prevent costly mistakes on expensive leather.
Gather Essential Tools and Supplies
Must-Have Sewing Equipment
You do not need a fancy machine, but you do need the right setup:
• Leather Needles: Standard needles will bend or break. Use size 90/14 or 100/16 leather needles to pierce through thick material cleanly.
• Teflon or Even-Foot Presser: Leather sticks to regular presser feet. A Teflon foot glides smoothly over the surface.
• Invisible Zipper Foot: Essential for professional-looking closures.
• Rotary Cutter or Sharp Shears: Use Gingher 8-inch shears or a rotary cutter for clean, precise cuts. Never tear or pull leather.
Helpful Accessories
• Freezer or Parchment Paper: Place between the leather and machine bed to prevent sticking.
• Seam Gauge: Ensures consistent 1/2″ seam allowances.
• Leather Glue or Rubber Cement: Temporarily holds pieces in place without pinning.
• Clips or Binder Clips: Safer than pins for holding layers together, which prevents permanent holes in faux leather.
Sew Seams with Confidence
Set the Right Machine Settings
Use the longest stitch length (4.0–5.0 mm). Longer stitches are stronger and less likely to break when the leather flexes. Set your machine to a straight stitch only, and avoid zigzag because leather does not stretch. Place wax paper under the leather if it drags, then remove it after sewing.
Join Pieces Correctly
Follow these steps for clean seams:
- Place right sides together.
- Pin or clip only in the seam allowance and never through the face of faux leather.
- Sew with a 1/2″ seam allowance unless specified otherwise.
- Backstitch at the beginning and end of each seam for extra strength.
Press and Top-Stitch Seams
Never iron leather with high heat, because it can scorch or melt faux leather. Instead, finger press seams open or to one side. Then, top-stitch 1/8″ to 1/4″ from the seam on both sides. This flattens the seam and adds a professional, decorative touch. Use contrasting thread for a bold look.
Reinforce Corners and Edges
Clip and Backstitch for Strength
Leather layers create bulk at corners, leading to lumpy, uneven turns. To fix this, clip corners diagonally, close to the stitch line but not through it. This reduces bulk and allows sharp, clean corners when turned right-side out.
Prevent Tearing with Extra Stitches
Because leather does not stretch, stress concentrates at corners. Backstitch 3–4 times at each corner to reinforce them. This step is especially critical with thick faux leather.
Choose a Closure Method
Install an Invisible Zipper (Pro Finish)
For a clean, removable cover, use an invisible zipper on the bottom seam. Follow these steps:
- Unzip the zipper halfway.
- Align the right side of the zipper tape with the right side of the fabric edge.
- Use an invisible zipper foot and roll the zipper teeth into the foot’s groove.
- Sew from top to bottom, keeping the needle centered.
- Attach the second side by measuring from the top of the first zipper tape to ensure alignment.
- Sew a bar tack at the bottom to lock the zipper in place.
- With the zipper half-open, sew the remaining three sides.
This method allows you to remove and wash the cover or swap inserts seasonally.
Use Hand-Stitched Closure (Rustic Look)
For a permanent, lived-in style, sew all sides except a 4–6″ gap in the middle of one edge. Turn right-side out, insert the pillow form, and hand-stitch the opening closed with a whip stitch or ladder stitch. Since this side faces down, imperfections will not show. Avoid machine top-stitching the final gap, because thick leather can jam the machine.
Create Unique Designs
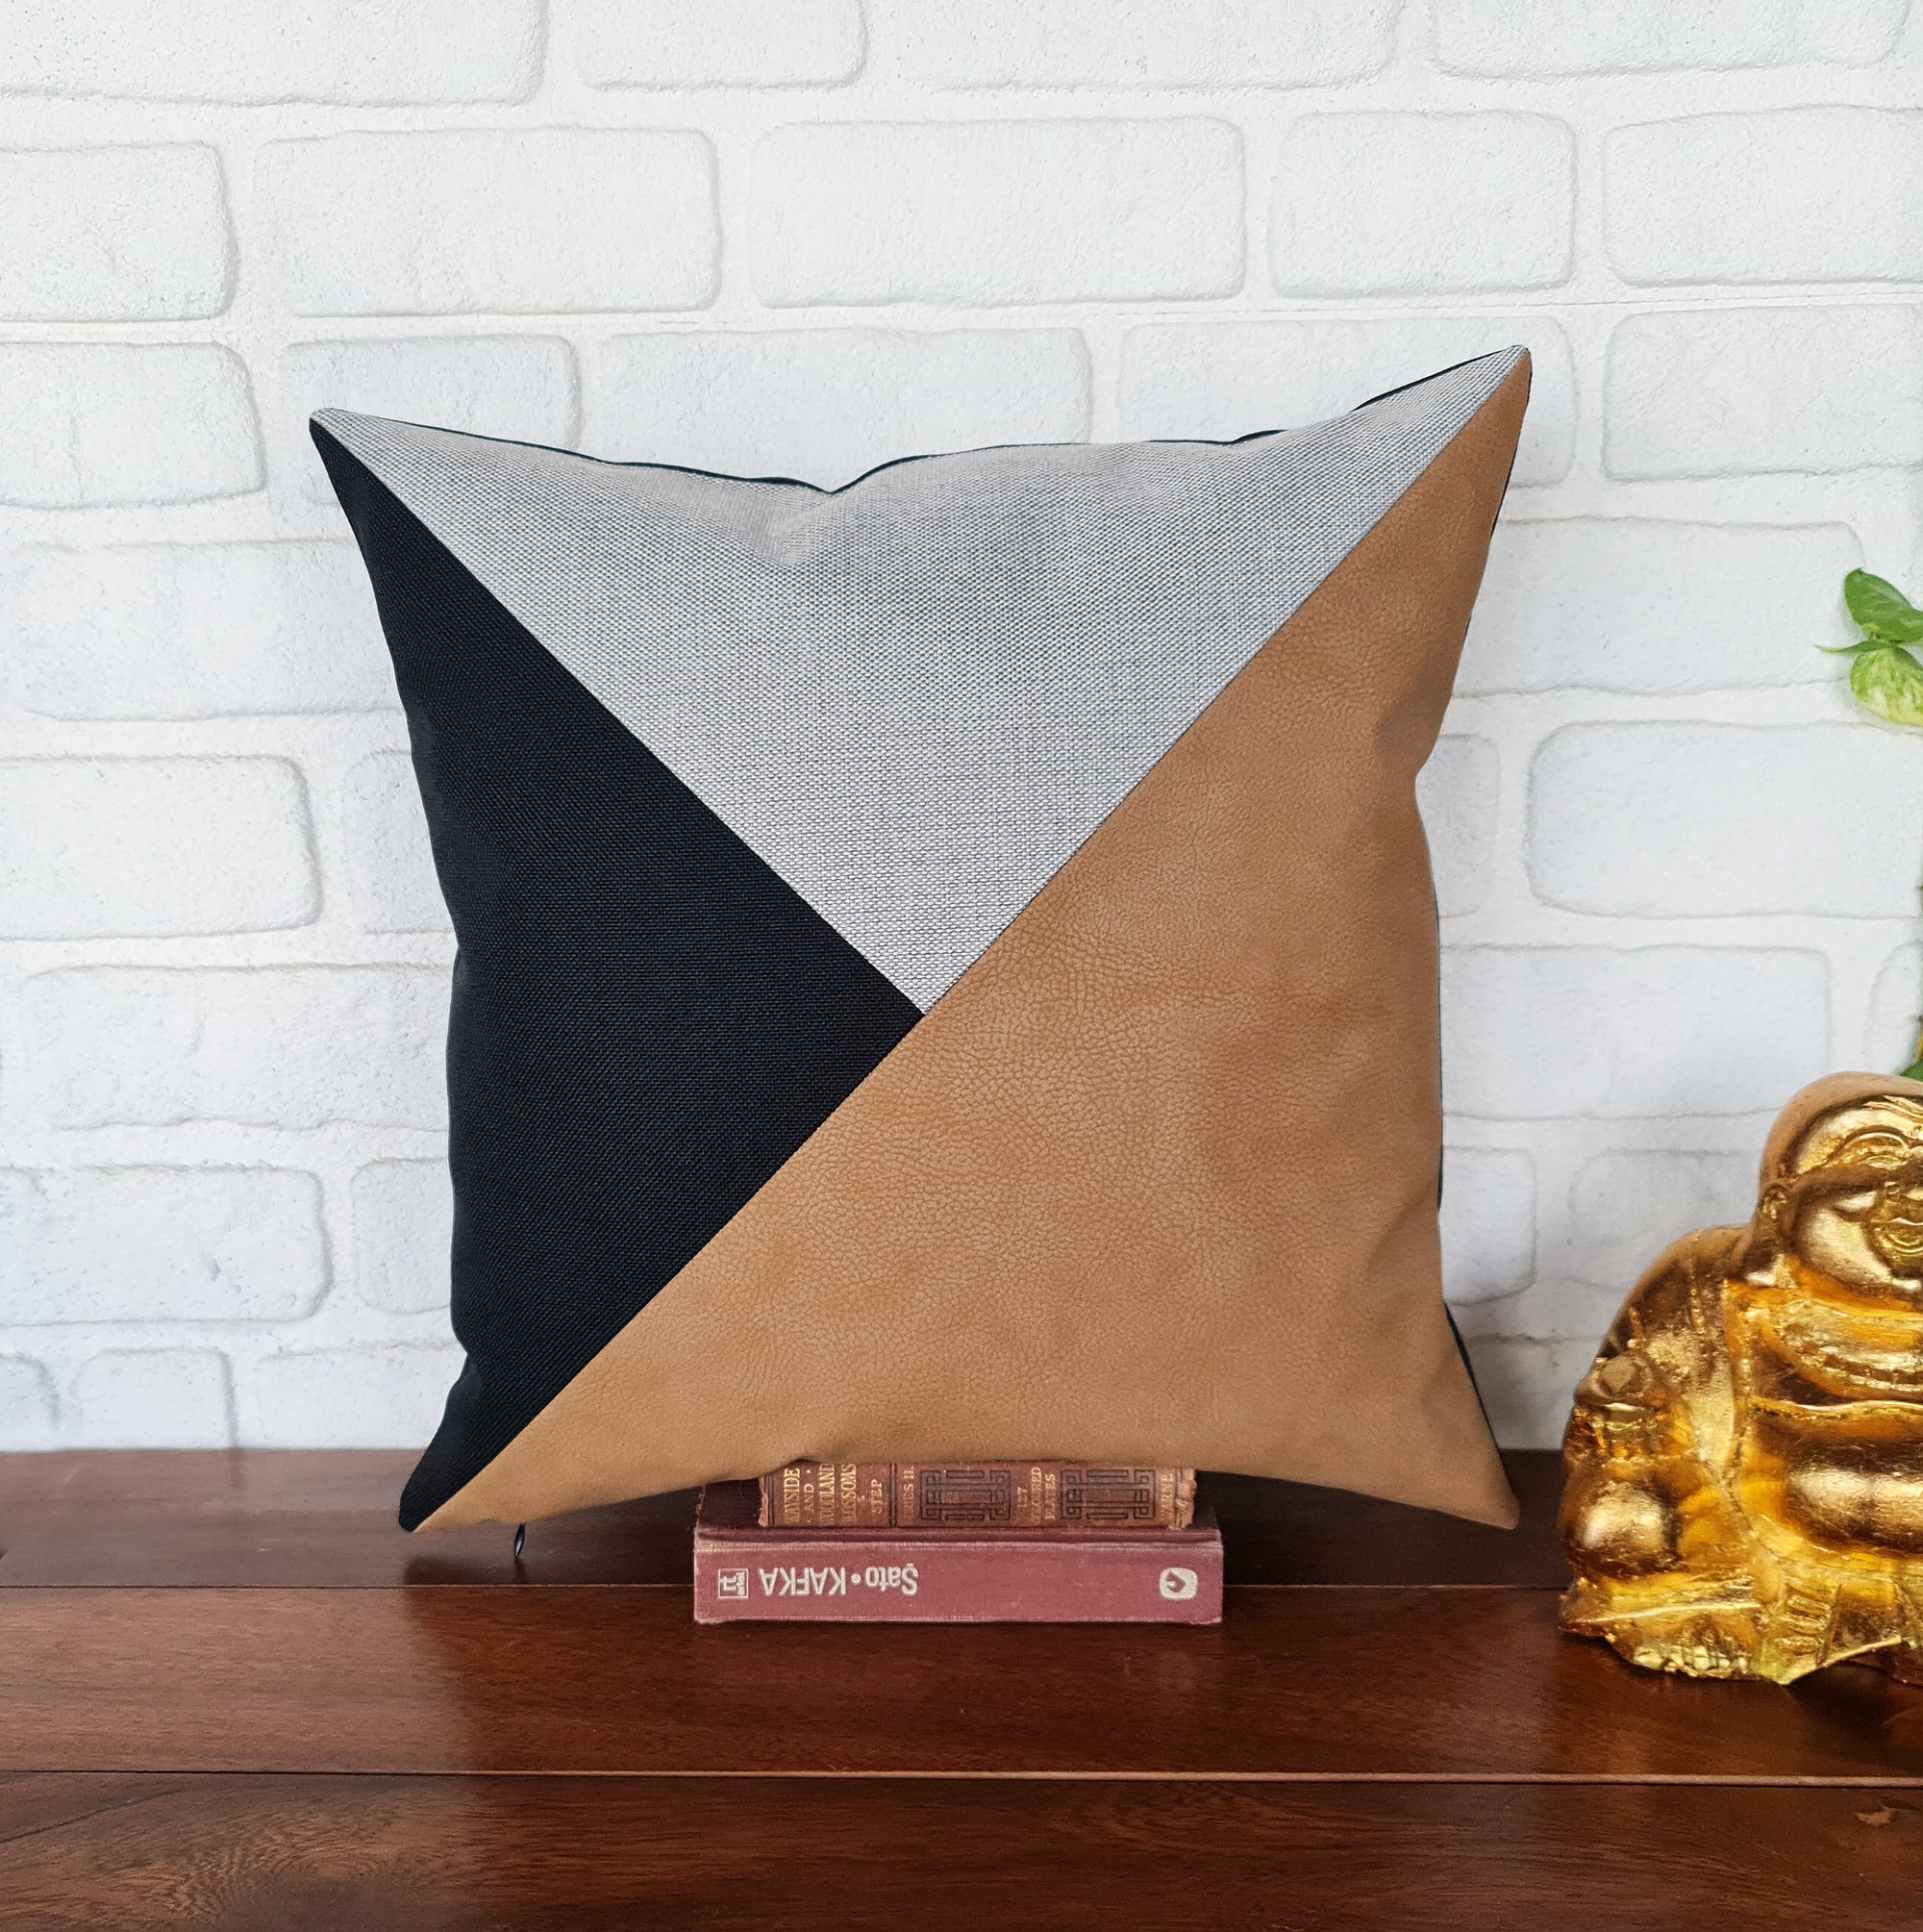
Try Geometric or Southwestern Patterns
Use kraft paper to sketch shapes like diamonds, triangles, or zigzags. Cut into templates and trace onto leather. Then follow this process:
• Cut contrasting leather or fabric pieces.
• Use leather glue to position them on a base leather square.
• Top-stitch around edges with a 1/8″ seam for durability.
• Combine with canvas backing for breathability.
This method turns scraps into statement art pillows.
Make a Diagonal or Striped Design
Diagonal Cut:
- Stack 22″x22″ pieces of leather and fabric, right sides together.
- Measure 5″ from the bottom on one side and 5″ from the top on the opposite corner.
- Cut diagonally across.
- You will get two mirrored pillow fronts, perfect for symmetry.
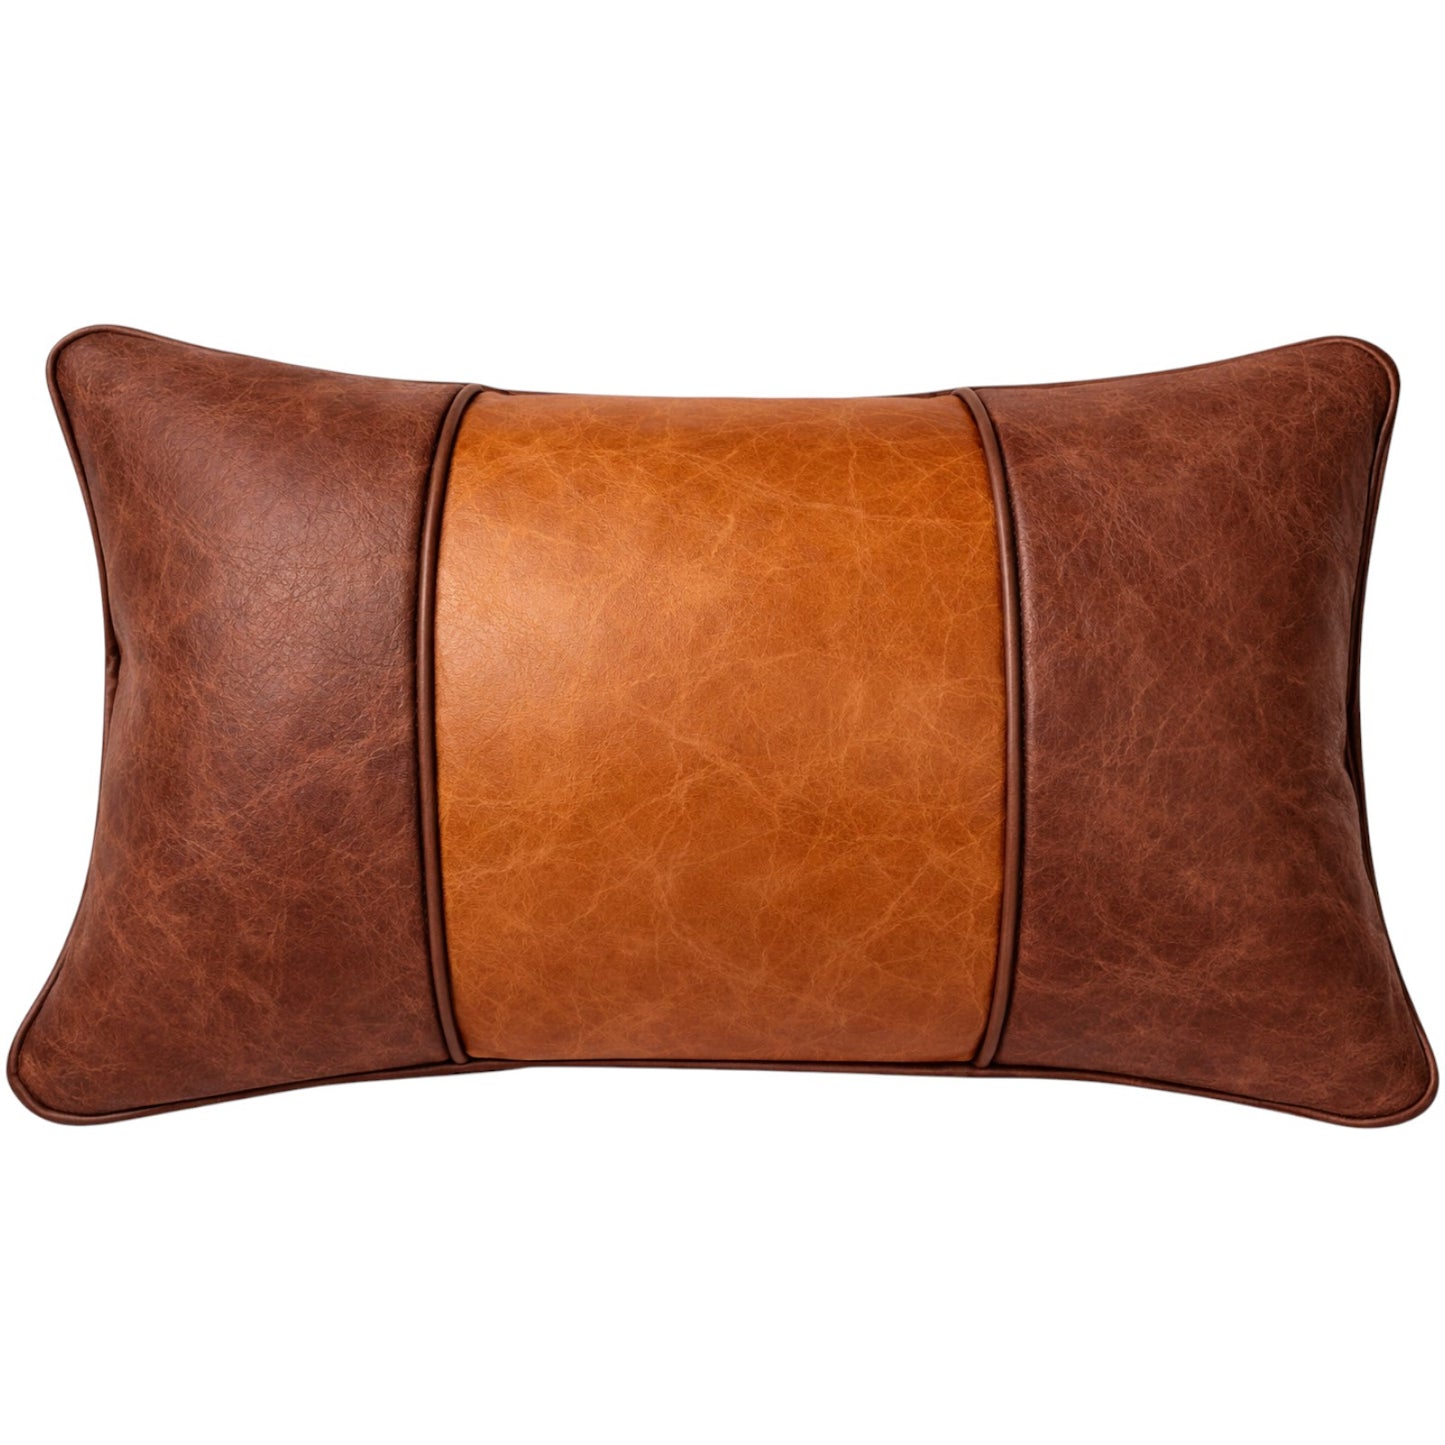
Center Stripe:
- Cut two 7″x20″ fabric strips and one 14″x20″ leather center.
- Sew fabric to each side of the leather.
- Top-stitch for a clean, tailored look.
Avoid Common Pitfalls
Prevent Holes and Sticking
Never pin through the face of faux leather. Use clips or tape instead. If the machine sticks, place parchment paper under the leather or switch to a Teflon foot.
Fix Air Trapping
Using leather on both sides traps air. Always use fabric on the back to allow airflow and prevent the floatie effect.
Ensure Zipper Alignment
Misaligned zippers ruin the look. After sewing the first side, measure from the top of the zipper tape to position the second side exactly.
Final Touches and Care
Insert and Style the Pillow
Use a polyester fiber insert or down alternative. For a tight fit, gently tuck the insert corners into the cover. Fluff and shape by hand.
Clean and Store Properly
Spot clean only with a damp cloth and mild soap. Avoid soaking or machine washing. For long-term storage, remove the insert and store the cover flat or rolled.
Frequently Asked Questions About Leather Pillows
What type of leather works best for pillows?
Soft, flexible leathers like upholstery leather, garment leather, deerskin, and pigskin suede work best. Avoid leather that cracks easily or has a loose weave.
Can I use faux leather instead of real leather?
Yes. High-quality faux leather with a stable backing is a budget-friendly option. Just remember it tends to be bulkier at seams than genuine leather.
Why should I avoid using leather on both sides of the pillow?
Leather on both sides creates an airtight seal that traps air. This makes the pillow feel like a floatie, taking up to an hour to deflate when sat on and up to two days to reinflate.
What fabric should I use for the back of a leather pillow?
Breathable, durable fabrics like duck cloth, heavy canvas, home decor cotton, or ticking fabric work best. These prevent air trapping and add visual contrast.
How do I keep faux leather from getting pin holes?
Never pin through the visible face of faux leather. Use clips, binder clips, or tape within the seam allowance area instead.
Can I wash a leather pillow cover?
Spot clean only with a damp cloth and mild soap. Machine washing is not recommended for leather or faux leather covers.
Key Takeaways for Crafting Your Own Leather Pillow
Making a leather pillow is a rewarding project that combines craftsmanship with personal style. Focus on three essentials: choose soft, flexible leather paired with a breathable fabric backing, use proper tools like leather needles and a Teflon foot, and avoid the floatie effect by never using leather on both sides. Whether you prefer a sleek zippered cover or a rustic hand-stitched finish, your first step is gathering quality materials and setting up your sewing machine with the correct needle and longest stitch length. Start your project this weekend and enjoy a custom decorative piece that will last for years.