How to Make a Loop Yarn Pillow
Imagine sinking into a couch with a pillow so soft and squishy it feels like a warm hug. Loop yarn pillows deliver that exact cozy factor, and you can make one in just a few hours without any knitting needles or crochet hooks. This beginner-friendly project transforms specialized loop yarn into textured home decor that looks like it came from a high-end boutique.
In this guide, you’ll discover two proven methods for making a loop yarn pillow: finger knitting for a soft, washable cover, and loop gluing for bold decorative texture. You’ll learn exactly which yarn to buy, how many loops to cast on, common mistakes to avoid, and clever tricks to customize your finished pillow.
Choose Your Method: Finger Knitting or Loop Gluing
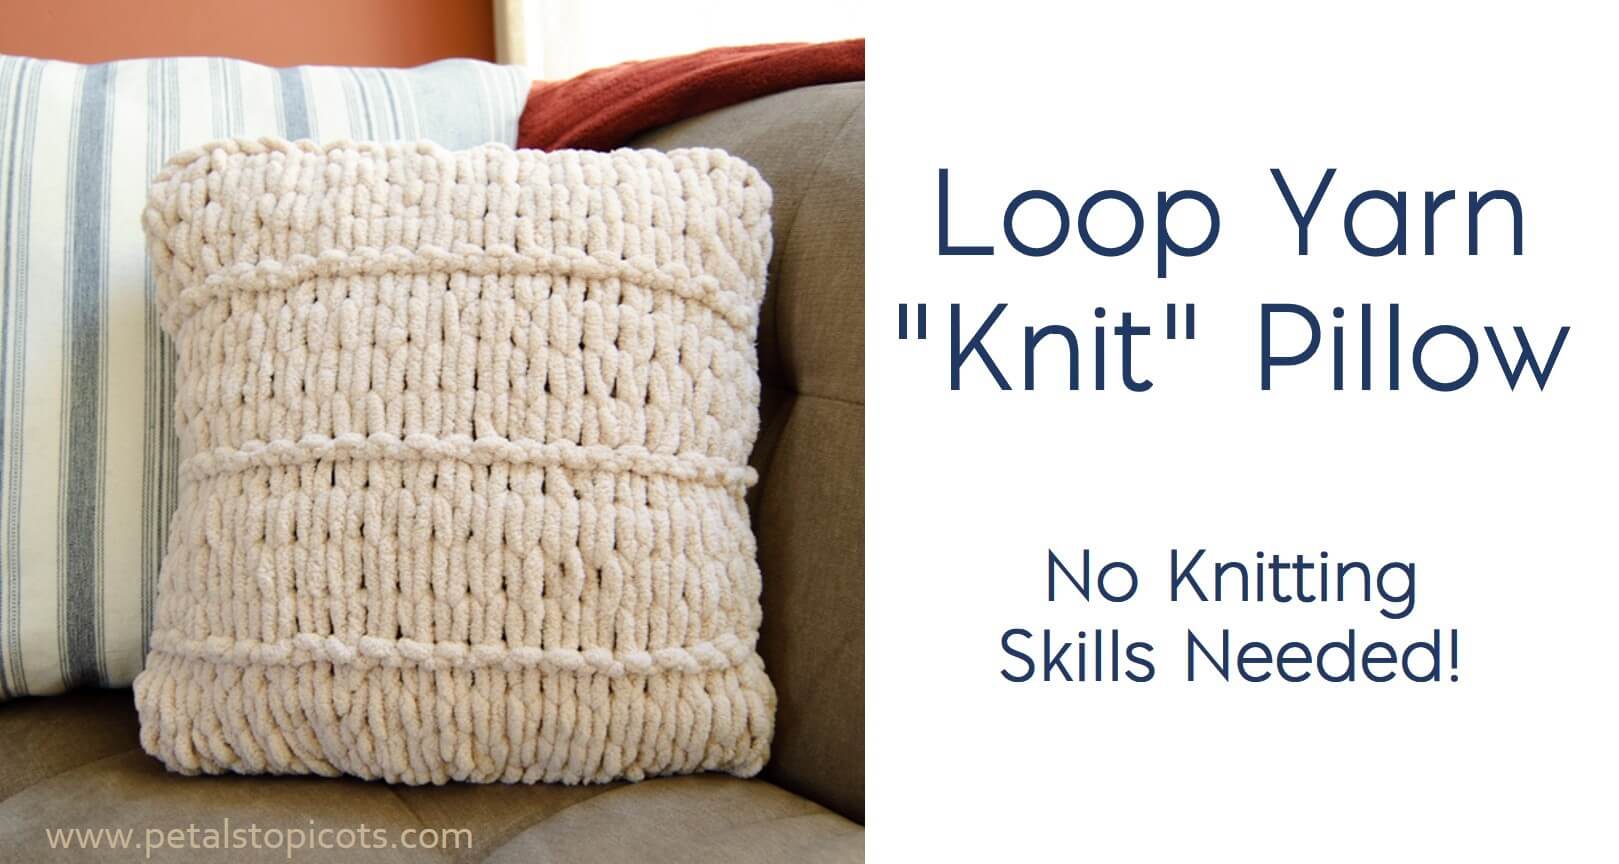
Before gathering supplies, decide which technique matches your goals. Both methods produce beautiful pillows, but they differ in durability, texture, and effort.
Finger Knitting: Soft, Stretchy, and Washable
This method uses pre-looped yarn that you knit using only your fingers. The result is a flexible fabric cover that stretches, reverses, and survives the washing machine. It’s ideal for throw pillows in living rooms, kids’ spaces, or anywhere you want plush comfort.
Loop Gluing: Decorative and Textured
This technique wraps standard yarn around a metal needle, then glues the loops onto a fabric pillow cover. It creates a static, fluffy texture perfect for accent pieces or wall art. Gluing takes less time but produces a pillow best suited for light use.
Choose finger knitting for durability and softness. Pick gluing when you want artistic flair with minimal technique.
Gather the Right Materials
Select the Best Loop Yarn
Your yarn choice determines how much you need and how soft the pillow feels. Two brands dominate the market for this project.
Bernat Alize Blanket EZ comes in large skeins and delivers extreme softness with excellent washability. A 20-inch pillow requires approximately 3 balls. This brand holds up well over time, making it a favorite for high-use items.
Lion Brand Off The Hook costs less per skein but comes in smaller balls (3.5 oz each). A 14×14 inch pillow needs 2 skeins. It feels slightly sturdier than Bernat while remaining very soft, and it offers a wide color range including variegated shades like Seafoam and Beach Sand.
Avoid discontinued lines like Off The Hook Glitz unless you confirm availability. Stick to current solids or variegated colors for the best selection.
Tools for Finger Knitting
You need surprisingly few supplies for finger knitting:
- Your fingers (no hooks or needles required)
- A flat surface like a table or a picture book on your lap
- Scissors for cutting tails
- A tapestry needle for weaving in ends
- A stitch marker such as a paper clip or safety pin
- Sewing needle and thread for closing seams
Tools for Loop Gluing
The gluing method requires:
- A metal knitting needle approximately 14 inches long
- Fabric-safe glue (hot glue or liquid adhesive)
- A pre-made pillow cover to serve as your base
Metal needles work far better than wood dowels because yarn slides off cleanly. Wood can trap fibers and force you to cut loops open.
Finger Knit Your Pillow Cover Step by Step
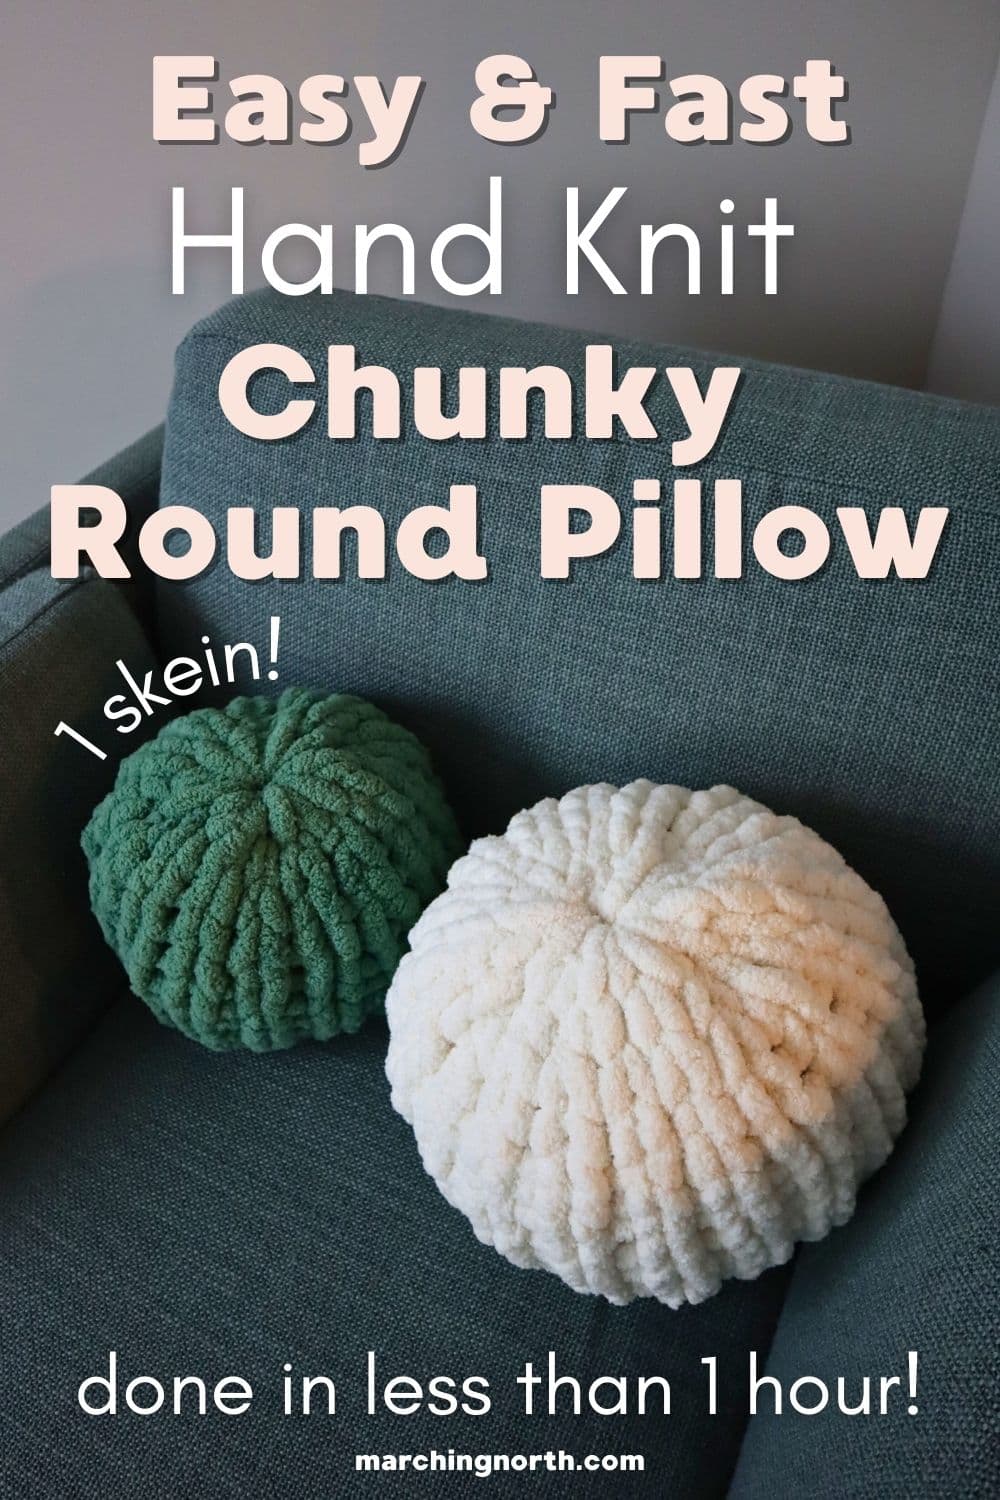
Create the Foundation Row
Start by cutting the last loop on your yarn strand to create a tail. Then count out loops equal to your pillow width. For a 14-inch pillow, count 22 loops. For an 18-inch pillow, count 23 loops. Place a stitch marker after the final loop to mark where each row begins.
Always work on a flat surface. Twisting loops is the most common beginner mistake, and it happens when yarn drags against soft furniture or clothing.
Knit the Body of the Pillow
The texture comes from alternating knit and purl stitches. A knit stitch pulls the next loop from back to front through the current loop. A purl stitch pulls the next loop from front to back.
Try this recommended pattern for a classic textured look:
- Rows 1 through 4: Knit every loop
- Row 5: Purl every loop (this creates a visible ridge)
- Rows 6 through 8: Knit every loop
- Row 9: Purl every loop
- Repeat this sequence until your piece matches your pillow size
Purl rows appear as horizontal bumps on the front of your work. This subtle texture mimics expensive knit throws.
Bind Off Securely
Finishing your piece requires a simple bind-off sequence. Pull the second loop through the first, then pull the next loop through the new loop. Repeat until only one loop remains. Cut the yarn, leaving a 6-inch tail, and pull it through the final loop to secure.
Sew and Assemble the Pillow Cover
Option 1: Simple Sewn Cover
Make two identical panels for the front and back. Place them with wrong sides together to hide seams inside. Sew three sides using a needle and thread or a sewing machine. Turn the cover right-side out, insert your pillow form, and hand-stitch the final side closed.
Option 2: Envelope Closure for Easy Washing
An envelope closure lets you remove the cover for laundering. Sew a piece of fleece or cotton to the back of one knitted panel along three sides, leaving the top open. Fold the knit fabric over the fleece to create an overlap, then stitch the sides while keeping the envelope opening clear.
Slide your pillow form in and tuck the flap closed. This method also creates a hidden pocket between the layers, perfect for storing a small book in a reading nook.
Glue Yarn Loops Without Knitting
Create Uniform Loops
Tie the yarn end to the tip of your metal needle. Wrap the yarn along nearly the full length of the needle, about 14 inches. Use your thumb to guide the yarn and avoid wrapping too tightly. Cut the yarn, leaving a long tail for handling.
Chunky yarn works best because it slides off the needle more easily after gluing.
Apply Loops Using the Roll Technique
The roll method gives you the cleanest results. Place your wrapped needle on the pillow cover, then roll it 180 degrees to expose the base of the loops. Run a line of fabric-safe glue along this exposed base. Roll the needle back 180 degrees to press the glued side firmly onto the fabric. Hold for 10 seconds, then gently slide the needle out.
This technique ensures full glue contact without shifting the loops out of position.
Customize the Texture

Leave Loops Intact for a Clean Look
Uncut loops create a neat, modern appearance that works well for geometric patterns and color blocking. This style suits minimalist or contemporary decor.
Cut Loops for Fluffy Drama
Cutting the tops of loops produces a shaggy, dynamic texture. Cut about 1 inch from the left side of each loop to make yarn lean right. Cut 1 inch from the right side to make yarn lean left. Alternating these cuts creates visual rhythm and movement.
Combine cut and uncut sections for a striking half-and-half effect that adds artistic interest.
Choose the Right Pillow Form

Match Size to Style
Standard sizes include 14×14 inches for cozy throws, 18×18 inches for standard decorative pillows, and 20×20 inches for plush statement pieces.
For the squishiest result, use a pillow form slightly larger than your cover. This creates tension that makes the pillow feel full and supportive.
Revive Old Pillow Forms
Wrap tired or flat forms in quilt batting before inserting them. This simple trick adds volume and softness without buying new inserts.
Fix Common Problems Quickly
Loops Keep Twisting
You’re probably working on a soft surface like a couch cushion. Place a flat board or picture book on your lap to keep yarn from catching and twisting.
You Ran Out of Yarn Mid-Project
Cut the last loop of your old ball to make a tail. Tie it to the tail of your new ball. Continue knitting as normal and weave in both tails when you finish.
Glue Is Not Holding
Standard hot glue cracks when fabric bends. Always use fabric-safe adhesive for pillows that will see any handling. Reserve regular hot glue for purely decorative pieces.
Stitches Look Uneven
Check the back of your work after each row. If a loop is missing, pull back just that row and re-knit it. Catching errors early prevents larger problems later.
Care for Your Finished Pillow
Washing Finger-Knit Covers
Both Bernat Alize and Lion Brand Off The Hook are machine washable. Use cold water on a gentle cycle, then tumble dry low or lay flat to dry. These covers hold up well to regular use, including in homes with children.
Caring for Glued Pillows
Glued loops are less durable under stress. Spot clean only and avoid folding or squishing. Glue bonds weaken over time, so keep these pillows in low-traffic areas.
Time and Cost Breakdown
How Long Does Each Method Take?
Finger knitting typically requires 2 to 3 hours for a complete pillow. Loop gluing takes 1 to 2 hours depending on how much of the cover you texture.
What Will This Project Cost?
Two skeins of Lion Brand Off The Hook run approximately $12.00. A tapestry needle adds about $4.00. If you need a pillow form, budget around $10.00. Total project cost ranges from $12 to $18 without the form.
Frequently Asked Questions About Loop Yarn Pillows
How many skeins of loop yarn do I need for a pillow?
For Lion Brand Off The Hook, plan on 2 skeins for a 14×14 inch pillow. For Bernat Alize Blanket EZ, you’ll need 3 balls for a 20-inch pillow because the projects and ball sizes differ between brands.
Can you finger knit a pillow without any experience?
Yes. Finger knitting with loop yarn requires no prior skills. The loops are pre-formed, so you’re simply pulling one loop through another using your fingers. Most beginners complete their first pillow in a single afternoon.
What is the best yarn for a loop yarn pillow?
Bernat Alize Blanket EZ and Lion Brand Off The Hook are the top choices. Bernat offers larger skeins and extreme softness. Lion Brand costs less per skein and provides a sturdy yet soft texture with more color options.
How do you keep loop yarn from twisting while knitting?
Always work on a flat, hard surface such as a table or a picture book on your lap. Soft surfaces like couches cause yarn to drag and loops to twist. Flatten your work at the end of every row to catch errors early.
Are loop yarn pillows machine washable?
Finger-knitted covers made from Bernat Alize or Lion Brand Off The Hook are machine washable on cold, gentle cycles. Glued pillows are not machine washable and should only be spot cleaned.
What size pillow form should I use?
Choose a form slightly larger than your finished cover. For a 14×14 inch cover, use a 16×16 inch form. This extra size creates the tension that makes the pillow feel full and squishy.
Key Takeaways for Crafting Your Loop Yarn Pillow
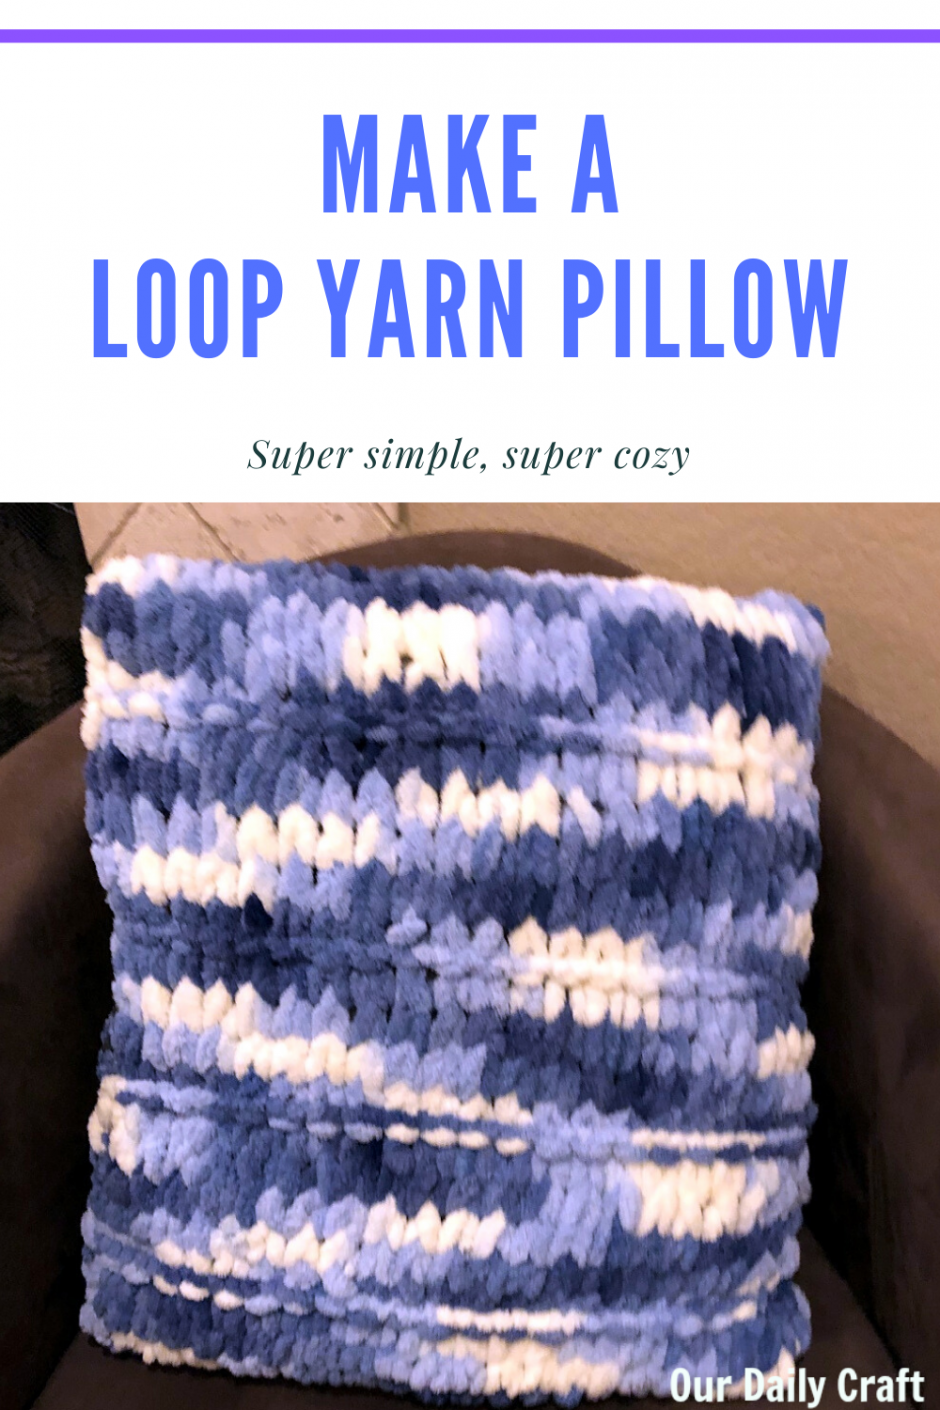
Making a loop yarn pillow combines accessibility with impressive results. The project requires minimal tools, no prior experience, and just a few hours of your time. Finger knitting produces a durable, washable cover that rivals expensive knit throws, while loop gluing offers artistic texture for decorative pieces.
Focus on these success factors: work on a flat surface to prevent twisting, choose fabric-safe glue for any glued elements, size your pillow form slightly larger than your cover, and weave in all yarn tails for a polished finish. With loop yarn, you’re not just making a pillow; you’re creating handmade comfort that belongs in every room of your home.