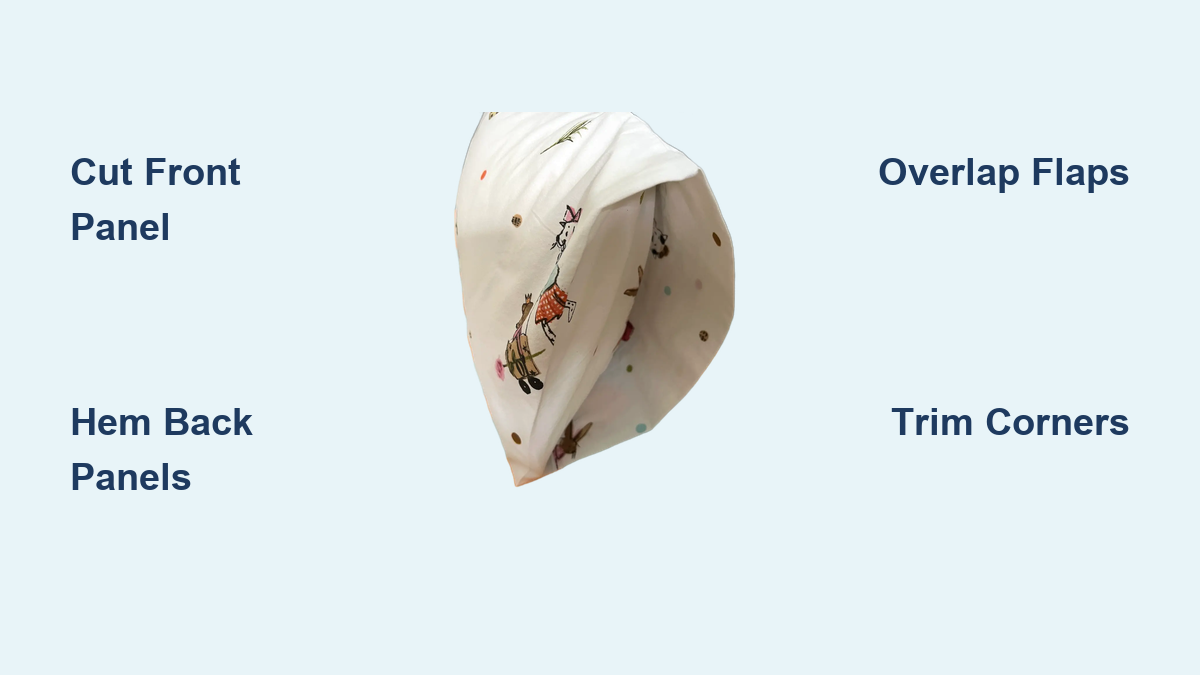
How to Sew an Envelope Pillow Case: Quick Steps
You love the cozy, polished look of throw pillows on your couch or bed, but keeping them clean and fresh can be a hassle. What if you could make custom pillow covers that are easy to remove, simple to sew, and completely zip-free? Enter the envelope pillow case, a beginner-friendly project that delivers professional results in under 30 minutes.
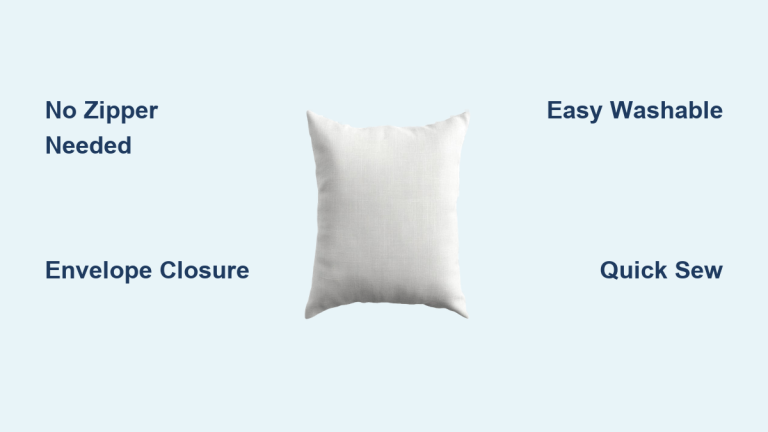
An envelope pillow cover uses overlapping back panels to create a hidden closure, eliminating the need for zippers or buttons. Just slide your pillow insert in through the back flap, and you are done. Whether you are refreshing your living room decor, protecting against pet accidents, or swapping seasonal styles, this no-fuss design is perfect for quilters, DIYers, and first-time sewers alike.
In this guide, you will learn exactly how to sew an envelope pillow case, from calculating fabric sizes and hemming back flaps to assembling the cover with crisp corners and a secure fit. We will cover two main methods (three-piece and one-piece), troubleshoot common issues, and share pro tips for a tailored finish every time.
Choose Your Sewing Method
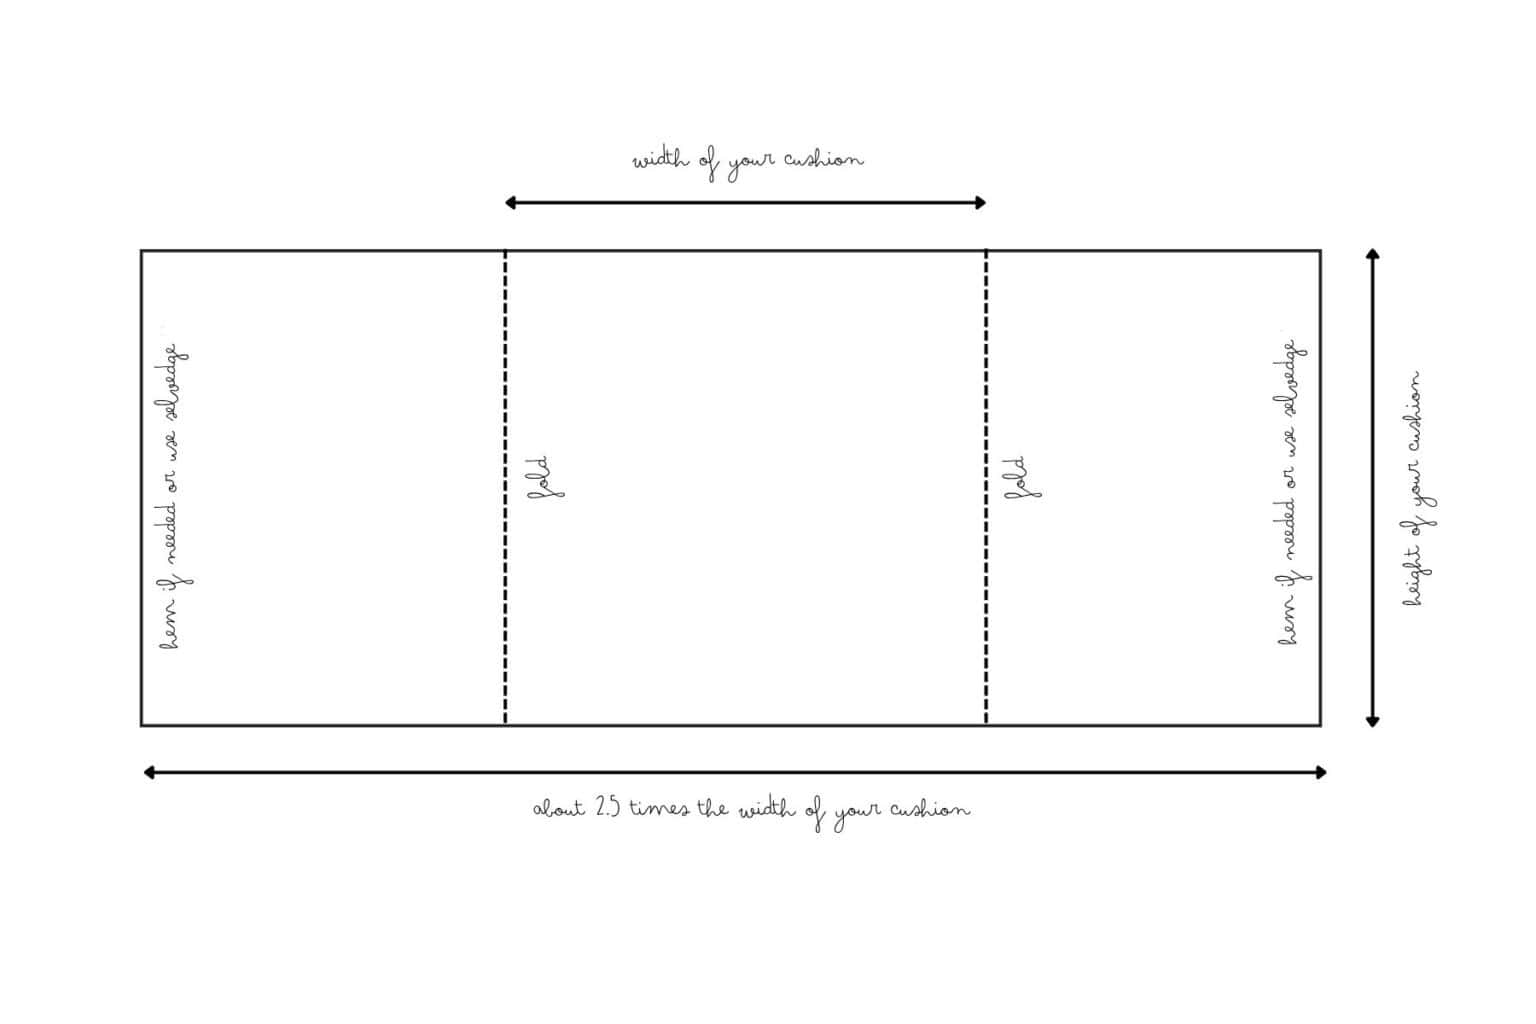
There are two primary ways to construct an envelope pillow cover: the three-piece method (most common) and the one-piece wrap method (ideal for solids or wide fabric). Your choice depends on fabric availability, design preference, and pillow shape.
Three-Piece Construction (Standard)
This method uses one front panel and two separate back panels that overlap. It is the go-to for beginners and works perfectly with patterned fabrics.
Pros:
– Easy to cut and assemble
– Hides seams neatly
– Allows for contrasting back panels
– Ideal for directional prints
Cons:
– Requires precise overlap measurement
– Slight bulk at center back
One-Piece Continuous Wrap
A single long strip wraps around the pillow, with hemmed ends overlapping at the back.
Pros:
– Minimal cutting
– Seamless front and back (only side seams)
– Great for solid colors or wide upholstery fabric
Cons:
– Uses more fabric
– Less ideal for matching patterns
– Side seams may show
Gather Materials and Tools
Before cutting, ensure you have the right supplies for a smooth, frustration-free process.
Essential Sewing Tools
- Sewing machine with straight stitch capability
- Iron and ironing board (pressing is critical for sharp edges)
- Fabric scissors or rotary cutter
- Tape measure or ruler
- Straight pins or fabric clips
- Point turner or chopstick (for shaping corners)
- Fabric marker or chalk
- Fresh sewing needle (size 80/12 for medium-weight cotton)
Recommended Fabrics
Choose structured, medium-weight fabrics for the best fit and durability:
✅ Best Choices:
– Quilting cotton
– Linen or linen blend
– Cotton twill
– Canvas
– Corduroy
– Medium upholstery fabric
❌ Avoid:
– Very thin or stretchy fabrics (unless interfaced)
– Unwashed cotton (may shrink later)
Pro Tip: Pre-wash and iron fabric to prevent post-sewing shrinkage.
Pillow Insert and Thread
- Use a down or down-alternative insert slightly larger than your cover for a plump look (e.g., 18″ insert for a 17″ cover).
- Match thread color to fabric or use a contrasting shade for decorative topstitching.
Calculate Fabric Dimensions

Accurate cutting ensures a snug, professional fit. Use these formulas based on your pillow insert size.
Front Panel Size
Formula:
Pillow width + 1" by Pillow height + 1"
This adds ½” seam allowance on all sides.
| Insert Size | Front Cut Size |
|---|---|
| 12″ x 12″ | 13″ x 13″ |
| 14″ x 14″ | 15″ x 15″ |
| 16″ x 16″ | 17″ x 17″ |
| 18″ x 18″ | 19″ x 19″ |
| 20″ x 20″ | 21″ x 21″ |
Snug Fit Option: Cut front panel to exact insert size (e.g., 16″ x 16″) if using non-stretch fabric for a tighter, puffier look.
Back Panel Sizes (Two-Piece Method)
Each back panel should be the same height as the front, but width depends on overlap.
Standard Formula:
(Pillow width ÷ 2) + 3" per back panel
| Insert Size | Back Panel Size (Each) |
|---|---|
| 12″ x 12″ | 13″ x 9″ |
| 14″ x 14″ | 15″ x 10″ |
| 16″ x 16″ | 17″ x 11″ |
| 18″ x 18″ | 19″ x 12″ |
| 20″ x 20″ | 21″ x 15″ |
Why 3″ extra? Ensures a 3–5″ overlap for easy insertion and secure closure.
One-Piece Wrap Dimensions
Height: Pillow height + 1" (for seam allowance)
Length: (Pillow width × 2) + 10" (for overlap and wrap)
| Insert Size | Cut Size (H x L) |
|---|---|
| 14″ x 14″ | 15″ x 38″ |
| 16″ x 16″ | 17″ x 42″ |
| 18″ x 18″ | 19″ x 46″ |
Note: The 10″ overlap provides ample coverage and prevents gapping.
Cut Fabric Accurately
Precision starts here. Follow these steps:
- Iron fabric flat to remove wrinkles.
- Measure and mark with fabric chalk or a water-soluble pen.
- Cut with sharp scissors or rotary cutter on a cutting mat.
- Align grain lines if using directional prints (e.g., stripes, florals).
- Label pieces (Front, Back Left, Back Right) to avoid confusion.
Pro Tip: Use pinking shears to cut edges and reduce fraying, especially with cotton or linen.
Hem the Back Panels
Only the back panels get hems. The front remains raw-edged for assembly.
Fold and Press Hems
- Place one back panel wrong side up.
- Fold one long edge (the future overlap edge) ¼” toward wrong side. Press.
- Fold again ¼” to encase the raw edge (double-fold hem). Press.
- Repeat on the second back panel.
Alternative: Fold ½” once for a wider hem, then press and stitch close to the inner fold.
Stitch the Hems
- Use a straight stitch, length 2.5–3.0mm.
- Sew along the inner folded edge.
- Backstitch at start and end.
- Optional: Add a second parallel line of stitching ⅛” out for a professional topstitched look.
Visual Cue: The hemmed edge should look clean and straight, with no raw fabric visible.
Layer and Pin the Panels
Now assemble the three layers with correct orientation.
Step-by-Step Layering
- Place Front Panel on table, right side up.
- Place First Back Panel on top, right side down, aligning raw edges on one side. The hemmed edge faces inward.
- Place Second Back Panel on the opposite side, right side down, overlapping the first back panel by 3–5 inches. Hemmed edge also faces inward.
- Check Alignment: All raw edges should match. Corners should stack neatly.
- Pin Around All Sides: Use pins or clips through all three layers. Remove as you sew.
Key Point: The two back panels overlap in the center. Their hemmed edges face each other but do not need to touch.
Sew the Perimeter Seam
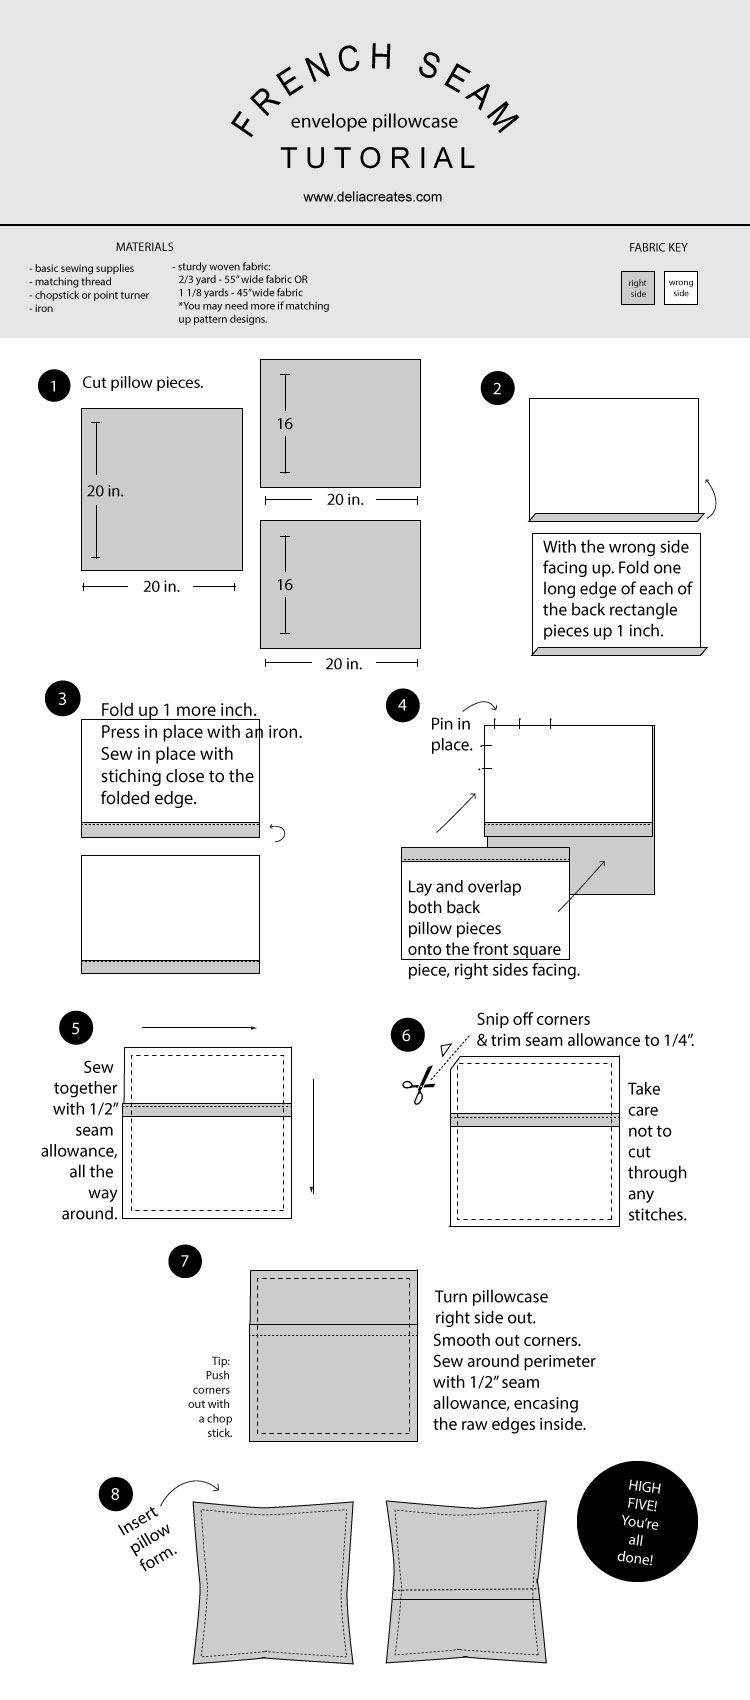
This seam encloses the entire pillow with a ½” allowance.
Sewing Instructions
- Set seam allowance to ½”.
- Start sewing on one side, backstitching at the beginning.
- Sew continuously around all four sides.
- Backstitch at each corner for strength.
- Use the pivot technique: Stop ½” from corner, lower needle, lift foot, turn fabric 90°, continue.
Pro Tip: Sew over the overlapping back flaps slowly. Reinforce with an extra stitch or two to prevent wear.
Finish Raw Edges (Optional but Recommended)
Reduce fraying with one of these methods:
- Zigzag stitch just outside the seam line
- Trim with pinking shears
- Serge edges before or after sewing
Trim Corners and Turn Right Side Out
This step creates sharp, professional corners.
Trim Excess Fabric
- At each corner, cut diagonally across the seam allowance (45° angle).
- Do not cut stitches. Leave about ¼” from the seam.
- This reduces bulk and allows corners to turn out cleanly.
Turn and Shape
- Reach through the envelope opening and pull the cover right side out.
- Use a point turner, chopstick, or capped pen to gently push out each corner.
- Roll the seams between your fingers to flatten them.
Visual Check: Corners should be square and crisp, not rounded.
Press for a Polished Finish
Ironing makes all the difference.
- Press seams flat first, then press them open or to one side.
- Iron the entire surface, especially around the envelope opening.
- Roll the seam slightly toward the back when pressing for a tailored look.
Pro Tip: Use steam for cotton and linen. Avoid high heat on synthetics.
Insert the Pillow Form
Time to complete the look.
Insertion Steps
- Compress the insert slightly with a “karate chop” motion.
- Slide it through the envelope opening from the back.
- Push corners into the cover’s corners.
- Fluff and adjust for even filling.
Fit Check: The cover should feel snug but not strained. If loose, the front panel was cut too large.
Customize With Embellishments
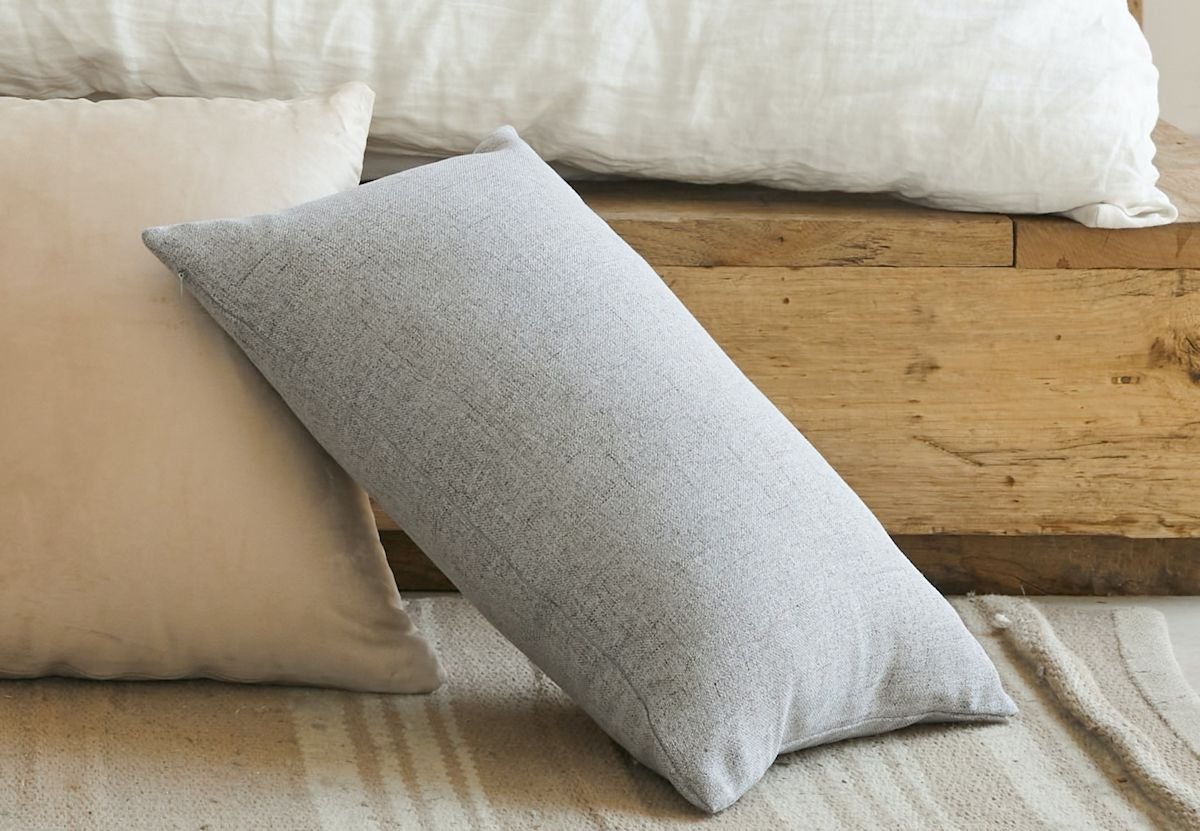
Make your pillow unique.
Add Trim or Piping
- Pin trim (pom-poms, rick-rack, piping) to the right side of the front panel, aligning raw edges.
- Baste in place with a 3/8″ seam allowance.
- Proceed with layering and sewing. Use a zipper foot if trim is bulky.
Corner Tip: Gently gather trim at corners. It will hide in the seam.
Use Contrasting Back Panels
Cut back panels from a different fabric (solid vs. print, dark vs. light) for a designer touch.
Double-Layer for Durability
For pet-friendly or high-use pillows:
– Cut two layers of front and back fabric.
– Sew each set together (right sides facing), turn, press, then use as single panels.
– Or apply fusible interfacing to the wrong side for structure without bulk.
Troubleshoot Common Issues
Pillow Looks Flat or Loose
- Cause: Front panel cut too large.
- Fix: Next time, cut front panel to exact insert size. The ½” seam allowance will create a snug fit.
Corners Are Rounded
- Cause: Didn’t trim corners or didn’t push them out.
- Fix: Clip closer to stitches (but not through) and use a tool to shape.
Flap Gapes Open
- Cause: Back panels too narrow.
- Fix: Ensure each back is
(width ÷ 2) + 3"for at least 3–5″ overlap.
Edges Fray After Washing
- Cause: No edge finishing.
- Fix: Use pinking shears, zigzag stitch, or serger next time.
Bulky Seams
- Cause: Heavy fabric or overlapping thick hems.
- Fix: Use asymmetrical flaps for lumbar pillows, or grade seams (trim layers to different widths).
Sew Rectangular or Lumbar Pillows
For non-square pillows (e.g., 24″ x 14″), use the asymmetrical flap method.
Asymmetrical Back Panel Sizing
- Short Flap Width:
(Width ÷ 3) + 2" - Long Flap Width:
(Width ÷ 3) + (Width ÷ 3) + 5"
Example (24″ x 14″ pillow):
– Front: 25″ x 15″
– Short Back: 13.5″ x 10″
– Long Back: 13.5″ x 21″
Benefit: Prevents center bulk and creates a smoother back profile.
Maintain and Care for Your Cover
Keep your pillow looking fresh.
Washing Instructions
- Machine wash on gentle cycle, cold water.
- Tumble dry low. Remove promptly to reduce wrinkles.
- Iron if needed.
Storage Tips
- Store flat or folded. Avoid hanging, which can stretch the shape.
- Keep in a cool, dry place.
Repair a Worn Flap
If the hem frays:
1. Remove the insert.
2. Unpick stitching on one side of the hem.
3. Re-fold and re-stitch. No need to disassemble the whole cover.
Frequently Asked Questions About Envelope Pillow Cases
What size fabric do I need for an 18×18 envelope pillow cover?
For an 18″ x 18″ pillow, cut the front panel to 19″ x 19″ and two back panels to 19″ x 12″ each. This uses the standard (width ÷ 2) + 3" formula for a secure overlap.
Can you make an envelope pillow cover without a sewing machine?
Yes, you can hand-sew an envelope pillow cover using a simple running stitch or backstitch. The process takes longer (about 45–60 minutes), but the results are identical. Just maintain consistent ½” seam allowances.
How much overlap do envelope pillow covers need?
A minimum of 3 inches of overlap is required, but 4–5 inches is ideal. This ensures the insert stays hidden and the cover stays closed during use.
What is the best fabric for envelope pillow covers?
Medium-weight woven fabrics work best, including quilting cotton, linen, cotton twill, canvas, and corduroy. These provide structure, hold their shape, and resist fraying better than thin or stretchy materials.
Do envelope pillow covers fit snug or loose?
Envelope pillow covers should fit snugly. Using an insert 1–2 inches larger than the cover creates a plump, professional look. For extra firmness, cut the front panel to the exact insert size instead of adding 1″.
How do you keep envelope pillow covers from fraying?
Finish raw edges with a zigzag stitch, pinking shears, or a serger. Pre-washing fabric before cutting also stabilizes the weave and reduces future fraying.
Final Thoughts on Sewing Envelope Pillow Cases
Sewing an envelope pillow case is one of the fastest, most rewarding DIY home projects. With just a few yards of fabric and 30 minutes, you can create custom, washable covers that elevate your space. The three-piece method is perfect for beginners, while the one-piece wrap and asymmetrical options offer creative flexibility.
Key Takeaways:
– Cut front panel 1″ larger than insert (or same size for snug fit).
– Back panels: (width ÷ 2) + 3" for reliable overlap.
– Press every step. It is the secret to a pro finish.
– Trim corners and push out points for sharp edges.
– Pre-wash fabric to avoid shrinkage.
Now that you know how to sew an envelope pillow case, why stop at one? Mix prints, add trim, and create a coordinated set for every room. Your couch and your sewing machine will thank you.