How to Make a Travel Pillow: Easy DIY Guide
You’ve probably struggled with neck pain on a flight, only to realize your $30 airport travel pillow does more harm than good. The truth? Most store-bought U-shaped pillows fail to stop head bobbing or support proper spinal alignment. But here’s the fix: making your own travel pillow. With just a few materials and under an hour of time, you can craft a custom, comfortable, and cost-effective solution that actually works.
This guide reveals four proven methods to make a travel pillow, two with sewing and two without, using accessible materials like fleece, cotton, memory foam, or even a $1 beach ball. You’ll learn how to choose the right fabric, select stuffing for ideal firmness, and build a pillow tailored to your sleeping style.
Choose Your Travel Pillow Design
Match Shape to Your Sleeping Position
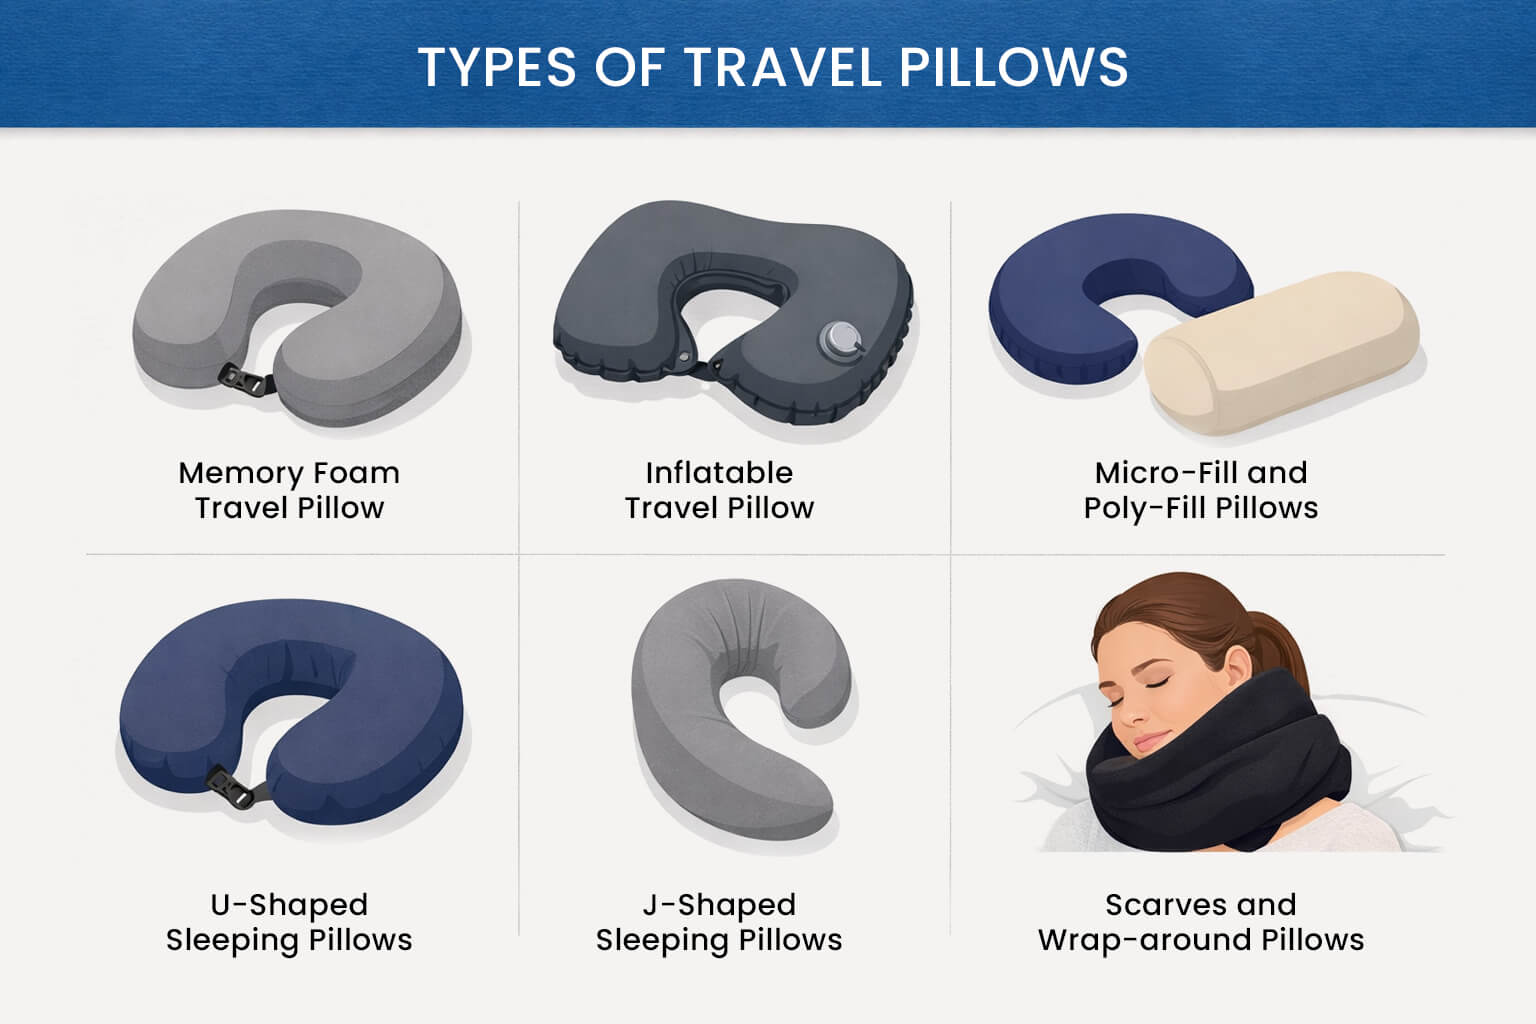
Not all travel pillows work the same. The best design depends on how you sleep while seated. Pick the shape that aligns with your in-transit posture:
• U-Shaped (C-Shaped): Best for preventing forward head drop. Wraps around the neck to support the jawline.
• Rectangular: Ideal for leaning over tray tables or using as a lap cushion. More versatile than U-shaped.
• Inflatable Sphere: Conforms to window frames and offers adjustable firmness. Packs to pocket size.
Pro Tip: If you lean against windows or shift positions often, go inflatable. If you want soft, huggable support, choose sewn fabric.
U-Shaped vs. Flat Pillow Comparison
| Feature | U-Shaped Pillow | Rectangular Pillow |
|---|---|---|
| Neck Support | High (lateral and front) | Low to moderate |
| Tray Table Use | Poor | Excellent |
| Portability | Moderate (bulky when stuffed) | Good (can be rolled) |
| Customization | High (color, fill, texture) | High (reversible designs) |
| Best For | Airplane naps, neck stability | Kids, multi-use, compact trips |
Try the Beach Ball Hack
One of the most effective DIY travel pillows isn’t fabric at all. It’s a full-size inflatable beach ball inside a pillowcase. At just $2 and zero sewing, this method delivers adaptive support that molds to your head and window, over 90% space savings when deflated, and full adjustability. Inflate to two-thirds for window leaning, or fully for tray table use.
Pick the Right Fabric

Best Fabrics for Softness and Durability
The fabric you choose affects comfort, ease of sewing, and washability. Here are the top options:
Fleece / Polar Fleece
• Why it wins: Does not fray, soft, warm, and beginner-friendly
• Best for: U-shaped pillows and gifts
• Watch out: Slight stretch can cause feeding issues. Use clips, not pins.
Shannon Cuddle Fabric (Minky)
• Feel: Like hugging a cloud. Ultra-plush and silky.
• Tip: Use clips instead of pins. Fabric is slippery.
• Ideal for: Luxury feel and designer prints.
Cotton Print (Fat Quarters)
• Use case: Themed pillows (Disney, holidays, fan designs)
• Pro: Easy to sew, holds shape well
• Downside: Less stretch. May need ironing for clean seams.
Beginner Recommendation: Start with fleece. No seam finishing needed, and it’s forgiving on the sewing machine.
How Much Fabric You Need
• U-Shaped Pillow: Half yard of 58″ wide fabric fits both front and back.
• Rectangular Pillow: Two 18″ x 11″ pieces. One cotton, one fleece.
• Pattern Tip: Use cardboard instead of paper for reusable, durable templates.
Select the Best Filling
Compare Fill Materials
What’s inside matters as much as the cover. Choose based on firmness, washability, and longevity.
| Filling | Firmness | Washable | Best For |
|---|---|---|---|
| Polyester Fiberfill | Soft to medium | Yes | Beginners, kids, soft pillows |
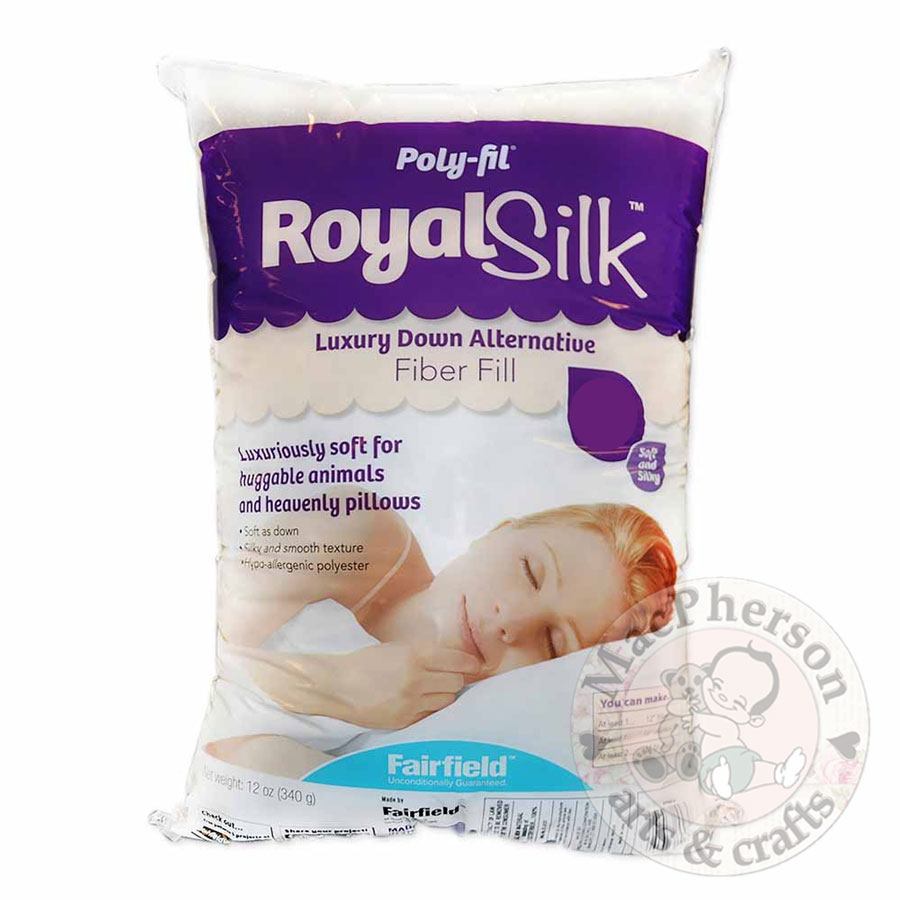
| Polyfil Royal Silk | Soft, lump-free | Yes | Luxury feel, reduced clumping |
| Memory Foam | Firm, structured | Spot clean only | Long-term use, consistent support |
| Inflatable Air | Adjustable | Wipe clean | Portability, adaptive support |
Stuff for Comfort, Not Lumps
• Use 12 oz. of Poly-Fil for one standard pillow.
• Stuff corners first, then work toward the center.
• Test firmness before closing. Add more for support, less for softness.
• Mix fillings: Combine regular Polyfil with Royal Silk for a premium texture.
User Feedback: Polyfil Royal Silk feels noticeably smoother and resists clumping better than standard fiberfill.
Memory Foam for Firm Support
For travelers who want hotel-like consistency, cut a pre-cut memory foam sheet to fit your U-shape template. Insert into a zippered cover so it’s removable and washable. Downsides include being harder to sew through, heavier, and more expensive, but this option works best for frequent flyers who value long-term durability over packability.
Sew a U-Shaped Fleece Pillow
Gather Essential Tools
You do not need a fancy setup. Here is what to prepare:
• Sewing machine
• Rotary cutter, mat, and ruler
• Fabric clips (not pins. Fleece distorts easily.)
• Scissors
• Hand-sewing needle (for ladder stitch)
• Cardboard (for durable pattern)
Time Estimate: Under 30 minutes for experienced sewers.
Cut and Sew the Pillow
- Download a U-shaped travel pillow pattern (free online).
- Transfer to cardboard for reuse.
- Fold fleece in half, aligning selvages. Stretch should run left to right.
- Place pattern on the fold, center line matching fabric fold.
- Cut one side of the U-shape with rotary cutter.
- Lay both pieces together, right sides facing.
- Clip edges, leaving a 3-inch gap unsewn on the back.
- Sew around the edge with 3/8″ to 1/2″ seam allowance. Use shorter stitch length. Backstitch at start and end.
- Clip curves with small snips to reduce bulk.
Turn and Stuff
- Turn right side out through the opening.
- Press lightly with iron (use pressing cloth. No direct heat on synthetics).
- Stuff with fiberfill. Start with curved ends and corners. Distribute evenly. Avoid lumps. Adjust firmness. Firmer for adults, softer for kids.
- Close gap with ladder stitch (invisible hand stitch).
Pro Tip: Watch video tutorials for clipping curves and stuffed shaping. They make a big difference in finish.
Build a Reversible Cotton-Fleece Pillow
Why Go Double-Sided
A rectangular pillow with cotton on one side and fleece on the other gives you visual appeal with fun prints and themes, comfort with soft fleece against skin, and versatility for use as lap pillow, back support, or decorative throw.
Step-by-Step Assembly
- Cut two 18″ x 11″ rectangles. One from cotton print, one from fleece.
- Place right sides together, aligning edges.
- Clip (do not pin). Especially on fleece side.
- Sew three sides (both long plus one short) with straight stitch. Leave one short end open. Sew with fleece side up for better feed.
- Trim corners diagonally to reduce bulk.
- Turn right side out.
- Stuff with fiberfill. Use mix of Polyfil and Royal Silk for softer feel. Do not overstuff. Aim for huggable firmness.
- Fold open edge inward half inch, press, pin.
- Topstitch along the edge to close.
Design Bonus: Two pillows from one fat quarter if the print is not directional.
No-Sew Option: Hoodie Travel Pillow
Repurpose Old Clothing
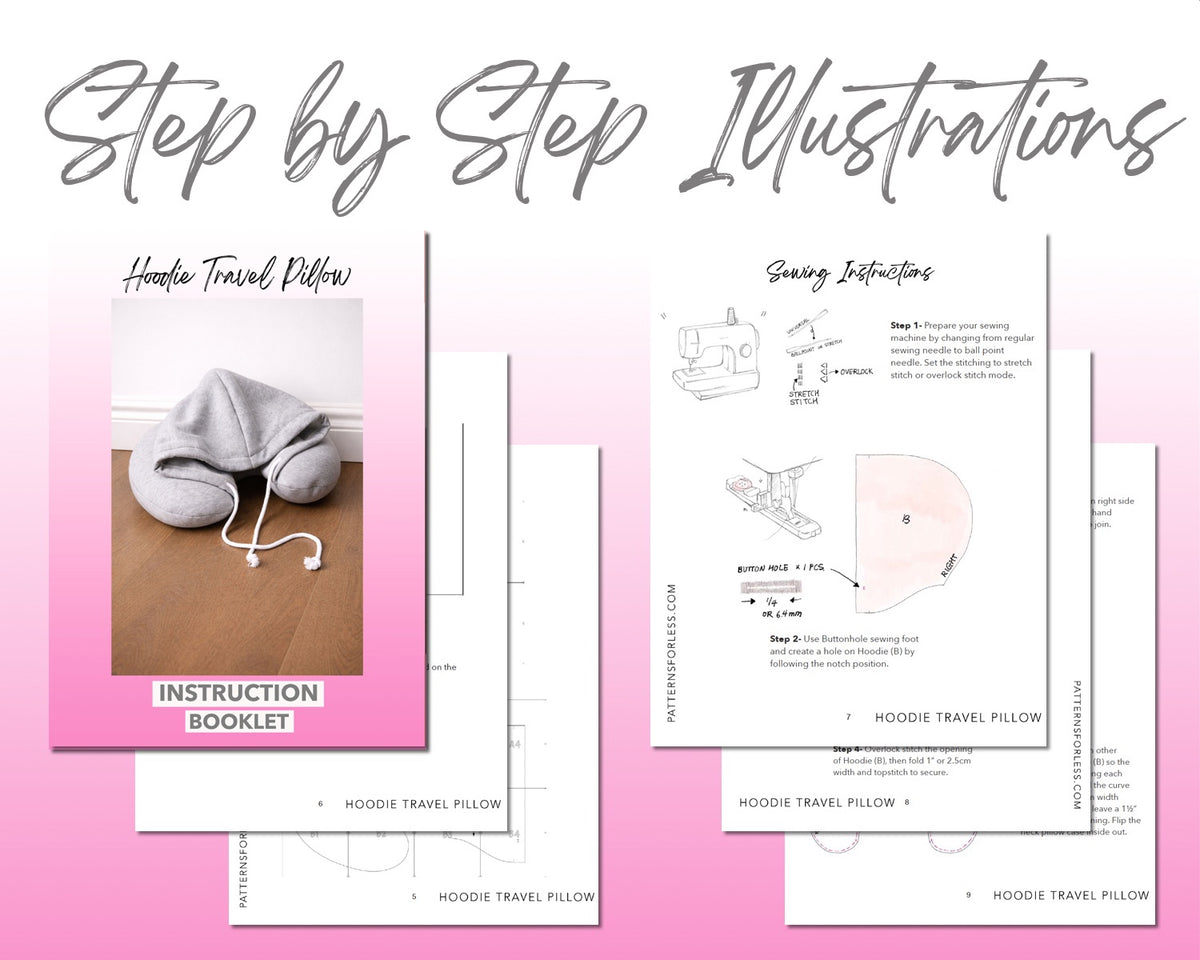
No tools? No problem. Turn any hoodie into a travel pillow in seconds.
Quick Assembly Steps
- Turn hoodie inside out.
- Fold one sleeve over front, the other behind.
- Roll tightly from bottom up, including sleeves.
- Pull hood out from center.
- Place hood over head. The roll now supports your neck.
Why It Works: Compact, free, and effective for car rides or kids. No sewing, no cost.
User Verdict: “Really that easy” and surprisingly supportive for short trips.
No-Sew Inflatable: Beach Ball Method
Gather Supplies
• 1 full-size beach ball (16″, $1–$2 at dollar stores)
• 1 standard pillowcase (zippered preferred)
Pro Tip: Use your own pillowcase. Familiar fabric feels more comfortable and hygienic.
Assemble In-Flight
- Pack ball deflated in carry-on or jacket pocket.
- After boarding, place in seat pocket.
- When ready to sleep:
• Insert ball into pillowcase before inflating.
• For window leaning: Inflate to two-thirds capacity. Air redistributes to fill gaps. Prevents slipping.
• For tray table use: Inflate fully. Creates firm, flat surface. Supports spine alignment. - Close valve and zip case.
Store After Your Trip
• Deflate by opening valve and pressing air out.
• Roll tightly into a 3″ x 2″ cylinder.
• Fits in any pocket. Over 90% smaller than traditional pillows.
Safety Warning: Not for infants, toddlers, or anyone with respiratory issues. Plastic near face poses suffocation risk.
Customize Your Pillow
Add Personal Touches
Make it unique with themed fabrics like Disney, Star Wars, or holidays. Add embroidery with names or initials. Use color coding to help family members identify their pillows.
Upgrade with Functional Features
Zippered Cover
Allows insert removal for washing. Use invisible zipper for clean look. Essential for memory foam or long-term use.
Attachment Straps
Cut two 2.5″ x 5″ fabric strips. Fold lengthwise, sew, turn, press. Attach snaps or domes to ends. Clip to bag or stroller for portability.
Pick the Best Method for You
For Beginners: Sewn Fleece Pillow
• Why: Easy, soft, forgiving fabric
• Materials: Half yard fleece, fiberfill, basic tools
• Time: 30–60 minutes
• Result: A plush, cloud-like pillow perfect for gifting
For Maximum Portability: Inflatable Beach Ball
• Why: Packs to pocket size, costs $2
• Best for: One-bag travelers, backpackers, hostel stays
• Firmness Tip: Two-thirds inflate for windows, full for tray tables
For Long-Term Use: Memory Foam with Zippered Cover
• Why: Durable, washable, consistent support
• Ideal for: Frequent flyers or parents needing multi-use
• Maintenance: Spot clean foam. Machine wash cover.
For Gift-Giving: Themed Rectangular Pillow
• Why: Personal, decorative, reversible
• Add: Embroidery, custom fabric, care card
• Use Case: Kids’ trips, holiday presents, baby shower gifts
Maintain and Repair Your Pillow
Cleaning by Type
Fabric Pillow (Removable Cover)
• Cover: Machine wash cold, gentle cycle. Air dry or low tumble.
• Insert: Spot clean only (fiberfill). Memory foam. Never submerge.
Inflatable Version
• Pillowcase: Wash like regular bedding.
• Beach ball: Wipe with damp cloth and mild soap. No machine washing.
Storage Tips
• Sewn Pillow: Store flat or loosely folded. Avoid compression.
• Inflatable: Deflate fully, roll tight, store in sealed bag.
Fix Common Issues
• Seam Split: Resew with strong thread or reinforce with fabric glue.
• Leaking Ball: Use vinyl patch kit (sold for pool toys).
• Flat Fiberfill: Fluff by hand or replace every 1–2 years.
Why DIY Beats Store-Bought
Cost Comparison
| Option | Cost | Lifespan |
|---|---|---|
| Airport Travel Pillow | $15–$30 | 1–2 trips (low quality) |
| DIY Sewn Pillow | $10–$20 | Years (with care) |
| DIY Inflatable | ~$2 | 3–10 flights (replaceable) |
Savings: Up to 90% less than retail.
Performance Benefits
• Custom firmness: Adjust stuffing or air level.
• Better materials: Use soft, breathable, washable fabrics.
• Eco-friendly: Repurpose scraps or old clothes.
• Personalization: Match colors, themes, and sizes to your needs.
User Verdict: Inflatable users report better sleep quality and less neck pain, especially when leaning on windows.
Final Tips for Success
Test Before Closing
Always test firmness before sewing shut or tying off. Add more stuffing or air if needed. It is easier to adjust now than later.
Label Handmade Pillows
If gifting or donating, sew in a fabric tag with name, care instructions, and date made.
Start Simple
New to sewing? Try the fleece U-pillow first. No fraying, no lining, no zipper. Just cut, sew, stuff, and enjoy.
Think Beyond Travel
Your DIY pillow can double as couch napping support, feeding prop for new parents, tummy time aid for babies, or decorative throw at home.
Frequently Asked Questions About Making a Travel Pillow
How long does it take to make a travel pillow?
For sewn pillows, expect 30–60 minutes for beginners and under 30 minutes if you have sewing experience. The inflatable beach ball method takes zero prep time and about 2–3 minutes to assemble on the plane.
What is the best fabric for a travel pillow?
Fleece is the best choice for beginners because it does not fray, is forgiving on sewing machines, and provides soft, warm comfort. For a luxury feel, Shannon Cuddle Fabric (Minky) offers cloud-like softness but requires fabric clips instead of pins due to its slippery texture.
Can I make a travel pillow without sewing?
Yes. Two no-sew options work well. The hoodie hack involves turning a hoodie inside out, rolling it tightly with the sleeves, and using the hood as a neck support. The beach ball method uses an inflated beach ball inside a pillowcase for adjustable, ultra-portable support.
How do I choose between a U-shaped and rectangular pillow?
Choose U-shaped if you need neck support and tend to nod forward during sleep. Choose rectangular if you lean over tray tables, want versatility as a lap pillow, or prefer something that packs smaller. Rectangular pillows also work better for children.
Is the beach ball travel pillow safe?
The beach ball method is safe for healthy adults but should not be used for infants, toddlers, or anyone with respiratory issues. The plastic surface near the face poses a suffocation risk if the user falls asleep in an unsafe position.
Key Takeaways for Making Your Own Travel Pillow
Making a travel pillow at home delivers significant advantages over store-bought options. You gain complete control over firmness through fiberfill choice or air inflation level. You can select fabrics that match your comfort preferences, whether ultra-soft fleece or cooling cotton. The cost savings are substantial, with DIY options ranging from $2 for the inflatable method to $20 for premium sewn versions, compared to $15–$30 for low-quality retail pillows.
Four distinct methods accommodate every skill level and travel style. Beginners should start with the fleece U-shaped pillow for a forgiving sewing experience. Ultra-light travelers benefit from the beach ball inflatable that packs to pocket size. Parents and gift-givers can create themed rectangular pillows with reversible cotton and fleece. The hoodie hack provides an instant, free solution when you need a pillow immediately.
Whatever method you choose, test firmness before final closure, label handmade pillows if sharing as gifts, and store sewn pillows loosely to maintain loft. Your perfect travel pillow awaits.