How to Make a Donut Shaped Pillow
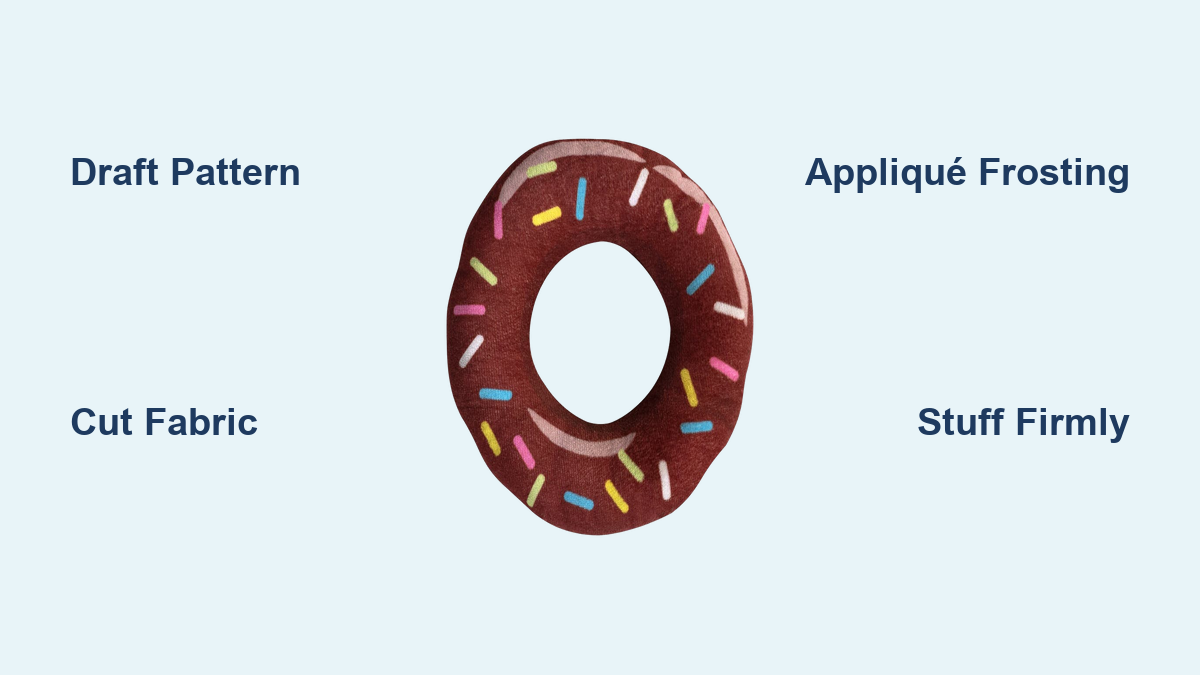
Ever wanted to curl up with a giant frosted donut? Or surprise a child with a soft, sprinkle-covered floor pillow shaped like dessert? Making a donut shaped pillow is easier than you think and far more satisfying than buying one. This DIY project blends simple sewing techniques with creative fabric choices to produce a whimsical, functional piece perfect for decor, playrooms, or cozy reading nooks.
Whether you’re a beginner or intermediate sewer, this guide walks you through every step. You’ll learn how to draft a scalable pattern, choose plush fabrics like minky or fleece, and safely attach sprinkles suitable even for toddlers. Two reliable construction methods are covered: the clean-finish Burrito Roll and the quick Right-Side-Out technique. With tips on stuffing density, seam alignment, and child-safe embellishments, your homemade donut pillow will hold its shape and charm for years.
Draft a Scalable Donut Pattern
Creating an accurate template ensures your pillow holds a true toroidal shape. Use paper or lightweight interfacing to draft a reusable pattern.
Trace Outer and Inner Circles
Fold a large sheet of paper into quarters. Place the corner at the center point. From that point, measure your desired outer radius (such as 12 inches) and mark a quarter arc. Cut along the line. When unfolded, it forms a full circle. Repeat with a smaller radius (such as 4 inches) for the center hole. Add a half-inch seam allowance to both edges before cutting.
Adjust the Frosting Template for Seams
Trace the outer dough circle onto a new sheet. For the inner hole, make it larger than the dough’s center hole by at least 1 inch to avoid fabric getting caught during sewing. Then freehand a wavy or dripped frosting edge around the outer perimeter to mimic real icing. Fold the paper into eighths to maintain symmetry while shaping.
Test Fit Before Cutting Fabric
Lay the frosting template over the dough pattern. Confirm the frosting’s outer edge doesn’t extend past the half-inch seam line and that the inner hole clears the dough’s hole plus seam allowance. Trim as needed. A well-fitted template prevents puckering and misalignment.
Choose Fabrics and Materials
The right materials determine durability, texture, and safety, especially if the pillow is for kids.
Pick Stable, Plush Fabrics
Use quilting cotton, fleece, flannel, or minky (Cuddle fabric) for a soft, huggable feel. Minky is popular for its plushness but can shift during sewing. Use basting spray to stabilize it. Wool felt works well for non-fraying appliqués.
Gather Essential Supplies
- Dough fabric: half to three-quarter yard in tan, brown, or caramel
- Frosting fabric: half to five-eighths yard in pink, white, or pastel
- Sprinkle scraps: felt, wool, or mini pompoms
- Stuffing: polyester fiberfill, high-loft for firmness
- Interfacing: fusible woven for stabilizing thin fabrics or snap points
- Tools: scissors, pins, washable marker, sewing machine with zigzag capability
Ensure Child-Safe Embellishments
Avoid loose pompoms for infants. Instead, use fabric appliqué sprinkles or Kam snaps for a chew-safe, tactile surface. If using snaps, reinforce attachment points with small interfacing patches.
Cut Fabric Pieces Accurately
Precision in cutting prevents misalignment and gaps in seams.
Cut Two Dough Circles
Using your final pattern, cut two identical donut shapes from the dough-colored fabric. Do not cut the center hole yet. This step comes after appliqué in some methods.
Cut One Frosting Shape
Cut a single frosting piece from the frosting-colored fabric using the adjusted template. If using minky or slippery fabric, spray the wrong side with temporary basting adhesive before cutting to reduce shifting.
Prepare Sprinkle Elements
Cut tiny rectangles (quarter by half inch) or circles from colored felt for appliqué sprinkles. Or sort mini pompoms by color for hand-sewn decoration. Keep them ready for post-appliqué application.
Appliqué the Frosting Layer
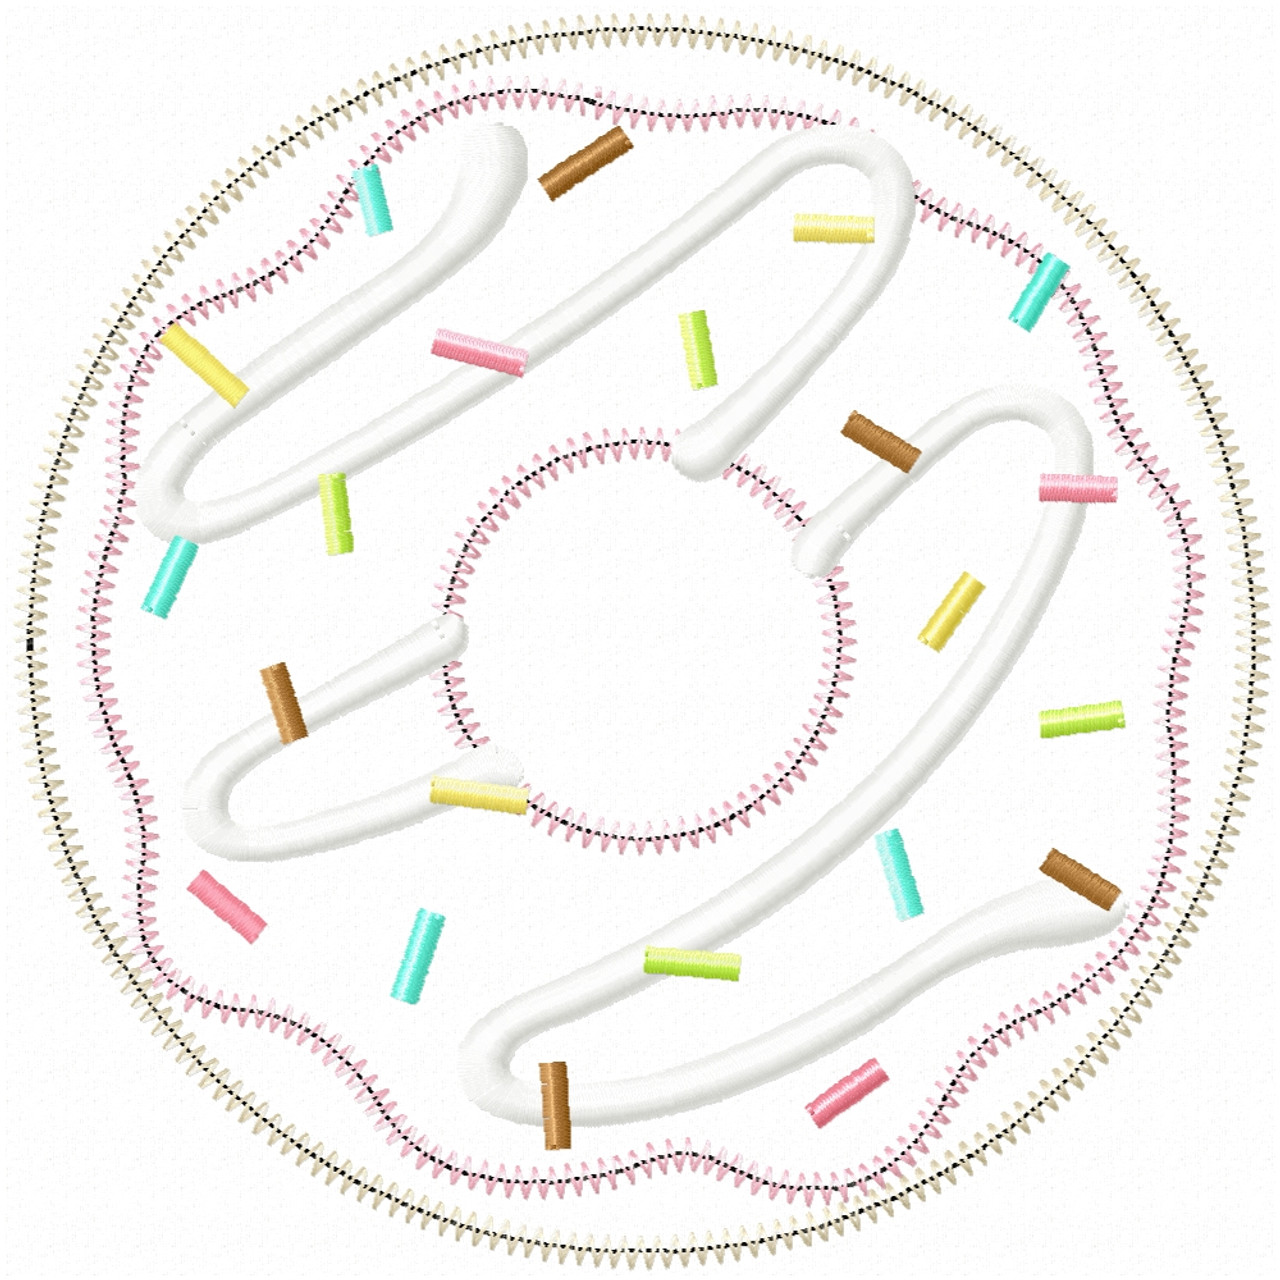
Attaching the frosting securely is crucial because it becomes the visual centerpiece.
Position and Pin the Frosting
Place the wrong side of the frosting piece onto the right side of one dough circle. Center it precisely. Use pins or basting spray to hold it in place, especially on stretchy or slippery fabrics.
Stitch with Zigzag for Durability
Use a zigzag stitch (length 1.0, width 2.5) to sew around the entire frosting edge. Let the needle swing just over the raw edge to fully encase it. This prevents fraying and gives a clean, finished look. For non-fraying wool felt, a straight stitch is acceptable.
Reinforce with Interfacing (Optional)
If adding snaps later or using thin cotton, iron fusible woven interfacing to the back of the frosting piece before appliqué. Use low heat to protect synthetic fabrics like minky.
Create the Center Hole
This step prepares the top layer for turning and assembly.
Trace and Stitch the Inner Circle
On the unadorned side of the appliquéd piece (or the second dough circle), trace the center hole using a small bowl or compass. Stitch directly on the marked line with a straight stitch. Backstitch at start and end.
Cut and Clip the Seam Allowance
Cut out the center fabric, leaving half an inch of seam allowance inside the stitched line. Make small clips around the circle every half inch. This allows the curve to spread when turned. Don’t cut the stitches.
Turn and Press the Ring
Reach through the hole and pull the fabric right-side out. Use a blunt tool like a chopstick to push out the edges. Press flat with an iron on low heat. You now have a donut-shaped ring with frosting on top.
Assemble Using the Burrito Roll Method
This advanced technique yields a clean, professional finish with no visible seams.
Align and Roll for the Outer Seam
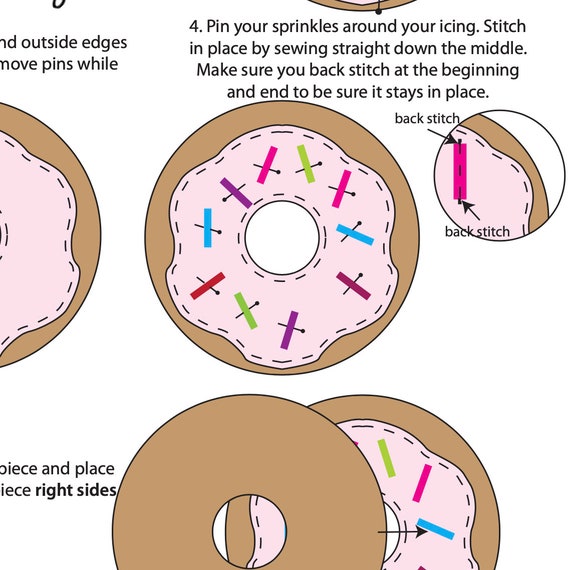
Place the two dough rings right sides together. Begin rolling the donut onto itself like a burrito, aligning only the outer edges. Sew around the outer curve with a half-inch seam allowance.
Flip and Align the Inner Seam
When you reach the inner curve, stop with the needle down. Lift the presser foot, reach inside the tube, and pull the unsewn inner layers out. Align the inner edges right sides together. Continue sewing around the inner circle.
Leave an Opening for Turning
Stop sewing 3 to 4 inches before closing the full circle. Backstitch to secure. This gap allows you to turn the pillow right-side out.
Turn, Press, and Stuff
Reach through the opening and pull the entire donut through to turn it right-side out. Press all seams flat. Begin stuffing firmly with polyfill, focusing on corners and curves. Use a pencil or dowel to push filling into tight spots.
Hand-Stitch the Closure
Use a ladder stitch to close the opening invisibly. Leave a small gap, add extra stuffing to plump the seam, then finish stitching.
Try the Right-Side-Out Assembly Shortcut
For a faster build with visible seams, this method skips turning tricks.
Sew with Right Sides Out
Place both dough rings together with right sides facing out. Pin the outer and inner edges. Sew all the way around using a wide zigzag stitch to encase raw edges and prevent fraying.
Leave a Gap for Stuffing
Stop sewing 3 to 4 inches short on either the inner or outer edge. Pull out pins as you go.
Stuff Through the Opening
Reach through the gap and fill the donut with fiberfill. Pack tightly to maintain shape. Use your fingers to distribute stuffing evenly.
Close the Seam by Hand or Machine
Pin the opening closed. For durability, hand-stitch with a ladder stitch. For speed, carefully topstitch the gap closed with matching thread.
Add Safe, Durable Sprinkles
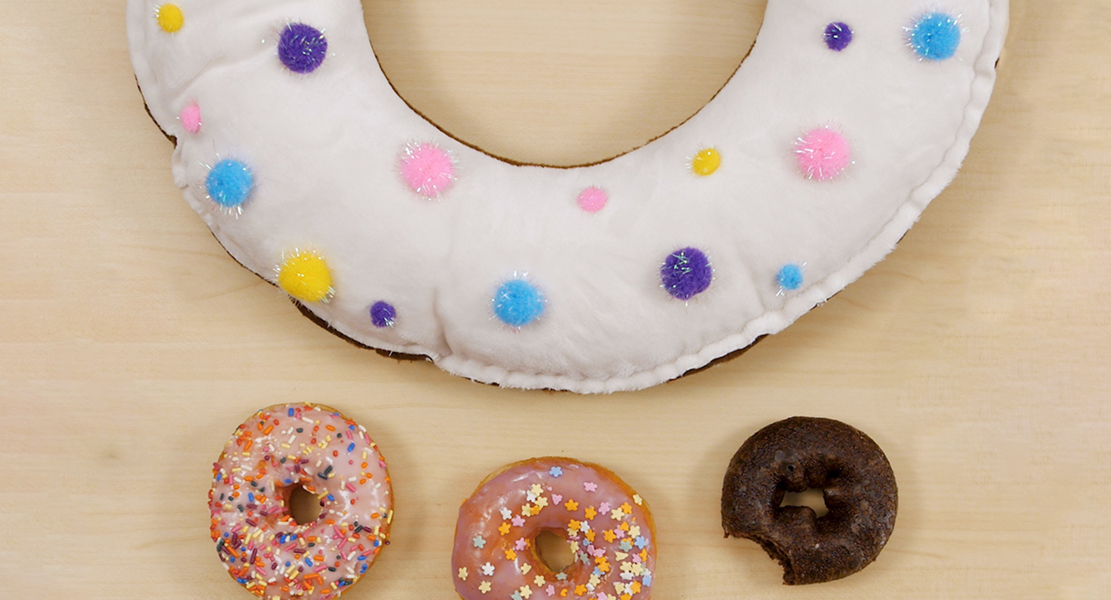
Decorations bring the donut to life. Choose based on safety and longevity.
Sew Felt Appliqué Sprinkles
Cut small rectangles from colored felt. Arrange randomly on the frosting. Secure with a glue stick or pins. Stitch down the center with a narrow zigzag or straight stitch. This method is washable and toddler-safe.
Attach Mini Pompoms (For Older Kids)
Thread mini pompoms onto a hand-sewing needle. Knot the thread and stitch each one through the frosting layer into the stuffing. Double-knot for security. Avoid for children under 3 due to choking risk.
Install Kam Snaps for Sensory Play
Snap colorful Kam studs into the frosting layer. Place a small scrap of fusible interfacing behind each snap location before installation. This prevents tearing and adds a fun, tactile element for babies and toddlers.
Troubleshoot Common Issues
Even experienced sewers face hiccups. Here’s how to fix them fast.
Frosting Puckers After Sewing
The cause is usually a frosting hole cut too small and trapped in the seam. Always make the frosting’s center hole at least 1 inch larger than the dough’s hole. Test the template first.
Donut Won’t Hold Shape
Under-stuffing or loose seams are the usual culprits. Overstuff slightly by packing fiberfill until firm. Use high-loft polyfill and compress it in layers. Recheck seam integrity.
Fabric Shifts During Sewing
Slippery minky or fleece causes this issue. Use basting spray on the wrong side before pinning. Spray only the back to avoid gumming the needle.
Uneven Edges After Appliqué
Freehand cutting or stitching errors lead to this. The zigzag stitch is forgiving and lets it cover minor gaps. Trim excess fabric after stitching if needed.
Maintain and Customize Your Pillow
Keep your creation looking fresh and make it uniquely yours.
Wash Carefully
Spot clean with mild soap and water. For machine washing, use a delicate cycle in a pillowcase with cold water. Air dry completely to preserve shape and fabric.
Scale for Giant or Mini Versions
Use the same pattern principles and adjust radii for size. A 24-inch outer diameter makes a floor pillow. A 6-inch version works as a keychain or ornament.
Mix Flavor Themes
Try chocolate frosting with brown minky, glow-in-the-dark sprinkles, or unicorn colors. Use flannel for a cozy fall donut, or corduroy for texture.
Gift as a Themed Set
Pair with a coffee cup plush or make a matching donut pet bed. Label with “Handmade with Love” tags for a personal touch.
Frequently Asked Questions About Making a Donut Shaped Pillow
What is the easiest fabric for beginners to use?
Quilting cotton is the most beginner-friendly option. It doesn’t shift like minky, presses easily, and holds its shape well. Fleece is another good choice because it doesn’t fray, so you can skip zigzag finishes on raw edges.
How much stuffing do I need for a medium-sized donut pillow?
For a pillow with a 12-inch outer radius, plan on using roughly 12 to 16 ounces of polyester fiberfill. The key is firm compaction. Keep adding small handfuls and pressing them in until the pillow feels dense and resists compression.
Can I make this pillow without a sewing machine?
You can hand-sew the entire project, though it will take significantly longer. Use a backstitch for structural seams and a small zigzag or whipstitch for appliqué edges. The Right-Side-Out method works especially well for hand-sewers because it eliminates the tricky turning step.
How do I keep sprinkles from falling off?
Fabric appliqué sprinkles are the most durable option. Stitch them down with a narrow zigzag or straight stitch through the center. For pompoms, knot your thread twice and stitch deep into the stuffing layer. Kam snaps are the most secure because they physically snap through the fabric.
Is this project safe for toddlers?
Yes, with the right embellishment choices. Skip loose pompoms and buttons entirely. Use fabric appliqué sprinkles or Kam snaps instead. Always reinforce snap locations with fusible interfacing to prevent tearing, and inspect the pillow regularly for loose threads or damaged parts.
How long does this project take to complete?
A beginner should expect 3 to 5 hours spread across two sessions. Intermediate sewers can finish in 2 to 3 hours. The most time-consuming steps are pattern drafting, appliqué work, and stuffing. Cutting and assembly go quickly once your pieces are prepared.
Key Takeaways for Your DIY Donut Pillow
Making a donut shaped pillow blends creativity with practical sewing skills. Focus on three essentials: precise pattern drafting, secure appliqué with a zigzag stitch, and firm stuffing to maintain the toroidal shape. Choose the Burrito Roll method for a professional finish or the Right-Side-Out shortcut for a faster build.
Your next step is to gather your materials and draft your pattern tonight. Pick two complementary fabrics, cut your pieces, and start appliquéing. Within a single afternoon, you’ll have a charming, huggable pillow that delights kids and adults alike. No calories included.