How to Embellish a Throw Pillow
Ever looked at your living room and thought it needed a fresh pop of color or texture? A simple throw pillow can completely transform your space, and you don’t need to buy a new one. With just a few tools and a bit of creativity, learning how to embellish a throw pillow becomes your secret weapon for custom, designer-looking decor.
Whether you’re revamping an old cushion, personalizing a gift, or crafting a seasonal accent, embellishing pillows lets you express style without breaking the bank. From fabric flowers to vintage buttons and lace trims, the possibilities are endless. Most projects take under an hour and require only basic sewing or glue skills. In this guide, you’ll learn how to choose materials, apply trims and appliques, handle corners like a pro, and avoid common mistakes.
Plan Your Pillow Design
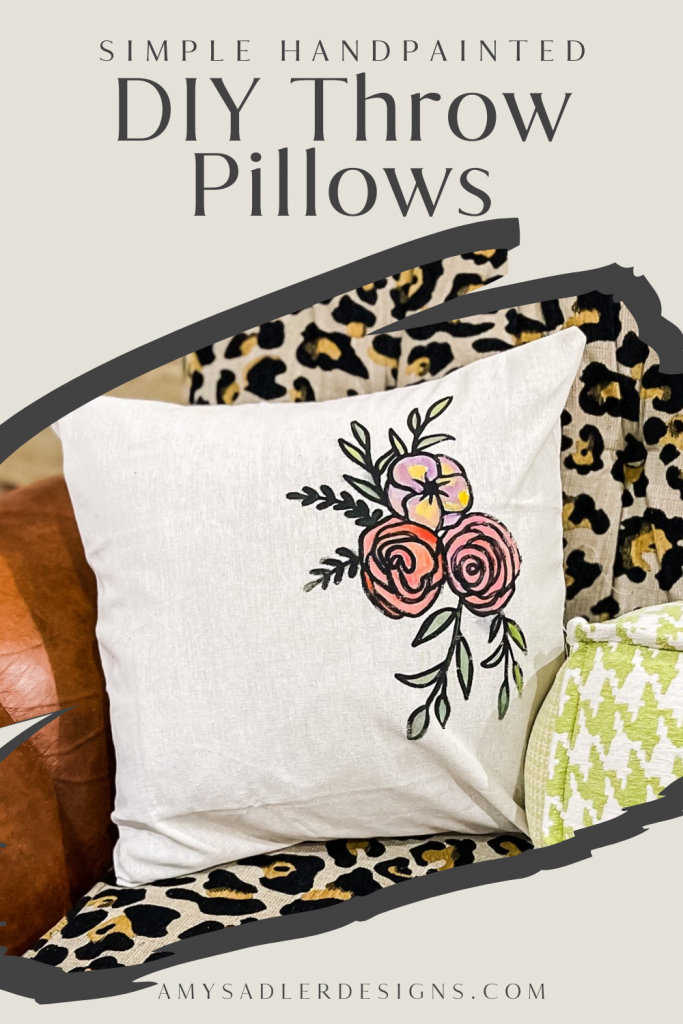
Before cutting fabric or buying trim, decide what kind of look you want. A clear plan saves time, materials, and frustration.
Choose a Design Style
Pick one of two approaches for your pillow embellishment:
- Stenciled or transfer patterns for crisp, repeatable shapes like florals, sailboats, or geometric motifs
- Free-hand drawing for artistic, one-of-a-kind designs directly on the fabric
For beginners, stencils offer precision. Use washable fabric markers to trace outlines. For a rustic spring vibe, try Pantone’s “Radiant Orchid” paired with hand-painted blossoms.
Match Theme to Purpose
Tailor your design to where the pillow will live:
- Nursery? Use soft applique animals like cats, frogs, or turtles with felt backing
- Coastal living room? Add a sailboat applique or nautical rope trim
- Seasonal decor? Swap covers: pumpkins for fall, snowflakes for winter
- Sentimental gift? Make a memory pillow from a loved one’s shirt, preserving collars or pockets
Position Embellishments Wisely
Avoid discomfort by keeping bulky items like beads, buttons, and stiff embroidery away from the center where body contact occurs.
- Best spots: Corners, borders, or edges
- Display tip: Place pillows perpendicular to the sofa back and press your hand into the top center to create a dented, inviting shape
Gather Tools and Materials
You don’t need a full craft studio. Most supplies are affordable and reusable.
Must-Have Tools
- Sewing machine for trims, closures, and applique
- Fabric scissors and rotary cutter with mat
- Measuring tape, ruler, and T-square for straight cuts
- Invisible fabric marker or chalk
- Iron and board (pressing equals a pro finish)
- Hand-sewing needles, pins, thread, and chopstick for turning corners
Select Fabric and Embellishments
Choose upholstery weight fabric for durability. Drop cloth from hardware stores works well for stenciled rustic styles. Old jeans, shirts, or leftover quilting fabric are perfect for applique or rosettes.
Embellishment Types at a Glance
| Type | Best For | Attachment Method |
|---|---|---|
| Lace, ribbon, pom-poms | Soft texture, borders | Sew or fabric glue |
| Buttons, beads, sequins | Sparkle, focal points | Sew only (glue fails) |
| Applique shapes | Sailboats, names, animals | Sew or glue (zig-zag stitch seals edges) |
| Fabric paint | Stenciled patterns | Brush or sponge |
Budget-Saving Tips
- Shop end-of-bolt fabric for up to 50% off
- Use Jo-Ann or Michaels coupons, especially during National Craft Month in March
- Upcycle by turning denim pockets into storage pillows or cutting flowers from vintage dresses
Build the Pillow Base
Your embellishment sits on a solid foundation. Choose between removable or permanent covers based on your needs.
Make an Envelope Cover (Removable)
Ideal for washing or switching seasons.
- Cut fabric: Front piece 26″ x 26″ (for Euro) or 16″ x 16″ (standard). Cut two back pieces: 26″ x 20″ and 26″ x 16″
- Hem back pieces: Fold 1″ on the long edge, press, fold again, and sew
- Assemble: Place front face up. Lay back pieces on top with right sides together, overlapping in the center
- Sew: Pin sides and sew all around with a 1″ seam. Trim corners diagonally and turn right side out
Insert your pillow form and you’re done.
Sew a Permanent Pillow Cover
Best for heavy trims or shaped pillows.
- Cut two identical squares (e.g., 16″ x 16″)
- Pin right sides together
- Sew around edges, leaving a 3″ gap on one side
- Trim corners carefully without cutting stitches
- Turn right side out and push out corners with a chopstick
- Insert the form, then hand-stitch the gap closed with a blind stitch
No-Sew Option (Beginner-Friendly)
Use fabric glue for lace borders, felt flowers, or fabric paint designs.
Warning: Glue isn’t durable for heavy use. For kids or pets, reinforce with a few hand stitches.
Apply Decorative Trims
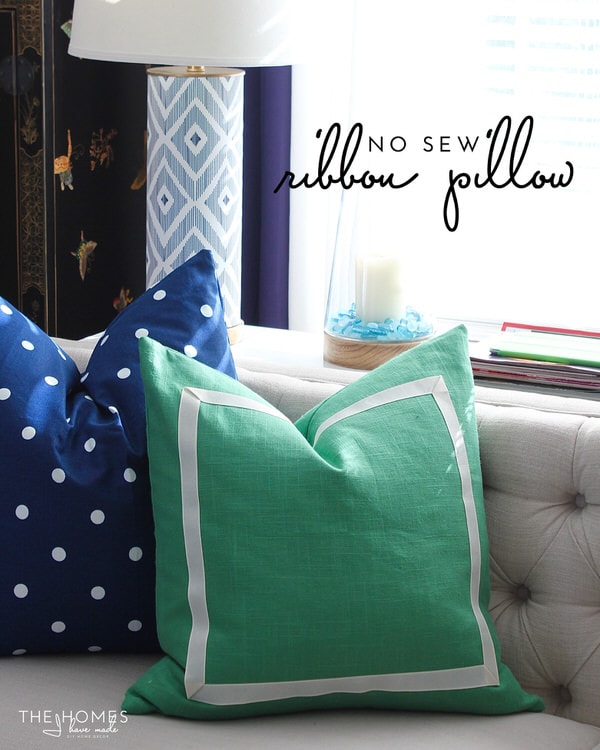
Trims like pom-poms, ribbon, or piping instantly elevate a plain pillow.
Prep and Position Trim
- Press fabric flat
- Lay trim on the raw edge of the front fabric
- Direction matters: Pom-poms or tassels must face inward so they hang outward after sewing
Handle Corners Like a Pro
Two clean methods work well:
- Rounded corners: Bend trim smoothly around the edge (best for flexible trims like fringe)
- Mitered corners: Cut trim at 45°, fold at 90°, and sew for sharp edges (ideal for ribbon or piping)
Sew Trim in Place
Option 1: Sandwich Trim While Sewing
- Place trim on the right side of front fabric
- Place back fabric on top with right sides together
- Pin and sew around all edges
- The trim gets caught in the seam, attaching it and closing the pillow at once
Pro tip: Go slow at corners. Lift the presser foot, pivot fabric, then lower the foot.
Option 2: Attach Trim First
- Sew trim directly to the front fabric
- Then assemble the pillow cover
- This works well for bulky or circular trims that are hard to sandwich
Avoid Common Trim Mistakes
- Trim facing outward results in it hanging inside
- Not securing corners causes trim to peel off
- Letting trim block the turning gap makes it impossible to turn the pillow right side out
Create Fabric Flowers and Rosettes
Add charm with handmade fabric blooms that serve as focal points or clusters.
Choose Flower Style
- Rolled felt flowers: Cut a 1″ wide, 12″ long strip. Roll tightly, glue the base, and add a vintage button center
- Ruffled roses: Gather a longer strip, coil into a spiral, and stitch at the base
- Brooch style: Back with felt and a pin backing for removable versatility
Materials and Steps
Use felt (no fraying) or cotton scraps. For ruffles, run a basting stitch along one edge, pull to gather, then sew to the pillow.
Placement Ideas
- Cluster three small flowers in a corner
- Place one large rosette in the center
- Attach with hand stitching or fabric glue, then reinforce with a few machine stitches if needed
Add Applique and Personalization
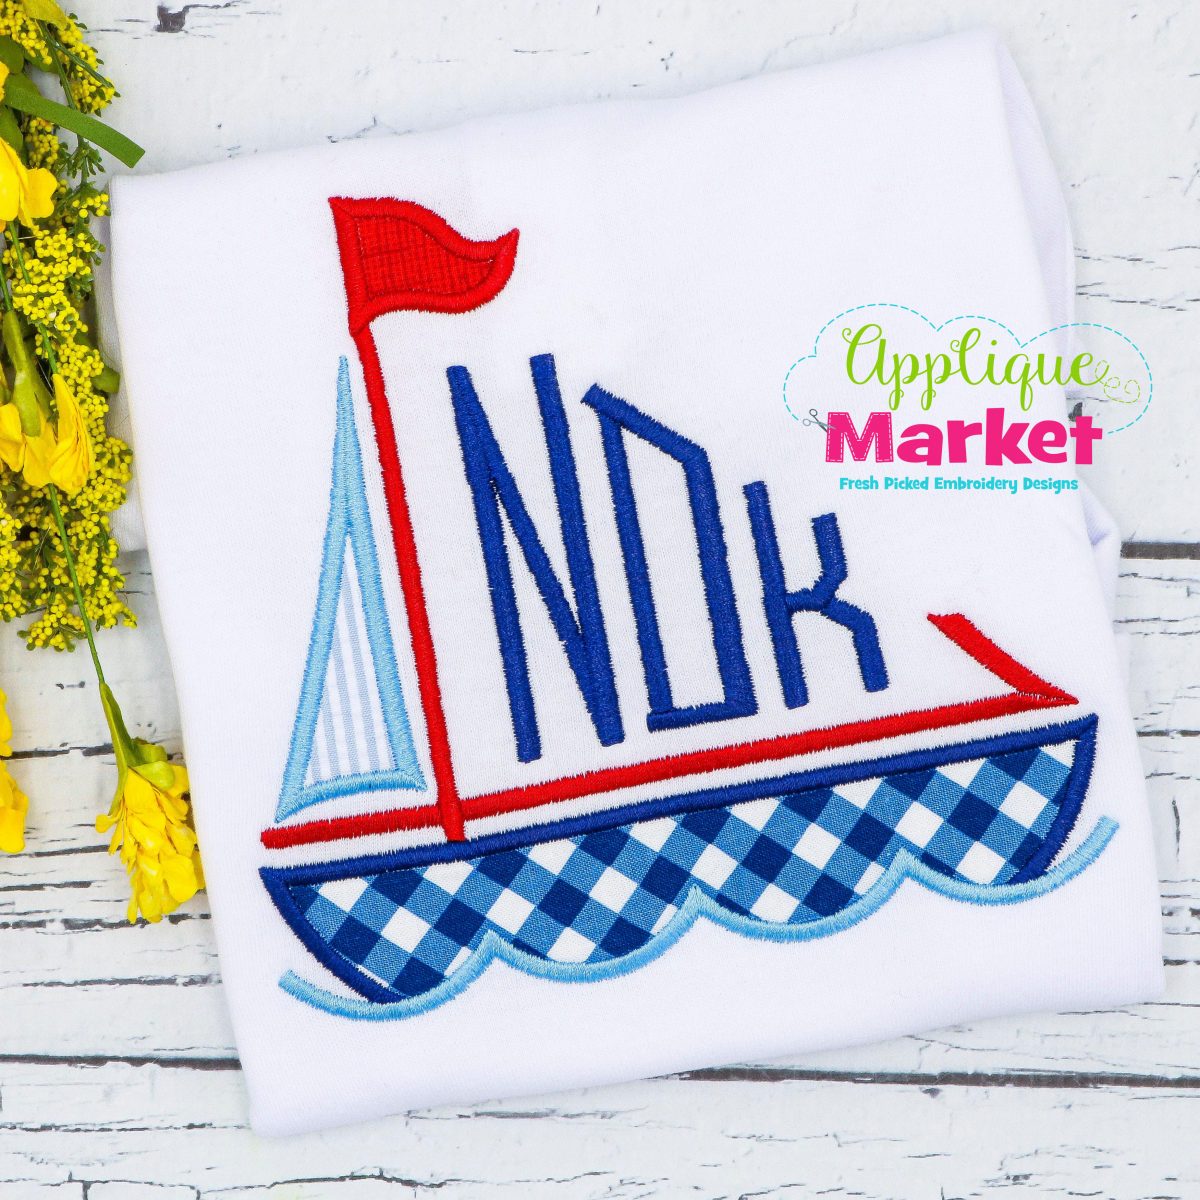
Make it unique with names, shapes, or themes that reflect your style.
Cut and Apply Applique
- Trace your design (e.g., cat, sailboat, letter) onto fabric
- Cut out the shape
- Pin to the pillow front
- Sew edges with a zig-zag stitch to prevent fraying, or use fabric glue
Pro tip: Use fusible webbing like HeatnBond to iron the shape in place before sewing.
Customize with Names
Cut letters from felt or contrasting fabric. Spell names like “Lily” or “Noah” across the pillow, and pair with small fabric flowers for a nursery look.
Upcycle Clothing into Applique
Cut shirt pockets, collars, or patches from old clothes. Sew onto the pillow front to preserve memories, which works beautifully for military uniforms or baby clothes.
Upcycle Denim and Old Clothes
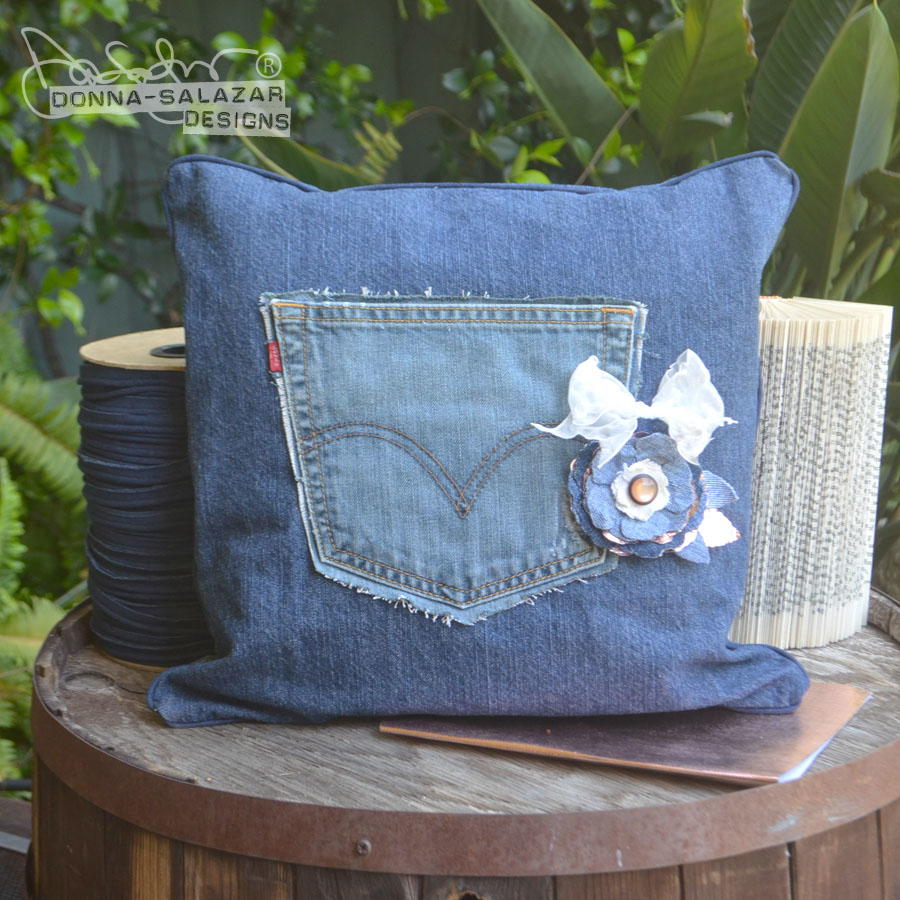
Turn sentimental garments into functional art that tells a story.
Make a Denim Pocket Pillow
- Cut a jean pocket with a 1″ fabric border
- Back with felt for stability
- Sew onto a plain pillow for a perfect remote holder
Create a Memory Pillow
From a grandparent’s shirt:
- Center the collar or button placket on the front
- Use a permanent closure (no envelope) to protect the fabric
- Stuff lightly without overfilling
Quilt with Scraps
Cut denim or shirt pieces into 3″ squares. Sew into a patchwork front and attach to a pillow base using the standard envelope or permanent method.
Follow the 10-Step Workflow
For a flawless finish, follow this proven sequence:
- Iron fabric and trim
- Cut front and back pieces to match insert size
- Mark embellishment layout with chalk
- Attach trim or applique to the front piece
- Pin front and back with right sides together
- Sew around edges, leaving a 3″ gap if needed
- Trim corners diagonally
- Turn right side out and push out corners
- Insert the pillow form
- Hand-stitch the opening closed, then fluff and style
⏱️ Time estimate: 15 minutes for simple covers, up to 1 hour with trim or applique.
Care for Long-Lasting Pillows
Keep your creations looking fresh with proper maintenance.
Washing Tips
- Envelope covers: Machine washable after removing the form
- Permanent covers with beads or sequins: Spot clean or hand wash gently
- Never machine wash glued embellishments because they will peel
Durability Checks
- Sewn trims last longer than glued ones
- Avoid loose beads around kids or pets
- Reinforce high-stress areas like corners with backstitching
Storage and Fluffing
- Store off-season pillows in breathable cotton bags, not plastic
- Fluff weekly to maintain shape
- Check seams after washing and tighten loose threads
Customize for Special Uses
Tailor your project to fit the specific need or recipient.
Memory Keepsakes
Use grandpa’s flannel shirt or baby’s first outfit. Preserve original hems or buttons and gift with a note: “Made from your favorite shirt.”
Kids’ Room Projects
Use fabric paint or large felt shapes with no small parts. Try no-sew pillow kits with tie closures. Popular themes include trains, stars, and animals.
Seasonal Swaps
Keep plain pillow forms stored and make 2–3 themed covers (spring florals, holiday plaids). Switch them out without needing extra storage for full pillows.
Frequently Asked Questions About Embellishing Throw Pillows
What is the easiest way to embellish a throw pillow for beginners?
Start with fabric glue and felt shapes. No-sew options like lace borders, felt flowers, or fabric paint designs work well for beginners. For durability, especially with kids or pets, reinforce glued embellishments with a few hand stitches.
How much trim do I need for a standard throw pillow?
For a standard 16″ x 16″ pillow, you’ll need approximately 1.5 to 2 yards of trim. Larger pillows like 26″ x 26″ Euro shams require about 2.5 to 3 yards, especially if the trim wraps around corners.
Can I embellish a pillow without sewing?
Yes. Fabric glue works for lightweight materials like lace, ribbon, and felt flowers. However, beads, sequins, and heavy trims must be sewn on for durability. For pillows that will see heavy use, always reinforce glue with some stitching.
How do I keep embellishments comfortable to lean against?
Place hard or bulky items like large beads, buttons, and stiff embroidery on the corners and outer borders. Keep the center area free of hard embellishments where body contact occurs for maximum comfort.
What fabric works best for embellished pillow covers?
Upholstery weight fabric offers the best durability. Drop cloth from hardware stores provides an affordable rustic option for stenciled designs. For a standard 16″ x 16″ pillow, you’ll need approximately ½ yard of fabric.
How do I make a memory pillow from a loved one’s clothing?
Center distinctive features like collars, pockets, or button plackets on the pillow front. Use a permanent sewn closure rather than an envelope style to better protect the sentimental fabric. Stuff lightly and consider preserving original hems when possible.
Key Takeaways for Embellishing Throw Pillows Like a Pro
Embellishing throw pillows is an affordable, creative way to refresh your home decor. Start with a clear design plan that matches your space and purpose. Gather basic tools, choose durable upholstery fabric, and select embellishments that fit your skill level. Follow the 10-step workflow for consistent, professional results every time.
Your next step: Pick one simple project, like adding pom-pom trim to a plain envelope cover, and complete it this weekend. Once you see how easy it is, you’ll be hooked on transforming every plain pillow in your home.