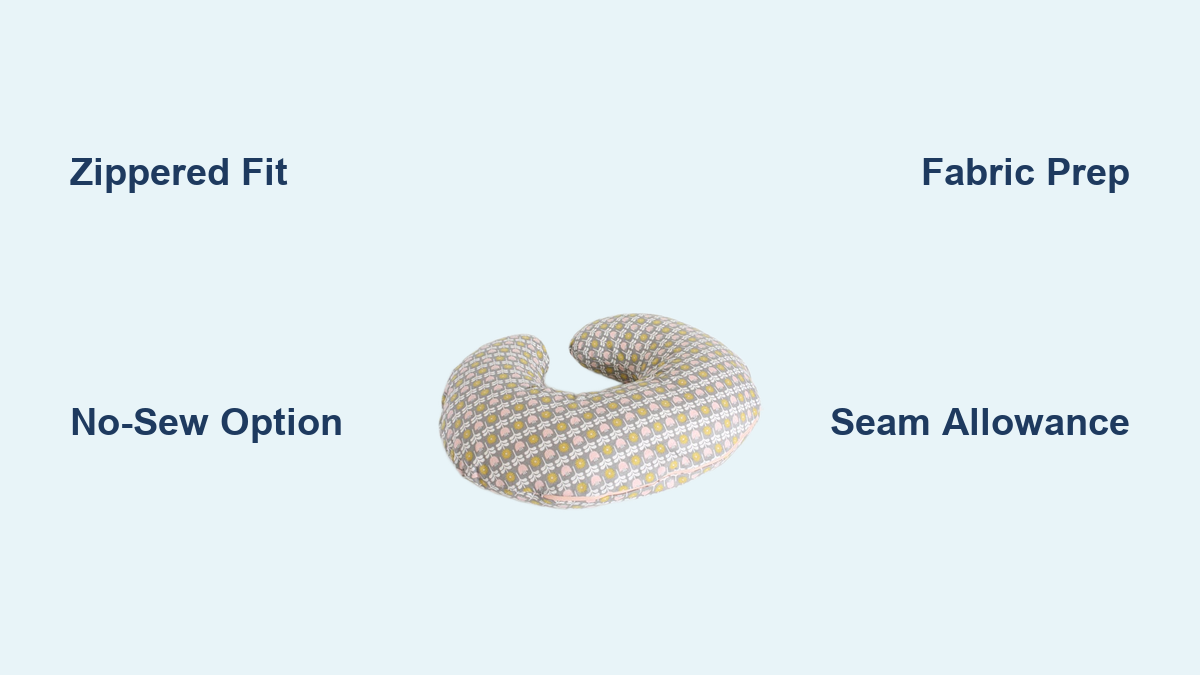
How to Make a Boppy Pillow Cover
If your baby’s Boppy pillow has seen one too many spit-up incidents, making a custom Boppy pillow cover is the perfect weekend project. Store-bought covers add up quickly, and a handmade version lets you match your nursery theme while saving money. With basic materials and a few hours, you can sew a washable, custom-fit cover that looks professionally made.
This guide covers three construction methods so you can pick the one that fits your skill level. You’ll learn exact fabric measurements, zipper installation tricks, and how to avoid the most common (and frustrating) mistakes. By the end, you’ll have a snug, durable cover ready for countless wash cycles.
Choose Your Construction Method
Three main techniques define how Boppy pillow covers are made. Picking the right one ensures success and satisfaction based on your sewing experience.
Zippered Envelope: Professional Fit
This method delivers a store-bought look with full access for washing. It uses two back panels joined by a centered zipper, allowing the cover to open fully and fit tightly over the pillow. Recommended for daily use and gifts, it requires intermediate sewing skills and a zipper foot attachment. The result is secure, sleek, and fully encloses the pillow without gaps.
No-Zip Envelope: Beginner-Friendly
Ideal for those new to sewing or avoiding zippers, this style uses overlapping back panels, much like a pillowcase. One side is hemmed and tucks under the other, staying in place via fabric tension or optional snaps. It’s faster than the zippered version and works well with knits or fleece. While functional, it may loosen over time unless reinforced with closures.
Elastic Slipcover: No-Sew Option
Perfect for emergencies or non-sewers, this method relies on stretchy elastic to grip the pillow. Two fabric rectangles are seamed at the sides, with elastic sewn into top and bottom hems to create a gathered, fitted cover. It installs quickly and removes easily for washing. Though casual in appearance, it’s highly practical for backup covers or quick replacements.
Gather Materials and Tools
Before cutting fabric, ensure you have the correct supplies based on your chosen method. Using the right materials prevents fit issues and extends the cover’s life.
Select the Right Fabric
Cotton quilting fabric is the top choice for breathability and durability. Pre-wash all fabric to prevent shrinkage after construction, which avoids a cover that’s too tight or misshapen post-wash. For colder months, use flannel or fleece; for summer, lightweight cotton or linen blends keep baby cool. Minky and knits also work, especially for no-zip or slipcover styles.
Measure Fabric Requirements
For a standard 24″ x 14″ Boppy pillow, you’ll need:
- Single fabric (zippered or envelope): 1 ½ yards of 44″-wide fabric
- Two-tone design: 5/8 yard for front, 3/4 yard for back
- Elastic slipcover: 1 yard of lightweight cotton or soft knit
Cutting from an existing cover or printed pattern affects yardage, so always verify dimensions before cutting.
Prepare Essential Tools
You’ll need:
- Sewing machine and thread (polyester or cotton-wrapped polyester for durability)
- Scissors or rotary cutter
- Pins or clips
- Iron and pressing cloth
- Measuring tape
- Seam ripper (for zipper corrections)
- Zipper foot (for zippered version)
- 18-inch zipper or 1″ wide elastic (36″ total)
Cut Fabric Using Your Pattern Method
Accurate cutting ensures a snug, professional fit. Choose the method that matches your resources and pillow shape.
Trace an Existing Cover
This is the most reliable way to match your specific Boppy pillow.
- Fold the old cover in half lengthwise.
- Fold your new fabric in half, aligning grain lines.
- Pin the old cover to the fabric and trace around it.
- Add 1 inch seam allowance on all curved edges (except the folded edge).
- Cut through both layers to create two identical front/back halves.
Pro Tip: More seam allowance makes zipper installation easier and reduces strain during turning.
Use a Printed Pattern
Free downloadable patterns offer precision for standard pillows.
- Print at 100% scale and tape pieces together, matching alignment marks.
- Place the “Front” piece on the fabric fold and cut one.
- Place “Upper Back” and “Lower Back” on the fold and cut two separate pieces.
- If your pillow is non-standard, trace it directly onto the pattern, adding ½ inch seam allowance.
Cut Rectangles for Slipcovers
For the elastic method, skip tracing. Cut two rectangles measuring 24 inches long by 14 inches wide. These dimensions accommodate the standard Boppy size (24″ L x 14″ W x 9″ H). No seam allowance is needed beyond the ½-inch hem for elastic.
Build a Zippered Cover Step by Step

This method produces a durable, retail-quality cover. Follow these steps carefully to avoid the classic “forgotten zipper” mistake.
Assemble the Back Panels
- Place the Upper and Lower Back pieces right-sides together along the straight edge.
- Mark where the zipper teeth begin and end.
- Sew a basted seam only between these marks, reinforcing with backstitching at both ends.
- Extend permanent stitching about 3 inches beyond each end of the basted section.
- Press the seam open with an iron.
Visual Cue: The pressed-open seam should lie flat with no puckering.
Install the Centered Zipper
- Lay the zipper face-down over the seam, centering the teeth on the basted line.
- Pin the zipper tape to the seam allowances only. Avoid pinning into the main fabric to prevent distortion.
- Using a zipper foot, stitch a rectangle: down one side, across the end (avoiding metal), up the other side, and across the top.
- Carefully rip out the basting stitches with a seam ripper to open the zipper channel.
Warning: Never sew over the metal zipper stops. This can break your needle.
Sew the Full Cover
- Unzip the zipper halfway. This step is critical for turning later.
- Place the Front piece and assembled Back piece right-sides together.
- Pin around the entire outer edge.
- Sew a continuous seam with a ½-inch (or 1-inch, if traced with extra allowance) seam allowance.
- Reinforce stress points with a second stitch line or zigzag stitch.
Pro Tip: Backstitch at start and end to prevent seam unraveling during washes.
Finish and Test the Fit
- Clip the seam allowance every ¼ inch along curves. Do not cut the stitches.
- Turn right-side out through the open zipper.
- Use a chopstick or turning tool to push out corners.
- Insert the Boppy pillow and zip closed.
The cover should feel snug but not strained. This tight fit prevents shifting during use.
Make a No-Zip Envelope Cover

This beginner-friendly method skips the zipper but still delivers a clean, functional cover.
Hem the Back Flaps
- Take the Top and Bottom Back pieces.
- For woven fabric: Fold the straight edge ½ inch, press, fold another ½ inch, press again, and stitch to create a clean hem.
- For knits or fleece: Fold 1 inch and stitch once. These fabrics don’t fray, so a double fold isn’t needed.
Note: The hemmed edges will overlap in the center when finished.
Layer and Pin for Sewing
- Lay the Front piece right-side up.
- Place the Top Back piece right-side down, aligning raw outer edges.
- Place the Bottom Back piece right-side down on top, also aligning raw edges.
- The hemmed edges should now overlap in the center. Pin all layers securely.
Check Fit: Ensure the overlap is at least 2 inches to prevent gapping.
Sew and Turn the Cover
- Sew around the entire perimeter with a ½-inch (or 3/8-inch for some patterns) seam allowance.
- Clip curves every ¼ inch to allow smooth rounding.
- Turn right-side out through the envelope opening.
- Push out curves with a blunt tool.
Optional: Add Velcro or snaps to the overlapping flaps if the pillow slips out easily.
Create an Elastic Slipcover (No-Sew Option)

This fastest method requires minimal sewing and is perfect for backup covers.
Add Elastic to Top and Bottom
- Cut two 18-inch pieces of 1-inch wide elastic.
- On one 14-inch edge of each fabric rectangle, fold over ½ inch and press.
- Insert one elastic piece into the fold, overlapping the ends by 1 inch.
- Knot the ends and stitch the casing closed. Repeat for the second piece.
No-Sew Alternative: Use fabric glue to secure the elastic and seal the casing.
Join the Side Seams
- Place the two rectangles right-sides together.
- Align the elasticized edges.
- Sew the two 24-inch sides with a straight stitch.
– No-sew option: Use strong fabric glue or iron-on bonding tape. - Turn right-side out.
Visual Cue: The elastic should gather the fabric evenly at both ends.
Install on the Pillow
Slide the Boppy pillow in from the bottom. The elasticized top and bottom will hug the pillow securely, creating a fitted look similar to a crib sheet. This method works best for quick changes, travel, or when the main cover is in the wash.
Avoid Common Mistakes
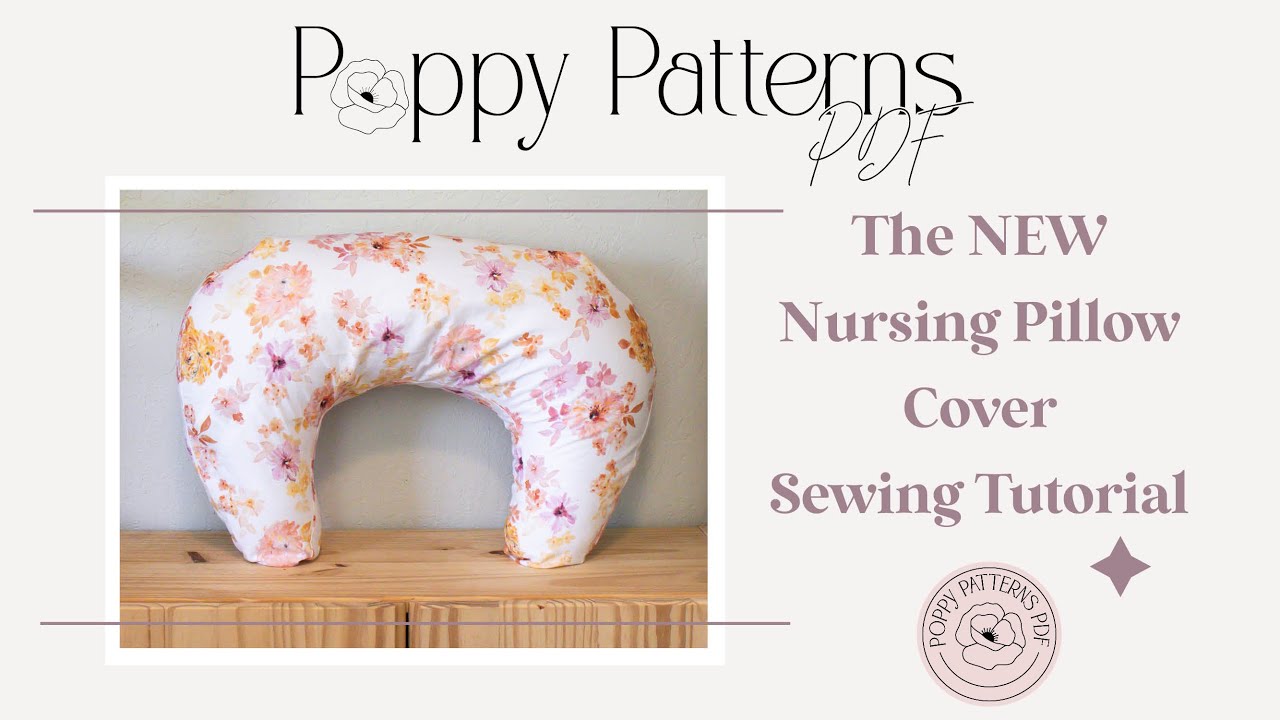
Even small errors can ruin your cover. These tips prevent the most frequent issues.
Never Forget to Unzip
The number one mistake is sewing the final seam with the zipper closed. Always unzip at least halfway before sewing the outer perimeter. If you forget, you’ll need to unpick the seam, so make it a habit to check.
Use Enough Seam Allowance
When tracing an existing cover, add 1 inch on curved edges. A ½-inch allowance may seem standard, but it’s often too tight for smooth zipper installation and turning.
Clip Curves Properly
Skipping clip marks causes bulky, uneven curves. Clip every ¼ inch on tight curves and up to ½ inch on gentle ones. Always stop 1/8 inch from the seam.
Prevent Puckering
When installing zippers, pin only the seam allowance to the zipper tape. Pinning through the main fabric pulls it and creates ripples. Use an iron to press seams flat before final sewing.
Customize and Maintain Your Cover
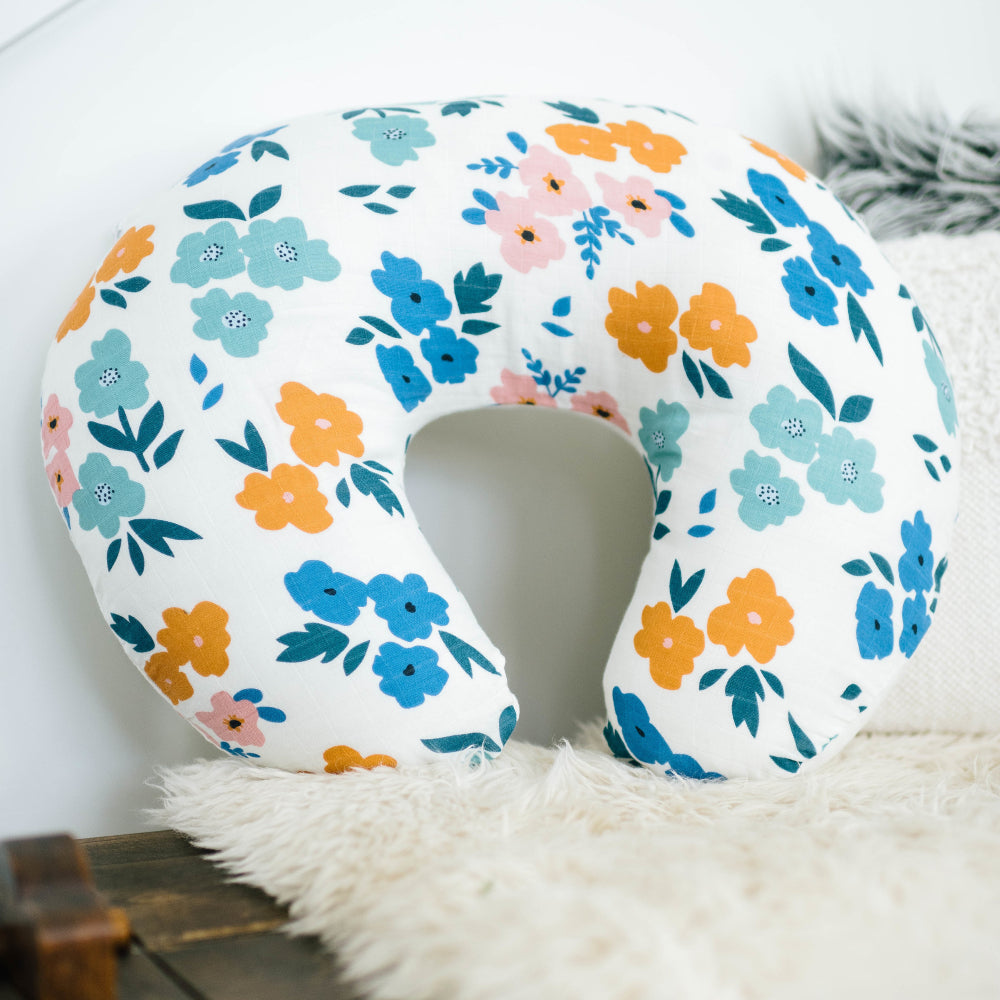
A handmade cover isn’t just functional. It’s an opportunity to express style and ensure long-term use.
Match Nursery Themes
Choose fabrics that coordinate with your baby’s room: floral prints, gender-neutral geometrics, or seasonal patterns like buffalo plaid for winter. Pre-quilted cotton adds texture and eliminates lining.
Rotate Multiple Covers
Make two or three covers so one is always clean. Babies spill, drool, and spit up, and having backups ensures hygiene and convenience. Label each with fabric type (e.g., “flannel – winter”) for easy sorting.
Wash and Care Tips
- Machine wash in cold water, gentle cycle
- Tumble dry low or air dry to prevent shrinkage
- Use non-chlorine bleach only if needed
- For zippered covers, wash with the zipper closed to reduce wear
Durability Boost: Use double stitching on high-stress seams, especially for daily-use covers.
Frequently Asked Questions About Making a Boppy Pillow Cover
What size fabric do I need for a Boppy pillow cover?
For a standard Boppy pillow (24″ x 14″), you need 1 ½ yards of 44″-wide fabric for a single-color design. For a two-tone cover, use 5/8 yard for the front and 3/4 yard for the back. The elastic slipcover method requires only 1 yard of lightweight fabric.
Can I make a Boppy cover without a sewing machine?
Yes, the elastic slipcover method works as a no-sew project. Use fabric glue or iron-on bonding tape instead of stitching the side seams and elastic casings. The envelope method can also be hand-sewn, though it takes significantly longer.
How do I keep the zipper from puckering when I install it?
Pin only the zipper tape to the seam allowance, never through the main fabric. Pinning into the body of the cover pulls the fabric and creates ripples. Press the seam flat with an iron before final stitching for the smoothest results.
Why does my cover feel too tight when I put the pillow in?
A snug fit is intentional and actually desirable. A tight cover prevents the inner pillow from shifting or bunching during use. If the cover is genuinely too small, you may have forgotten to add the recommended 1-inch seam allowance when tracing.
What fabric works best for a summer Boppy cover?
Lightweight cotton or linen blends are ideal for warm weather. These fabrics breathe well and prevent baby from getting sweaty during feeding. Flannel and fleece are better reserved for winter use when extra warmth is welcome.
How many covers should I make?
Aim for at least two or three covers. Babies are messy, and having backups means you’re never caught without a clean cover while one is in the wash. Many parents make seasonal sets, such as flannel for winter and cotton for summer.
Key Takeaways for Sewing Your Own Boppy Pillow Cover
Making a Boppy pillow cover is a practical, rewarding project that saves money and adds personal flair to baby care. The three methods (zippered, envelope, and elastic slipcover) each offer different benefits depending on your skill level and needs. Accurate cutting, proper seam allowance, and attention to detail (like clipping curves and unzipping before final sewing) ensure a cover that fits perfectly and withstands daily use.
Start with one cover using the method that matches your comfort level. Once you master the technique, you’ll likely want to make more for different seasons, as gifts, or simply to rotate through the wash. Pick your fabric, gather your tools, and set aside an afternoon. You’ll have a custom cover ready before baby’s next feeding session.