How to Crochet a Cat Pillow: Easy DIY Guide
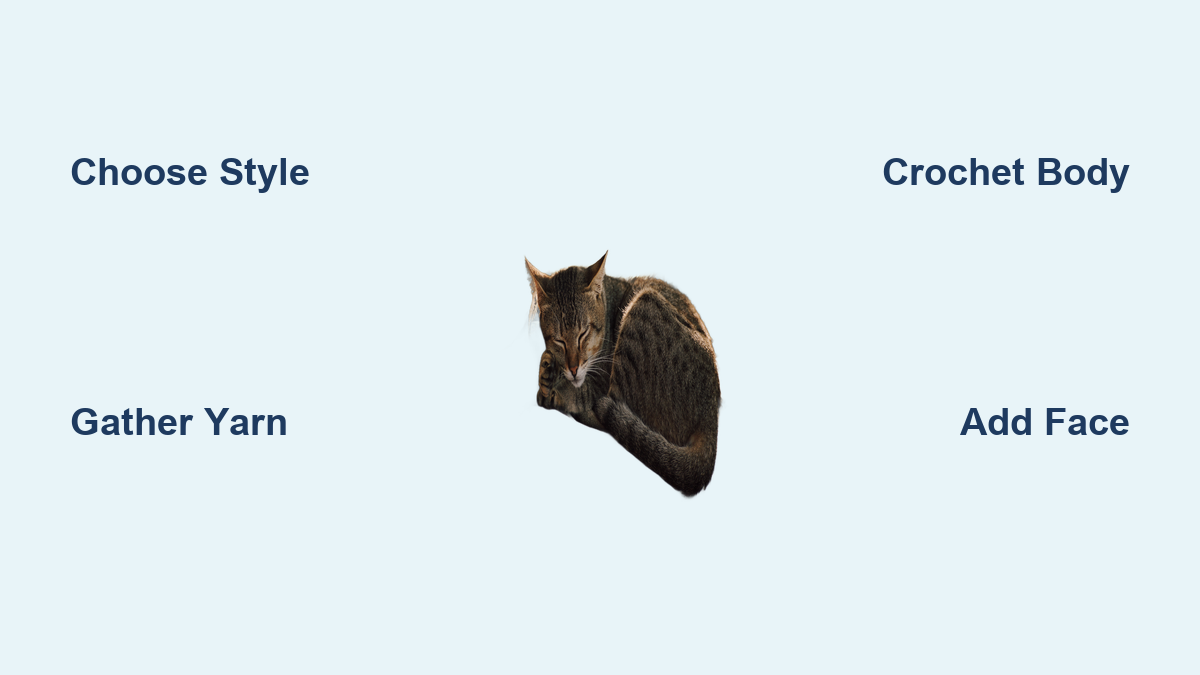
Tired of store-bought decor that lacks personality? Crocheting a cat pillow lets you create a soft, huggable piece of art your cat-loving heart desires. Whether you’re a beginner or looking to level up your craft game, learning how to crochet a cat pillow opens the door to endless customization: choose bold black yarn for a sleek silhouette, go fluffy with jumbo faux fur, or stitch a smiling kitty face that lights up any room.
This guide covers two popular styles: a quick 2–3 hour faux fur cuddler perfect for beginners, and a detailed 3D amigurumi cat pillow great for gifting or decorative display. You’ll learn exactly what materials to buy, how to shape ears and tails, attach expressive faces, and assemble everything seamlessly.
Choose Your Cat Pillow Style
Before picking up your hook, decide which type of cat pillow fits your skill level and timeline.
3D Amigurumi Cat Pillow
A fully stuffed, plush cat shape that stands on its own. This version uses Bernat Blanket yarn (super bulky #6) and an 8.0 mm hook. It takes 6–10 hours but results in a huggable, professional-quality plush. This style is ideal for children, gifts, or cozy companions.
Flat Faux Fur Cuddler
A soft rectangular pillow with shaped ears and embroidered features. Made with Lion Brand Go For Faux (jumbo #7) and a 15.0 mm hook, it works up fast in just 2–3 hours. The thick, furry texture hides mistakes, making it perfect for beginners.
Both styles use basic stitches: single crochet (SC), half double (HDC), double crochet (DC), increase (INC), and decrease (DEC). Choose based on time, yarn preference, and whether you want a freestanding cat or a flat accent pillow.
Gather Materials and Tools
Having the right supplies makes all the difference, especially when working with bulky or fuzzy yarn.
Yarn Options by Style
• 3D Amigurumi: Bernat Blanket (super bulky #6), 1 large skein (~300 yards)
• Faux Fur Cuddler: Lion Brand Go For Faux (jumbo #7), 4–5 skeins (96–120 yards total)
• Facial details: Lion Brand Cotton or worsted-weight yarn in contrasting colors
Color Tips:
• Main body: Black, gray, cream, or orange
• Face details: Yellow or green eyes, pink nose, white or black whiskers
• Bowtie (optional): Red, blue, or polka dot for a dapper look
Hook Sizes
Match your hook to your yarn weight:
• 15.0 mm (Q US): For jumbo faux fur (Go For Faux)
• 8.0 mm (L US): For super bulky (Bernat Blanket)
• 6.0 mm (J-10 US): For worsted-weight panels or granny squares
• 4.0 mm (G-6 US): For small facial details (eyes, nose)
Essential Tools
• Tapestry needle for sewing and weaving ends
• Sharp fabric scissors for clean cuts
• Stitch markers to track round starts
• Polyester fiberfill (16 oz bag) for stuffing
• Safety eyes (7 mm) for realistic eyes
• Pillow insert (optional): 14″ × 14″ for flat covers
Crochet a 3D Cat Pillow (Amigurumi Style)
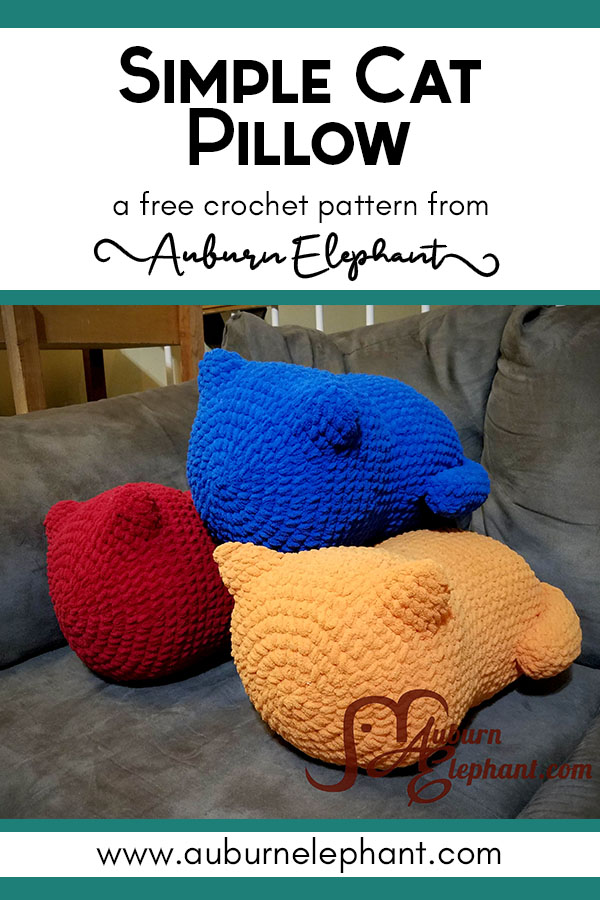
Create a lifelike, fully stuffed cat using continuous rounds and shaping techniques.
Start the Body
Use Bernat Blanket yarn and 8.0 mm hook. Work in spiral rounds, marking the first stitch of each round.
Round-by-Round Instructions:
- Round 1: SC 8 into magic ring → 8 sts
- Round 2: 2SC in each st → 16 sts
- Round 3: SC, 2SC → 24 sts
- Round 4: SC in 2, 2SC → 32 sts
- Round 5: SC in 3, 2SC → 40 sts
- Round 6: SC in 2, 2SC; SC in 4, 2SC → 48 sts
- Round 7: SC in 5, 2SC → 56 sts
- Round 8: SC in 3, 2SC; SC in 6, 2SC → 64 sts
- Rounds 9–14: SC in each st → 64 sts
- Round 10 Modification: SC in next 21, Ch 6, skip 6 sts, SC in next 10, Ch 6, skip 6 sts, SC in remaining 21 → creates ear openings
- Round 11: SC in each st, including chain stitches → 64 sts
- Rounds 12–14: SC in each st → 64 sts
- Round 15: SC in 14, DEC → 60 sts
- Round 16: SC 23, DEC×2, SC 2, DEC, SC 2, DEC×2, SC 23 → 55 sts
- Round 17: SC in 9, DEC → 50 sts
- Round 18: SC in each st → 50 sts
- Round 19: SC in 4, 2SC → 60 sts
- Rounds 20–30: SC in each st → 60 sts
- Round 31: SC in 13, DEC → 56 sts
- Round 32: SC in 5, DEC → 48 sts
- Round 33: SC in each st → 48 sts
- Round 34 (Tail Opening): SC in next 4, DEC, SC in next 4, DEC, Ch 5, skip 6 sts, SC in next 4, DEC → 40 sts
- Rounds 35–36: SC in each st
- Round 37: SC in 3, DEC → 32 sts
- Round 38: SC in 2, DEC → 24 sts
- Round 39: SC, DEC → 16 sts
- Round 40: DEC around → 8 sts
- Finish: Cut yarn, pull through, weave in end
Stuffing Tip: Begin stuffing around Round 36. Use full 16 oz of polyfil, packing ears and tail lightly for natural shape.
Make the Ears (x2)
Reattach yarn at first skipped stitch from ear opening.
- Round 1: SC in next 6, 2SC in side of next SC, SC in next 6, 2SC in side of next SC → 16 sts
- Round 2: SC in 2, DEC → 12 sts
- Round 3: DEC around → 6 sts
- Finish: Add light stuffing, cut yarn, pull through, weave in
Crochet the Tail
Reattach yarn at first skipped stitch from tail opening.
- Round 1: SC in next 6, 2SC in side of next SC, SC in next 5, 2SC in side of next SC → 15 sts
- Round 2: SC in 8, HDC in 5, SC in 2 → 15 sts
- Round 3: SC in 6, DEC, HDC in 5, DEC → 13 sts
- Rounds 4–15: SC in each st → 13 sts
- Round 16: SC in 4, DEC, SC in 5, DEC → 11 sts
- Round 17: SC, DEC → 8 sts
- Finish: Stuff lightly throughout; leave long tail for sewing to body
Design Note: Do not over-stuff the tail. It should curl slightly for realism.
Create a Faux Fur Cat Cuddler (Fast Version)
This beginner-friendly version uses jumbo yarn and simple shaping for a plush, pillow-like cat in under 3 hours.
Front Panel with Ears
Use Lion Brand Go For Faux and 15.0 mm hook.
- Row 1: Ch 13, turn
- Row 2 (RS): Ch 1, 12 SC across → 12 sts
- Row 3 (WS): Ch 2 (counts as st), 1 SC in same st, SC across to last st, inc in last st → 14 sts
- Row 4 (RS): Ch 1, SC across, making last SC in 2nd ch of previous row’s ch-2 → 14 sts
- Rows 5–7: Ch 1, SC across → 14 sts
- Row 8: Ch 1, 1 SC, dec, 8 SC, dec, 1 SC → 12 sts
- Rows 9–11: Ch 1, SC across → 12 sts
- Row 12: Ch 1, 1 SC, dec, 6 SC, dec, 1 SC → 10 sts
- Rows 13–14: Ch 1, SC across → 10 sts
- Row 15: Ch 1, 1 SC, dec, 4 SC, dec, 1 SC → 8 sts
- Rows 16–17: Ch 1, SC across → 8 sts
- Row 18 (Ears): Ch 2, SL ST into first ch st, SC into first st of row, 6 SC across, Ch 2, SL ST into first ch st, SC in last st → forms two ear shapes
Back Panel (No Ears)
Same as front except Row 18: Ch 1, SC across (8 sts) with no ear shaping. Continue slip stitching down side, along bottom, and up opposite side. Fasten off at top right corner.
User Insight: Faux fur hides mistakes, making this version perfect for new crocheters.
Add Facial Features

Bring your cat to life with expressive eyes, nose, whiskers, and optional bowtie.
Embroider the Eyes
Use black worsted yarn and 4.0 mm hook.
- Work magic circle, ch 2
- 8 HDC into circle
- Do not join. Cut yarn, leave 8-inch tail
- Pull tail through last st, invisible join to first SC
Placement: One-quarter down from top, centered horizontally. Pin in place first.
Attach Pupils
Use white worsted yarn:
- Chain 6
- SC, HDC, DC, HDC, SC in 2nd ch from hook
- Fasten off
- Sew centered on yellow eye base
- Pull short white strand through one stitch for glint effect
Stitch the Nose
Option 1 (Crocheted): Ch 5, SC in 2nd ch and next 3 (4 SC), Row 2: SC2TOG at both ends (2 sts), Row 3: SC2TOG (1 st). SC around all sides, 3 SC at corners for rounded look.
Option 2 (Embroidered): Backstitch an upside-down Y or heart shape below eyes. Keep stitches loose so they sit on top of fur.
Add Whiskers and Mouth
Use tapestry needle to sew 3 whiskers on each side of nose. Pull loosely to prevent sinking into fabric. For the mouth, backstitch a slight upward curve below the nose for a smile.
Pro Tip: Leave thread ends unsecured during placement. Flip panel and tie matching ends together once satisfied.
Make a Bowtie (Optional)
Use leftover colorful yarn to crochet a mini bowtie. Attach it slightly below the face before seaming panels.
Assemble the Pillow

How you join panels affects durability and appearance.
For 3D Cat Pillow
- Sew ears and tail to body using matching yarn and tapestry needle
- Attach facial features in order: eyes → nose → whiskers
- Weave in all ends securely
For Faux Fur Cuddler (Mattress Stitch)
- Place front and back panels together, right sides out
- Thread tapestry needle with leftover faux fur yarn
- Use mattress stitch to sew around edges
- Do not sew ears shut. Work around their base to keep them upright
- Stuff with polyfil after sewing three sides
- Complete seam, fasten off, weave in end
Customize Your Design
Make your cat pillow unique with these easy upgrades.
Color Variations
• Gray or cream for a softer, modern look
• Orange tabby using variegated yarn
• Tuxedo cat with white chest panel and black body
Texture Experiments
Try chenille, velvet, or mohair for different feels. Mix yarns: fluffy body with smooth facial details.
Functional Upgrades
• Add dried lavender for calming scent
• Insert rice or beans in bottom for weighted base
• Use specialty glow-in-the-dark yarn for eyes
Care and Maintenance
Keep your handmade pillow looking fresh.
• Hand wash in cold water with mild detergent
• Air dry flat. Never tumble dry
• Avoid machine washing unless yarn label allows
• Spot clean embroidered areas gently
Repair Tip: Re-tighten loose embroidery or re-stitch seams as needed.
Troubleshooting Common Issues
Cannot See Stitches in Faux Fur?
Use stitch markers every 5–10 stitches. Work slowly, feeling for loops with your hook. Choose slightly tighter tension.
Embroidery Sinking Into Fabric?
Use looser tension when stitching. Pull features slightly forward after placement. Choose contrasting thread thickness.
Pillow Too Lumpy?
Distribute stuffing evenly before closing. Break fiberfill into small clumps. Avoid over-stuffing tail and ears.
Frequently Asked Questions About Crocheting a Cat Pillow
How long does it take to crochet a cat pillow?
A faux fur cuddler takes 2–3 hours for beginners. A 3D amigurumi cat pillow takes 6–10 hours depending on experience.
What yarn is best for a cat pillow?
Bernat Blanket (super bulky #6) works well for 3D amigurumi styles. Lion Brand Go For Faux (jumbo #7) is ideal for faux fur cuddlers because the texture hides mistakes.
Can beginners make a cat pillow?
Yes. The faux fur version is beginner-friendly because the thick yarn hides uneven stitches. Start with this style if you are new to crochet.
How do I clean a crocheted cat pillow?
Hand wash in cold water with mild detergent and air dry flat. Avoid machine washing unless the yarn label specifically permits it.
How much yarn do I need for a cat pillow?
For a faux fur cuddler, you need 4–5 skeins (96–120 yards total). For a 3D amigurumi cat, one large skein of Bernat Blanket (about 300 yards) is sufficient.
Final Thoughts on Making a Cat Pillow
Crocheting a cat pillow is about creating something warm, personal, and full of character. Whether you’re making a gift for a cat lover, a comfort object for a child, or a cozy accent for your reading nook, this project delivers satisfaction with every stitch.
The faux fur version proves you do not need hours to make something beautiful. With the right yarn and a simple shape, you can finish a snuggly cat in a single afternoon. The 3D amigurumi style offers creative depth, perfect for building skills in shaping, stuffing, and assembly.
Remember that mistakes are hidden by texture, customization is endless, and the joy of holding a handmade cat pillow is priceless. Grab your hook, pick your favorite yarn, and start stitching your way to a purr-fect creation.