How to Cut Latex Foam Pillow: Easy Steps
Cutting a latex foam pillow doesn’t have to be intimidating if you know the right tools, techniques, and safety steps. Whether you’re resizing a pillow insert, shaping it for ergonomic support, or customizing a topper for a unique cushion, precision matters. Latex foam is dense, elastic, and resilient, which means it behaves differently than regular polyurethane foam. A rushed or poorly guided cut can result in wavy edges, misalignment, or even ruined material.
This guide delivers a complete, step-by-step breakdown of how to cut latex foam pillows safely and accurately. You’ll learn which tools work best and which to avoid, how to mark and measure for perfect fits, and why certain cuts should be left to professionals. We also cover post-cutting tips like bonding and finishing with batting for a polished look.
Choose the Right Cutting Tool
Selecting the correct tool is the first step to a successful cut. Latex foam’s density and elasticity demand a blade that slices smoothly without tearing or compressing the material.
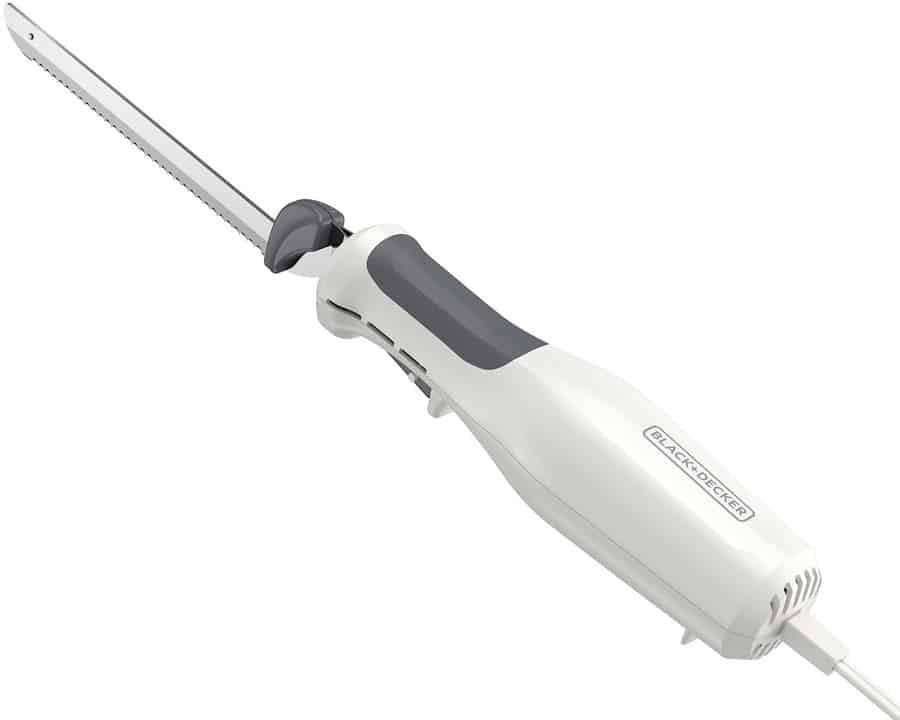
Electric Carving Knife for Most Cuts
An electric carving knife, especially a 7-inch model, is the top choice for cutting latex foam pillows. Its dual-blade oscillating motion glides through dense foam like a warm knife through butter.
This tool is ideal for foam over 1.5 inches thick. The back-and-forth motion reduces resistance, allowing clean, controlled cuts. Pro tip: spray the blades with silicone lubricant before cutting. Users report up to 30% less effort and smoother glide. This tool is not suitable for horizontal slicing to reduce thickness.
Upholstery Saw for Cleanest Manual Cuts
For the cleanest, most precise cut, especially on thick Dunlop latex, an upholstery saw outperforms most tools. The blade is long and serrated with angled teeth that prevent skidding.
This tool is best for straight, angled, or beveled cuts on firm foam. Let the saw do the work. Do not force it. Back out periodically to avoid binding. The result is minimal fraying and sharp edges, ideal for visible surfaces.
Heavy-Duty Shears for Thin Foam Only
Use heavy-duty shears only on latex under 2 inches thick. An 8 to 10 inch blade length is recommended.
These shears work best for trimming edges, rounding corners, or cutting thin pillow inserts. Avoid using them on thick or dense foam because of the risk of jagged edges or tearing.
Serrated Kitchen Knife as Backup
A large serrated bread knife can work in a pinch for soft Talalay latex. The pros are that it’s readily available and good for curves or tight spaces. The cons are that it’s hard to control on thick foam and prone to deviation.
Use this tool only for minor shaping. It is not recommended for full cuts.
Set Up Your Workstation
A stable, well-prepared workspace is essential for clean, safe cuts.
Use Two Tables with a Gap
Place two tables of equal height side by side, leaving a 5-inch gap. Position the foam so the marked cut line hangs over the gap. This allows full downward blade travel without obstruction.
Alternatively, use one table with the foam edge aligned to the table edge for straight cuts.
Secure the Foam
Do not stretch or shift the foam during cutting because its elasticity can cause wavy lines. Pin or tape the paper pattern in place before marking. Stand or kneel carefully on the foam if needed, but avoid pressure near the cut line.
Safety Gear and Ventilation
Wear gloves to protect hands and improve grip. Use ear protection if operating power tools. Work in a ventilated area because latex particles are not toxic but can irritate lungs in large amounts.
Measure and Mark Accurately
Precision starts before the blade touches foam.
Measure the Pillow Cover
Measure from hem to hem the interior dimensions. Add 1 inch to length and width for a snug fit once compressed. If adding Dacron batting or a down envelope, reduce foam size by 1 inch on all sides.
Create a Paper Pattern
Use kraft paper, newspaper, or fabric bolt. Lay the cover flat and trace its shape. Mark the zipper location, top versus bottom, and thickness. Cut out the pattern and test fit on scrap paper.
Alternatively, trace directly on furniture for exact seating cushions.
Transfer Line to Foam
Place the pattern on latex and pin it securely. Use an extra-fine tip Sharpie to trace the outline. Use a metal ruler or yardstick for straight lines. Never use pinholes as alignment guides because they do not line up vertically.
Cut with Control and Precision
Now it is time to cut. Follow these methods based on your tool and desired shape.
Cut Straight Lines Like a Pro
For resizing pillow length or width, use an electric carving knife or upholstery saw. Align one side with the factory edge of the foam slab to minimize cuts. Use the table edge as a guide. Cut slowly, pulling the knife toward you.
Treat it like slicing bread. Slow, steady pressure wins.
Make Angled Cuts for Wedges
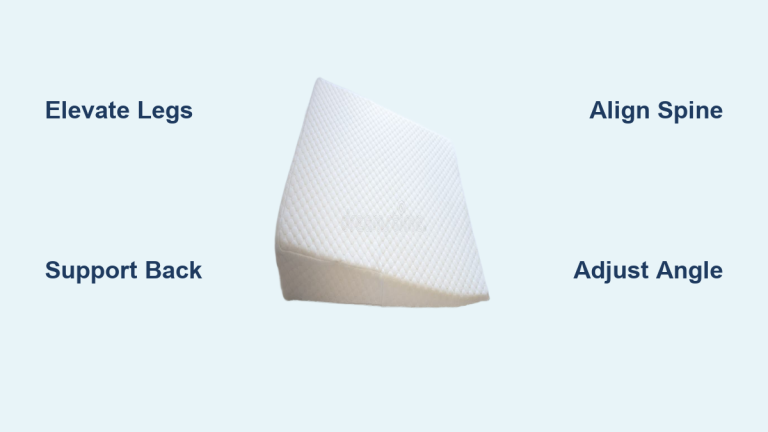
To create ergonomic neck support or V-shaped inserts, mark the diagonal line on top and sides. Wear gloves and keep hands clear. Use a two-person technique. One person stabilizes the base while the other guides the top. Keep the blade vertical to maintain uniform thickness.
The challenge is that electric knives can flex, causing tapered edges.
Shape Curves with the Wedge Method
For anatomical shaping like lumbar support, mark the curve area. Cut out a small triangular wedge. Rejoin the edges to test curvature. Remove larger wedges incrementally until desired shape is achieved.
Removing a wedge from a large sheet can create a 90-degree curve. This method works best on upholstery or marine cushions, not standard pillows.
Avoid Horizontal Slicing

Reducing thickness, such as slicing a 3-inch piece down to 1.5 inches, is not recommended with household tools.
Why It Is So Difficult
This requires perfect perpendicularity across the entire cut. Foam compresses under blade pressure, leading to uneven layers. The blade must be longer than foam width, and most tools fail this requirement. There is high physical effort and risk of misalignment.
One DIYer abandoned a 3-inch Dunlop slice after 20 minutes due to shifting and blade binding.
Professional Solutions
Foam slitter machines are industrial tools used by mattress makers. Some local foam suppliers offer custom slicing. Upholstery shops may assist with straight cuts but rarely have slitters. DIY co-ops or makerspaces occasionally have industrial-grade equipment.
Call ahead to confirm blade length and capability.
Bond Cut Pieces Securely
If reshaping requires removing and rejoining foam, use the right adhesive.
Best Adhesives for Latex Foam
3M Super Trim Spray Adhesive and Bostik Contact Cement are both recommended. They dry fast and form strong, flexible bonds.
Bonding Steps
Apply adhesive to both surfaces. Wait 5 minutes for it to become tacky, following product instructions. Align pieces carefully because there is no repositioning once contact is made. Press firmly and place a heavy object like books on top. Let cure for 8 hours before handling.
The result is a durable joint that maintains shape and comfort.
Test Fit and Adjust
Never assume the first cut is perfect.
Insert Into Cover
Check for snug fit. The foam should compress slightly. Check alignment with seams and zipper. Check for no bulging or gaps. Acceptable variance is up to 1/4 inch because foam will expand or compress.
Make Final Adjustments
If too big, trim excess with the same tool. If too small, glue on a foam patch using contact cement. Smooth the joint and cover with Dacron batting.
Finish with Batting for a Polished Look
Batting gives your pillow a soft, plump appearance and helps it slide into covers.
Book Wrap Method
Cut batting slightly larger than top, bottom, and front. Wrap three sides, overlapping at the back. Spray lightly with adhesive and press in place. Trim excess with sharp scissors.
Full Wrap Option
Apply batting to all sides for extra softness. This is ideal for decorative cushions or visible inserts.
Insert and Finalize
Slide Foam Into Cover
Most covers have a zipper on the back or side. Start from one corner, gently working the foam in. For tight fits, slip a plastic bag over the foam to reduce friction. Optionally vacuum-compress briefly, but remove the bag before final insert.
Position and Expand
Align edges with seams. Let the foam fully re-expand, which takes 1 to 2 hours. Fluff and adjust for even distribution.
Safety and Pro Tips
Must-Follow Safety Rules
Always wear gloves. Use ear protection with power tools. Work in a ventilated area. Turn off tools before repositioning.
Expert Tips for Success
Never stretch the foam because elasticity ruins cut accuracy. Cut slowly because rushing causes wobbles and tears. Lubricate electric knife blades with silicone spray. Clean up latex shavings because they can be messy and irritating. Store leftover foam in a cool, dry place and avoid sunlight.
Tool Maintenance
Wipe blades clean after use. Replace dull or damaged blades because they crush instead of cut. Store tools in a dry place.
When to DIY vs. When to Call a Pro
Trimming edges is easy with an electric knife. Straight resizing yields good results with an electric knife plus table edge guide. Angled cuts have moderate difficulty and require a two-person technique. Curved shaping is achievable with the wedge removal method. Horizontal slicing is not recommended and requires a foam slitter at a fabricator. Bonding reshaped foam is effective with 3M Super Trim or Bostik Contact Cement.
Final Workflow Summary
Measure the pillow cover and add 1 inch for snug fit. Create a paper pattern and transfer to foam with a Sharpie. Set up two tables with a 5-inch gap and position foam over the cut line. Use an electric carving knife, lubricated if possible, and cut slowly, pulling toward you. Keep foam still without stretching or shifting. Test fit and trim if needed. Apply Dacron batting using the book wrap method. Insert into cover with plastic assist if tight. Let expand fully before final use.
Final Recommendations
For resizing or shaping, use a 7-inch electric carving knife with a straight edge guide. For reducing thickness, do not DIY. Seek a foam supplier with a slitter. Always wear gloves and work slowly because precision beats speed. Test on scrap foam first because practice makes perfect. Check warranty terms because cutting may void manufacturer coverage.
Frequently Asked Questions About Cutting Latex Foam Pillows
Can I cut a latex foam pillow with a regular kitchen knife?
A serrated kitchen knife can work in a pinch for soft Talalay latex, but it is difficult to control on thick foam and prone to jagged edges. For best results, use an electric carving knife or upholstery saw.
How do I reduce the thickness of a latex foam pillow at home?
Reducing thickness, such as cutting a 3-inch piece down to 1.5 inches, is not recommended with household tools. It requires perfect perpendicularity and a blade longer than the foam width. Seek a professional foam supplier with a slitter machine.
What is the best tool for cutting latex foam pillows?
A 7-inch electric carving knife is the best choice for most cuts. It glides through dense foam smoothly. An upholstery saw provides the cleanest manual cuts for thick foam.
Do I need to add extra size when cutting a replacement pillow insert?
Yes. Measure from hem to hem of the cover and add 1 inch to length and width for a snug fit once compressed. If adding Dacron batting, reduce foam size by 1 inch on all sides.
How do I get clean edges when cutting latex foam?
Cut slowly using steady pressure. Align one side with the factory edge to minimize cuts. Use a table edge as a guide. Treat it like slicing bread. Lubricate electric knife blades with silicone spray to reduce effort by up to 30 percent.
Can I glue cut pieces of latex foam together?
Yes. Use 3M Super Trim Spray Adhesive or Bostik Contact Cement. Apply to both surfaces, wait 5 minutes until tacky, press together firmly, and let cure for 8 hours.
Key Takeaways for Cutting Latex Foam Pillows
Cutting a latex foam pillow is entirely doable for shaping and resizing when you use the right tools and techniques. An electric carving knife with silicone-lubricated blades offers the best balance of control and ease for most pillow-sized projects. Always measure carefully, create a paper pattern, and cut slowly without stretching the foam. For horizontal thickness reduction, do not attempt it yourself. Seek a professional foam supplier with industrial slitting equipment instead. With proper preparation and patience, you can customize your latex foam pillow for perfect comfort and fit.