How to Sew a Throw Pillow With Piping
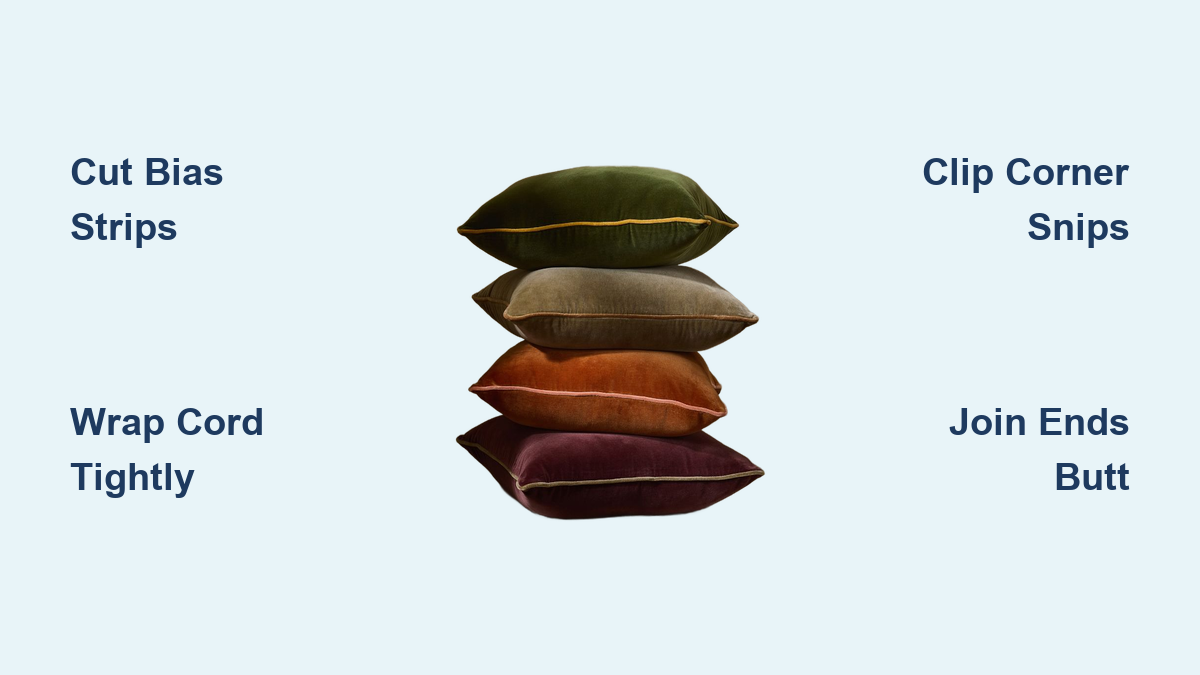
Nothing elevates a homemade throw pillow like crisp, clean piping. That slim corded trim along the edges adds polish, durability, and a designer finish that makes your project look store-bought, or better. Whether you’re using fabric from old napkins or investing in outdoor-grade upholstery, adding piping transforms a simple sewing task into a professional-looking home décor piece.
The key to success is precision. From cutting bias strips to joining piping ends seamlessly, every step matters. You will need a zipper foot, sharp scissors, and a little patience, but no advanced skills. This guide walks you through each phase: making your own piping, attaching it flawlessly to corners, and assembling the cover with an envelope back, hidden zipper, or hand-stitched closure. By the end, you will know how to sew a throw pillow with piping that stands up to daily use and looks great doing it.
Make Your Own Piping

Cut Fabric on the Bias
Piping fabric must be cut on the 45-degree bias for flexibility. Straight-grain strips will not stretch around corners and will pucker or pleat when sewn. Use a rotary cutter, ruler, and mat to slice 2.5″ wide strips diagonally across the fabric. For 1/2″ seam allowances and standard 1/4″–5/32″ cording, 2.5″ gives enough coverage with seam allowance.
If your strip is not long enough, join pieces by placing them at right angles with right sides together. Sew a diagonal seam, trim excess, and press open. This creates a continuous bias tape that feeds smoothly through the sewing machine.
Wrap Cord with Bias Tape
Lay your cord, whether cotton, foam, or repurposed rope, on the wrong side of the bias strip. Fold the fabric over the cord so raw edges align. The cord should sit just inside the fold, with about 1/2″ of fabric extending beyond it for seam allowance.
Use a zipper foot and long basting stitch (4.0mm+) to sew close to the cord. Do not worry about perfect tension yet, as this is temporary. This creates a flexible “snake” of piping ready to attach to your pillow front.
Seal Cord Ends
Before stitching, prevent fraying by wrapping the last inch of cord in Scotch tape or dabbing fabric glue on the cut ends. This keeps fibers from unraveling during construction and ensures a clean join later.
Attach Piping to Front Panel
Align and Begin Stitching
Place the pillow front right side up. Position the raw edge of the piping along the raw edge of the fabric with the cord facing inward. Start sewing in the middle of the bottom edge, leaving the first 2–3 inches of piping unsewn as a tail. This makes joining easier later.
Switch to a standard stitch length (2.5mm) for the final seam. Using the zipper foot, stitch as close to the cord as possible, right in the “ditch” between the cord and fabric. Adjust your needle position all the way left or right to get tight, even stitching.
Clip Corners for Smooth Turns
Stop sewing 1–2 inches before each corner. With the needle down, lift the presser foot and rotate the fabric 90 degrees. But first, clip the seam allowance of the piping fabric with 3–5 small snips, cutting up to (but not through) the stitching line. This releases tension so the bias tape can pivot smoothly without bunching.
After rotating, continue stitching down the next side. Repeat at all four corners. For jumbo piping (1/3″–1/2″ cord), consider slightly rounding the corners of the main fabric panel with a 1/4″ radius before attaching piping to reduce bulk.
Join Piping Ends Cleanly
When you are 2–3 inches from the starting tail, stop. Lay both tails flat and mark where the cords meet exactly end-to-end. A butt joint looks cleaner than overlapping.
Cut the cord inside the ending tail so it stops at the mark. Unpick the basting stitches on the starting tail, then fold the raw edge of the ending tail under diagonally to minimize bulk. Wrap it around the cord end and tuck the starting tail inside. Pin tightly.
Sew over the joined section, keeping the stitch line consistent. Trim any excess fabric or cord from the back. When done right, the join should be nearly invisible.
Assemble Pillow Cover
Envelope Back: No Zipper Needed
Cut two back panels: each the full height of the pillow, but only half the width plus overlap. For a 20″ pillow with 5″ overlap, each piece is roughly 14″ x 21″. Hem one long edge of each with a double fold (1/2″ total) and topstitch.
Lay the front (with attached piping) right side up. Place the back panels right side down on top, overlapping in the center by 4–5 inches. Align all outer edges and pin generously.
Sew around all four sides with a 1/2″ seam allowance, using the zipper foot to stay close to the piping. Trim corners diagonally to reduce bulk. Turn right side out, push out corners with a chopstick, and press.
Hidden Zipper: Reversible and Tailored

Install a zipper on the back panel before attaching it to the front. Position the zipper so the teeth sit directly under where the piping will go, which hides it completely when closed.
Attach the piping to the front panel first. Then place the zippered back right side down on the front, aligning raw edges. Sew around all sides with the zipper foot, staying close to the cord. Keep the zipper partially open while sewing to allow room for turning.
After sewing, check that the zipper slider is not caught in the seam and that the piping lies flat. Close the zipper, turn the cover right side out, and press.
Hand-Stitched Closure: Invisible Finish
Leave an 8-inch gap in the seam when sewing the back to the front. Turn the cover right side out and insert the pillow form. Use a ladder stitch (also called an invisible stitch) to close the opening by hand.
This method avoids machine bulk and is ideal for jumbo piping or high-end finishes. It is also great if you do not own a zipper foot or want maximum durability without hardware.
Choose the Right Materials

Pick Durable Fabric
Use home decor weight cotton, linen (like Robert Kaufman Essex), denim, or quilting cotton for indoor pillows. For outdoor or high-traffic areas, choose solution-dyed acrylic (e.g., Outdura) for UV, water, and stain resistance.
Repurposed materials like cotton napkins, tablecloths, or shower curtains work well. Just pre-wash to prevent shrinkage.
Size Fabric to Fit Insert
Cut fabric 1 inch larger than the insert for a standard, slightly loose fit (e.g., 21″ x 21″ fabric for a 20″ insert). For a snug, plump look with no “dog ears,” cut fabric exactly the same size as the insert.
Jumbo piping adds thickness. Account for this by slightly increasing the cut size or rounding corners.
Select Proper Cord Size
Standard piping uses 1/32″–5/32″ cord. For bold definition, go with jumbo 1/3″–1/2″ cord, which is perfect for floor pillows or statement decor.
Calculate cord length by measuring the perimeter of the front panel and adding 6 inches (e.g., 84″ + 6″ = 90″ for a 21″ square).
Use the Right Tools

Zipper Foot Is Essential
You cannot sew close to the cord without a zipper foot. It lets the needle stitch right next to the piping, hiding the seam when finished. A bulky overlock foot or piping foot works too, but a zipper foot is standard and affordable.
Iron and Press Constantly
Press every seam as you go. After attaching piping, press the seam allowance toward the back. After sewing the full cover, press the edges to crisp them. A well-pressed pillow looks professionally made.
Trim Bulk for Clean Corners
After sewing, trim corners diagonally and reduce seam allowances to 1/4″, especially with thick fabrics. Use pinking shears to prevent fraying. This prevents bulky corners and helps the pillow turn smoothly.
Prevent Common Mistakes
Avoid Puckered Corners
Puckering happens when bias tape is not clipped before turning. Always snip the seam allowance of the piping fabric at corners. If fabric still bunches, re-stitch the corner with deeper clips.
Prevent Gaps at Joins
A sloppy piping join ruins the look. Always butt the cords end-to-end, not overlap them. Trim the cord precisely and wrap the ending tail around the start. Pin tightly before sewing.
Do Not Stretch Bias Tape
While sewing, let the bias tape feed naturally. Pulling it tight causes rippling. Let the machine guide it, as this keeps the edge smooth and even.
Maintain and Extend Lifespan
Wash Carefully
If using a zipper or envelope back, remove the insert and machine wash on gentle. For hand-sewn closures, spot clean or hand-wash only. Always air dry to preserve shape.
Pre-wash cording if it is stiff or prone to shrinkage. Seal cut ends with hot glue before washing to prevent fraying.
Fluff and Rotate Inserts
Down inserts need regular fluffing to maintain shape. Garnetted fiber holds volume longer and resists moisture, making it ideal for outdoor use.
Rotate pillows weekly to prevent uneven wear, especially on sun-exposed or high-use pieces.
Repair Worn Piping
If corners wear thin, restitch by hand with matching thread. For severe damage, unpick one side, replace the piping section, and resew.
Customize Your Design
Match or Contrast Piping
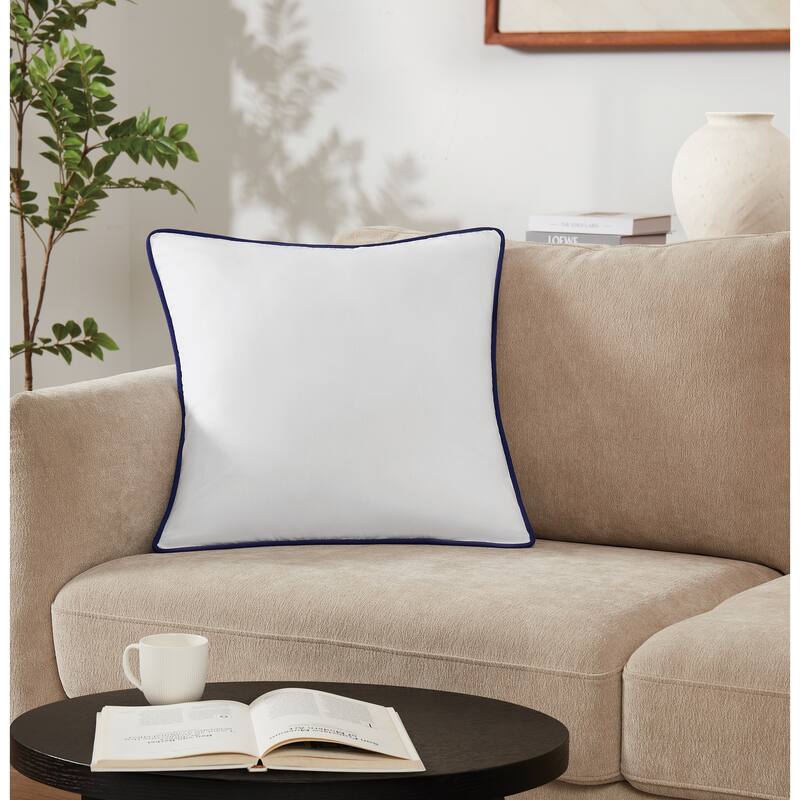
Use matching fabric for subtle shadowing and texture. Choose contrasting piping for bold definition, which is popular in modern, coastal, or eclectic styles.
Avoid busy geometric prints on piping, as they can look misaligned when wrapped around corners. Solids or tone-on-tone work best.
Try Jumbo Piping
Upgrade to 1/2″ cord for a dramatic, oversized look. Use 2.5″ bias strips and consider rounding fabric corners slightly to help the thick piping lie flat.
Jumbo piping adds structure and works well on large floor pillows or statement furniture.
Reinforce High-Stress Areas
Backstitch at the start and end of all seams. For outdoor or pet-friendly pillows, reinforce corners with a second pass of stitching. Use Tex 70 hemp nylon thread for maximum durability.
Frequently Asked Questions About Throw Pillow Piping
What is the easiest way to sew piping on a pillow?
The easiest method is using an envelope back closure with pre-made or DIY piping. Use a zipper foot to stitch close to the cord, clip corners carefully, and join ends with a butt joint. This approach requires no zipper installation and works well for beginners.
Can you sew piping without a zipper foot?
A zipper foot is strongly recommended because it allows the needle to stitch very close to the cord. Without one, your stitch line will sit too far from the piping, leaving it exposed and looking unprofessional. A piping foot or bulky overlock foot can work as alternatives.
How much extra fabric do you need for piping?
Cut your pillow fabric 1 inch larger than the insert for a standard fit. For the piping itself, cut bias strips 2.5″ wide for standard cord sizes. You will also need about 6 extra inches of cord beyond the pillow perimeter to allow for joining.
How do you keep piping corners from puckering?
Clip the seam allowance of the piping fabric at each corner with 3–5 small snips before turning. This releases tension so the bias tape can pivot smoothly. For jumbo piping, round the corners of the main fabric panel slightly to reduce bulk.
What fabric works best for piping?
Use tightly woven fabrics like quilting cotton, linen, or home decor weight fabric. Avoid loose weaves or stretchy materials. For outdoor pillows, solution-dyed acrylic offers the best UV and water resistance.
How do you join two ends of piping?
Stop sewing 2–3 inches before your starting tail. Cut the cord so both ends meet exactly end-to-end (butt joint). Unpick the basting on the starting tail, wrap the ending tail around the cord, tuck the starting tail inside, and sew over the join.
Final Thoughts on Sewing a Throw Pillow with Piping
Sewing a throw pillow with piping is a gateway to professional-level sewing. The techniques you learn, including bias cutting, corner clipping, and end joining, transfer directly to upholstery, curtains, cushions, and bags. With the right tools and attention to detail, you can create custom pillows that last for years and look like they came from a design showroom.
Start with a simple 18″ or 20″ square pillow using quilting cotton and standard cord. Practice cutting bias strips, attaching piping with a zipper foot, and clipping corners cleanly. Once you master the basics, experiment with jumbo piping, contrasting colors, or hidden zippers for a more advanced finish.
Your next step: gather your materials, cut your bias strips, and begin stitching. You will be surprised how quickly the project comes together once you understand the rhythm of feeding piping through your machine.