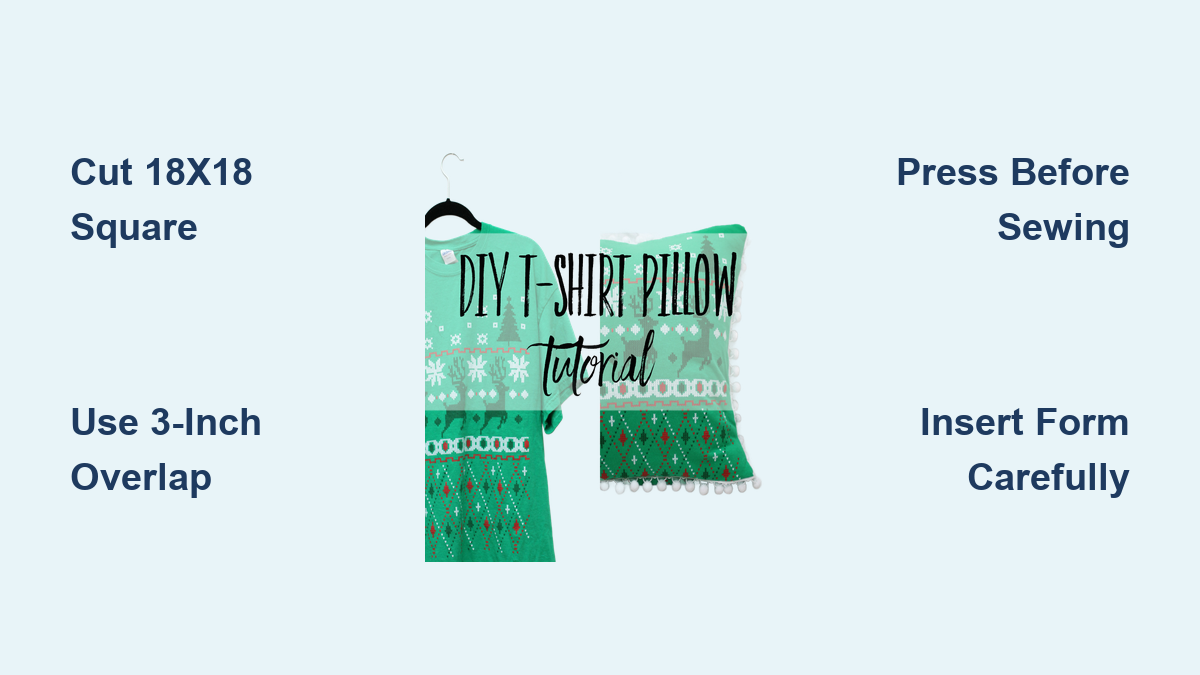
How to Sew a Shirt Pillow: Quick Steps
Turning a beloved shirt into a custom pillow is one of the most rewarding sewing projects you can tackle. Whether you want to preserve a favorite band tee, honor a loved one’s memory, or simply upcycle fabric into something useful, sewing a shirt pillow lets you create decor that carries real meaning. The best part? You don’t need advanced skills, just basic machine know-how and about an hour of free time.
This guide walks you through two distinct methods: one for stretchy knit t-shirts and another for structured woven button-downs. You’ll learn how to choose the right shirt, cut precise panels, add decorative touches, and assemble a cover that looks professionally made.
Choose the Right Shirt for Your Pillow Project

The shirt you pick determines your entire approach, from tools to final appearance.
Knit vs Woven Fabric Differences
Knit shirts (like most t-shirts) stretch and drape softly, making them perfect for cozy, casual pillows. They sew easily without needing extra stabilization. Woven shirts (like dress shirts) hold their shape better and deliver a crisp, structured finish ideal for memorial keepsakes. However, wovens often need interfacing to prevent puckering around seams.
Match the Shirt to Your Purpose
Use a t-shirt for playful decor, kids’ rooms, or holiday accents like festive throw pillows. A button-down shirt works best for memory pillows, sympathy gifts, or heirloom projects. Size matters here: a Men’s XL shirt provides enough fabric for a 20″ x 20″ pillow, while smaller shirts limit your maximum size.
Inspect Fabric Condition First
Avoid shirts with holes, thinning fabric, or stubborn stains unless you plan to cover them with patches. Always wash and dry the shirt before cutting to pre-shrink the material and remove any sizing or residue.
Gather Your Tools and Materials
Having everything ready before you start keeps the project moving smoothly.
Core Supplies You Need
- One clean shirt (t-shirt or button-down)
- Pillow form (18″ x 18″ for t-shirts, 20″ x 20″ for button-downs)
- Matching thread (cotton, 50 wt like Aurifil works great)
- Sharp fabric scissors or a rotary cutter
- Pins or wonder clips
- Iron and pressing mat
Optional but Helpful Additions
- Shape Flex or SF101 interfacing (for woven shirts needing stiffness)
- Pom-pom trim (adds charm to t-shirt pillows)
- Custom embroidered patch (perfect for memory personalization)
- Fray check (seals trim edges if you’ll wash often)
Recommended Equipment
A Juki TL2010Q sewing machine handles both knit and woven fabrics with ease. A serger like the Juki MO 2000 is nice for finishing edges but not required. Sharp fabric shears and a quilting ruler make cutting much more accurate.
Cut the Front Panel with Precision
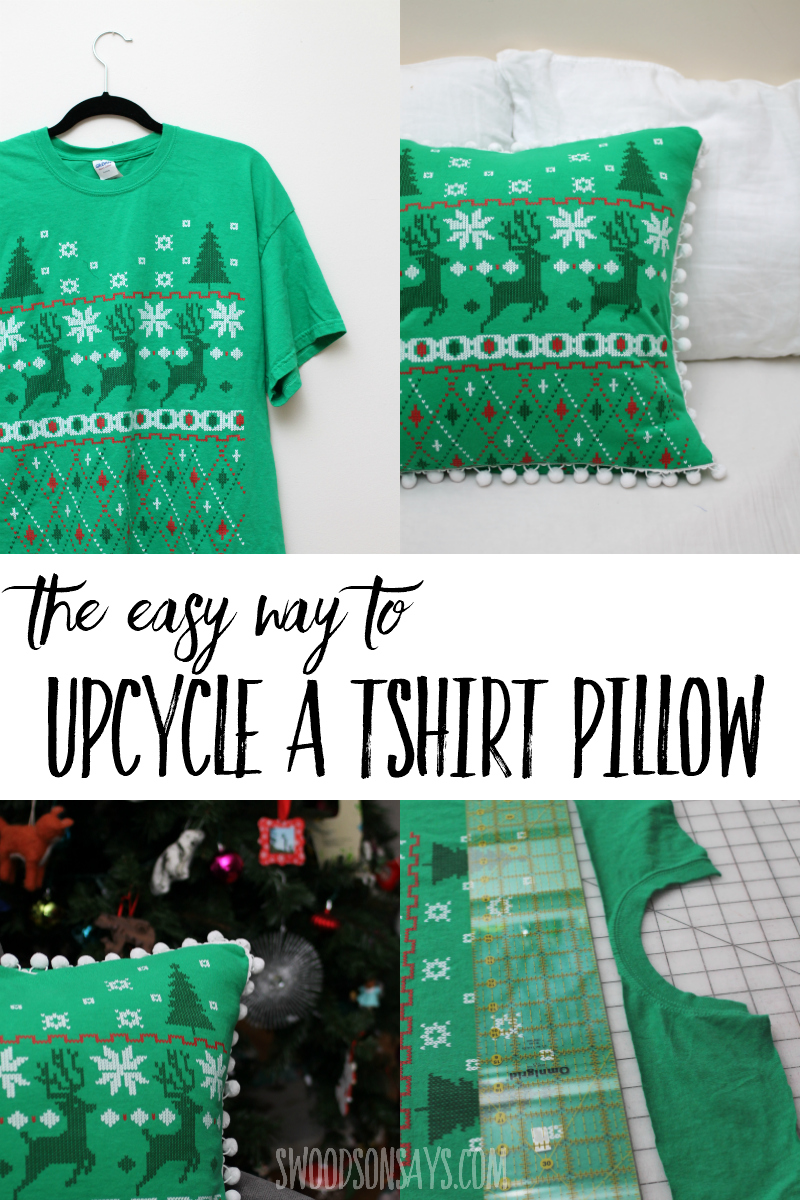
Accurate cutting ensures your pillow lies flat and fits the form perfectly.
T-Shirt Method: Maximize the Design
Lay the shirt front flat on your cutting surface. Cut up both side seams from the hem to the armpits, then open the fabric flat. Cut a straight horizontal line just below the collar to remove the neckline completely. This gives you the largest usable area. Trim the sides and bottom into a perfect 18″ x 18″ square, centering any graphic right in the middle.
Button-Down Method: Preserve the Placket
Button the shirt fully closed to keep the front placket aligned. Cut around the collar and shoulders to remove them, then cut off both sleeves. Lay the front panel flat and measure carefully. Cut a 20″ x 20″ square, making sure the button strip runs vertically down the center for that classic look.
General Cutting Best Practices
Always measure twice before cutting. Use a quilting ruler and tailor’s chalk for straight, accurate lines. Cut both front and back panels to identical sizes unless you’re making an envelope closure. Save any leftover fabric for patches or future trim projects.
Prepare the Back Panels
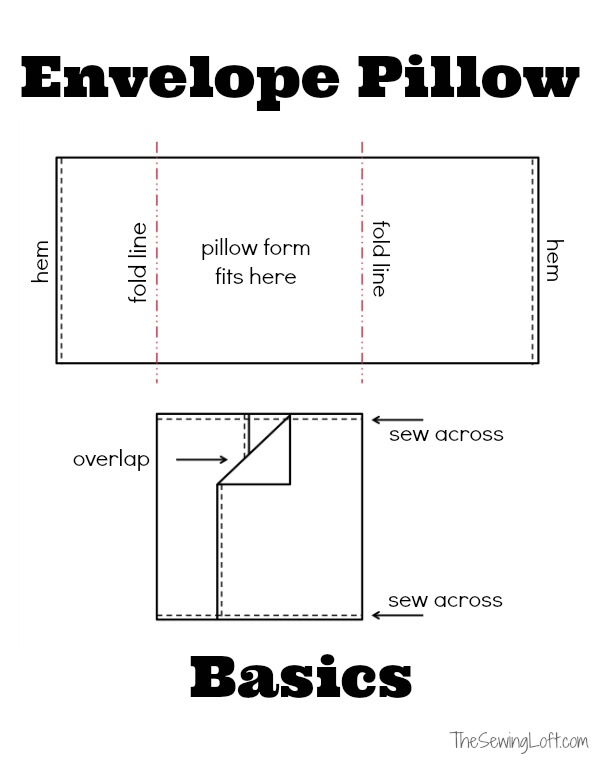
Your back design affects durability, how easy it is to insert the form, and overall security.
T-Shirt Envelope Back with 3-Inch Overlap
Cut the back of the shirt (and any leftover front fabric) into two rectangles:
– One measuring 18″ wide x 12″ tall
– One measuring 18″ wide x 15″ tall
The 3-inch overlap prevents the pillow form from slipping out through the opening. The longer piece goes on the bottom during assembly.
Button-Down Back Options
For woven shirts, you can use a full 20″ x 20″ back panel for a simple seam closure. If you have extra fabric, create an envelope back using the same method as the t-shirt approach. Woven fabric doesn’t stretch, so this style keeps the form extra secure.
Press Everything Before Sewing
Iron all panels thoroughly to remove wrinkles and ensure clean seams. For button-downs, apply Shape Flex interfacing to the wrong side of both front and back pieces if you want a stiffer, more structured pillow.
Add Decorative Touches Before Assembly

Personalizing your pillow at this stage keeps the final sewing simple.
Sew Pom-Pom Trim on T-Shirt Pillows
With the right side facing up, pin pom-pom trim around the edge of the front panel. Use a 1/4″ seam allowance and either a straight stitch or zigzag. At corners, stop with your needle down, lift the presser foot, pivot the fabric, then continue sewing. This keeps the trim lying flat without bunching.
Apply Fray Check for Wash Durability
If you plan to machine wash the pillow, apply fray check to the raw edges of the pom-pom trim or any unfinished borders. Let it dry completely before moving to assembly.
Add a Custom Embroidered Patch
For memory pillows, sew on a patch with a name, date, or meaningful symbol. Position it on the front panel before assembly. Use a tight zigzag or straight stitch around the edges. Patches also cleverly hide small stains or thin spots in the fabric.
Assemble the Pillow Cover
Now comes the satisfying part: sewing everything together with right sides facing.
Layer the Panels Correctly
For t-shirt pillows:
– Place the two back pieces right sides together, overlapping by 3 inches
– Place the front panel on top, right side down, aligning all edges
For button-downs:
– Place front and back panels right sides together
– Pin or clip all four edges securely
Sew with a 1/4″ Seam Allowance
Use a straight stitch and 1/4″ seam allowance for knits. For wovens, 1/4″ or 1/2″ both work, just stay consistent. Sew all the way around the perimeter, backstitching at the start and end to lock your stitches in place.
Trim Corners to Reduce Bulk
Cut off all four corners diagonally, being careful not to snip through your stitches. This reduces fabric bulk when you turn the pillow right side out, giving you sharp, professional-looking corners.
Finish and Insert the Pillow Form
These final steps transform your sewn cover into a polished pillow.
Turn the Cover Right Side Out
Reach through the envelope opening (for t-shirts) or any unsewn section. Pull the cover inside out. Use a pen, chopstick, or turning tool to gently push out each corner. Work slowly to avoid poking holes in the fabric.
Press for a Crisp, Clean Edge
Lightly iron the seams flat, paying special attention to the turned corners. Use a pressing cloth on knits to prevent shine. A wool pressing mat helps achieve that professional finish.
Insert and Fluff the Pillow
Slide the pillow form into the cover. For envelope backs, tuck the shorter back panel under the longer one. Adjust the corners so they’re even and fully filled. Fluff the pillow to eliminate any flat spots and create a plump, inviting shape.
Troubleshoot Common Sewing Issues
Even simple projects can hit snags. Here’s how to solve them quickly.
Pillow Form Bulges Through the Back
If the form pokes out, your envelope overlap was too small. Always use a 3-inch minimum overlap for t-shirt pillows. For zippers or buttons, double-check that the closure is fully secured after insertion.
Corners Won’t Stay Sharp
Trimming corners diagonally helps significantly, but turning them still requires patience. Use a pointed tool and push gently from the inside. Pressing while the fabric is slightly damp can help set the shape permanently.
Fabric Puckers After Sewing
Puckering happens most often with wovens. Prevent it by using Shape Flex interfacing and avoiding stretching the fabric as you sew. For knits, switch to a ballpoint needle and try a slight stretch stitch if puckering appears.
Maintain and Preserve Your Handmade Pillow
Proper care keeps your pillow looking beautiful for years to come.
Washing Guidelines
Spot clean whenever possible to extend the life of your pillow. If machine washing is necessary, remove the form first. Wash the cover in cold water on a gentle cycle, then air dry or tumble dry on low. Always apply fray check to any trim to prevent unraveling.
Long-Term Storage Tips
Store your pillow in a cool, dry place away from direct sunlight to prevent fading. Use cotton storage bags instead of plastic so the fabric can breathe and avoid moisture buildup.
Repair and Refresh Over Time
If seams loosen, re-stitch them with matching thread. Replace worn-out forms with fresh inserts to restore shape. Add a new patch or trim to give an older pillow a refreshed look.
Frequently Asked Questions About Sewing a Shirt Pillow
What size pillow form should I use for a t-shirt pillow?
An 18″ x 18″ pillow form works well for most adult t-shirts. If you’re using a smaller shirt, measure your usable fabric area first and choose a form that fits within those dimensions.
Can I sew a shirt pillow without a sewing machine?
Hand-sewing is possible but time-consuming. A sewing machine gives you stronger, more durable seams and cuts your project time significantly. For beginners, a basic straight-stitch machine handles this project perfectly.
How do I prevent the pillow form from coming out of an envelope back?
Use a minimum 3-inch overlap on your back panels. This tested measurement reliably keeps the form tucked inside, even with active use or fluffing.
Do I need interfacing for a t-shirt pillow?
No. Knit t-shirt fabric is self-stabilizing thanks to its natural stretch. Interfacing is only recommended for woven button-down shirts where you want extra structure.
What thread works best for shirt pillows?
Cotton thread in a 50 wt weight, such as Aurifil, matches most shirt fabrics perfectly. It provides strength without adding bulk to your seams.
How do I clean a shirt pillow with pom-pom trim?
Remove the pillow form first, then spot clean when possible. If machine washing is needed, use cold water on gentle cycle and apply fray check to the trim edges beforehand to prevent unraveling.
Key Takeaways for Sewing a Meaningful Shirt Pillow
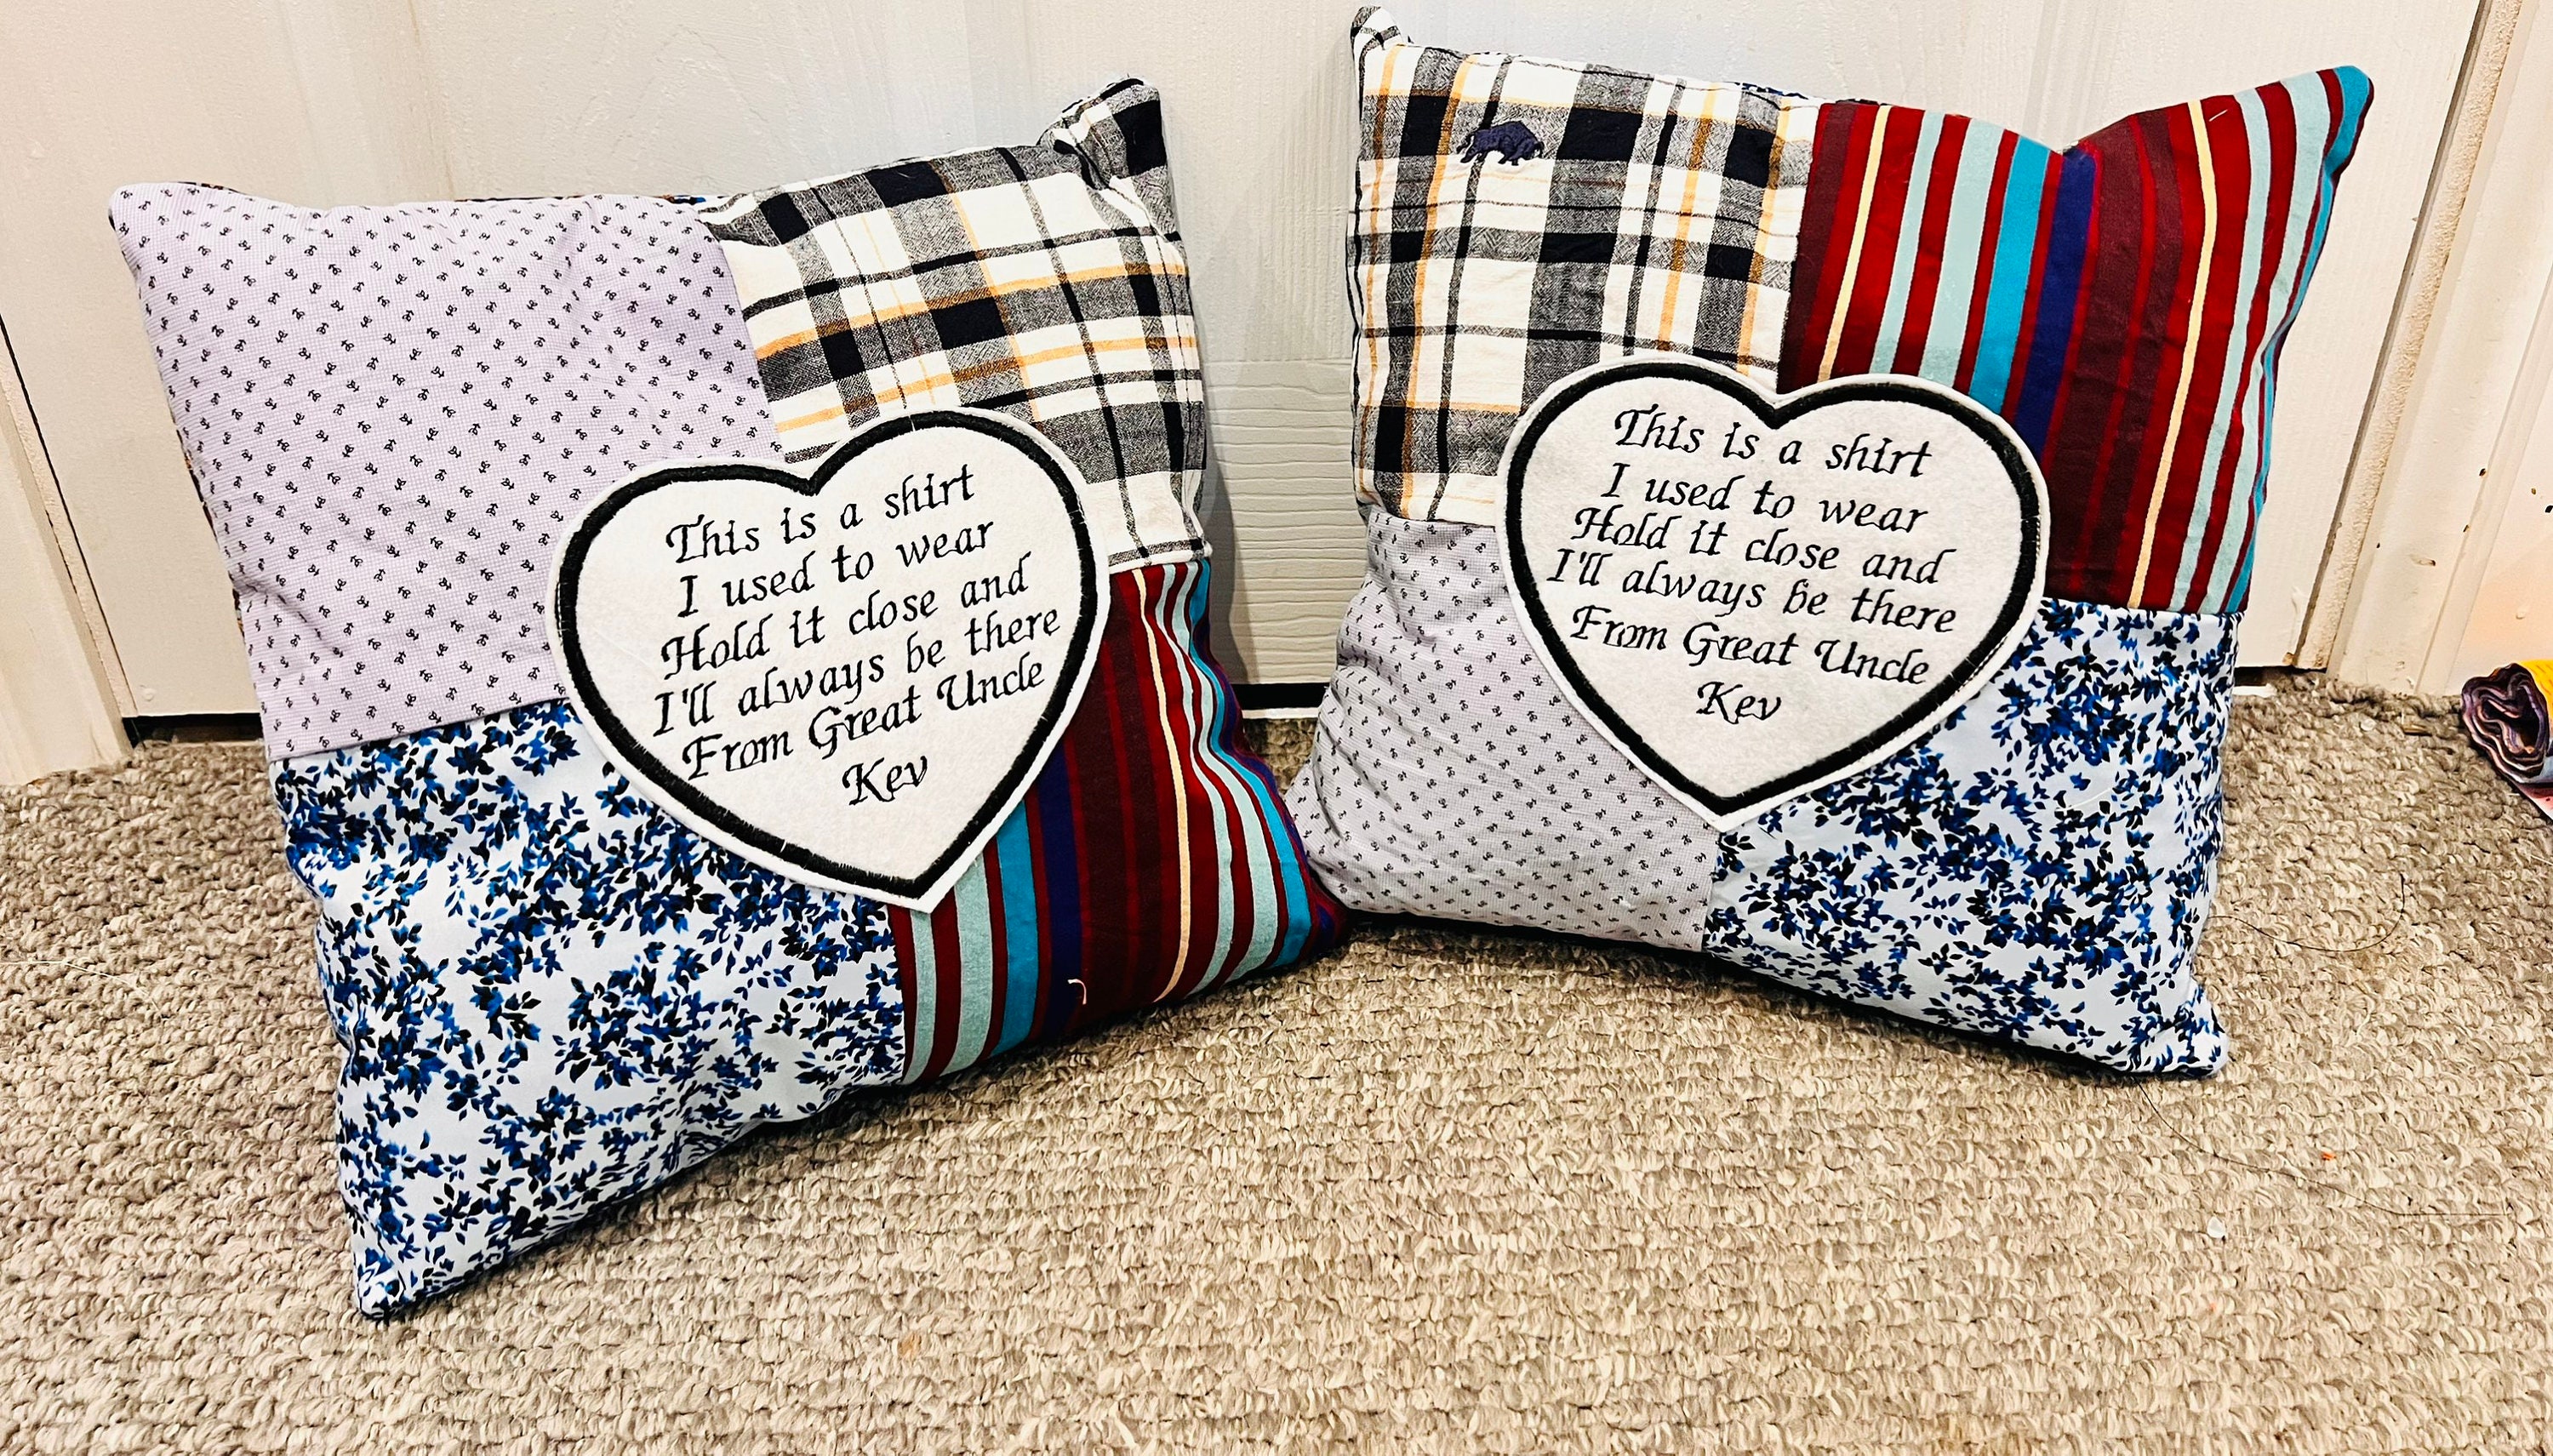
Sewing a shirt pillow is more than just a craft project. It’s a way to honor memories, reduce textile waste, and create something uniquely personal. Start by choosing the right shirt for your purpose: knits for cozy casual decor, wovens for structured memory keepsakes. Cut your panels precisely, use a 3-inch overlap for envelope backs, and don’t skip pressing at every stage.
Your finished pillow will be both durable and deeply meaningful, whether you’re making one for a child, a grieving friend, or your own living room. The simplest stitches often carry the most meaning, and this project proves exactly that. Grab a shirt with a story and start sewing today.