How to Sew a Microwavable Heating Pad
There’s nothing quite like the soothing warmth of a homemade microwavable heating pad. Whether you’re easing sore muscles, calming tension in your neck, or chasing away chills on a cold night, this simple DIY project delivers comfort with minimal effort. Best of all, you can finish one in under an hour using basic sewing skills and materials you may already have at home.
This guide walks you through every step of how to sew a microwavable heating pad, from choosing safe fabrics and fillers to stitching secure compartments and heating your finished pad correctly. Designed for beginners but packed with expert tips, it ensures a durable, leak-proof result that feels like a warm hug.
Select Safe, Heat-Friendly Fabric
Choose Natural Woven Cotton Only
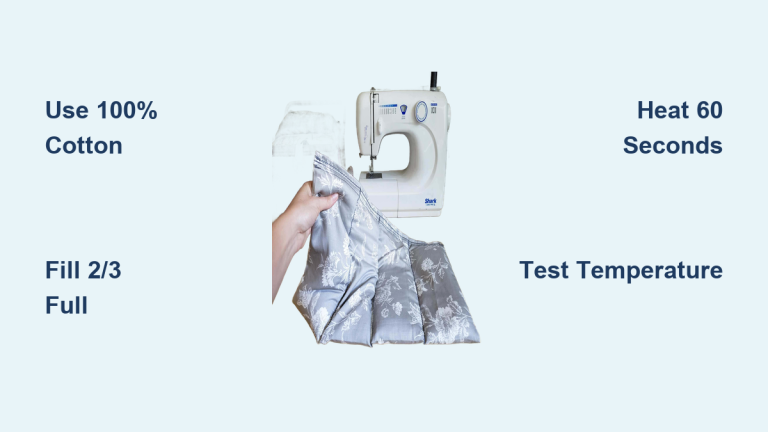
Always pick 100% natural woven fabric like quilting cotton or cotton flannel. These materials handle microwave heat safely without melting or releasing harmful fumes. Flannel adds extra softness, making it ideal for direct skin contact on sore spots.
Skip synthetic blends, polyester, or any fabric with metallic threads. These can spark, melt, or break down dangerously when heated.
Cut Two Matching Rectangles
For a standard 6×19 inch heating pad, cut two identical fabric pieces. This size drapes comfortably over shoulders or knees. If material is limited, use an 8.5×11 inch template for a smaller version that works as a hand warmer or kid-friendly option.
A single fat quarter (18×22 inches) yields enough fabric for two full-sized pads, which keeps waste low and value high.
Pick a Safe, Effective Filling
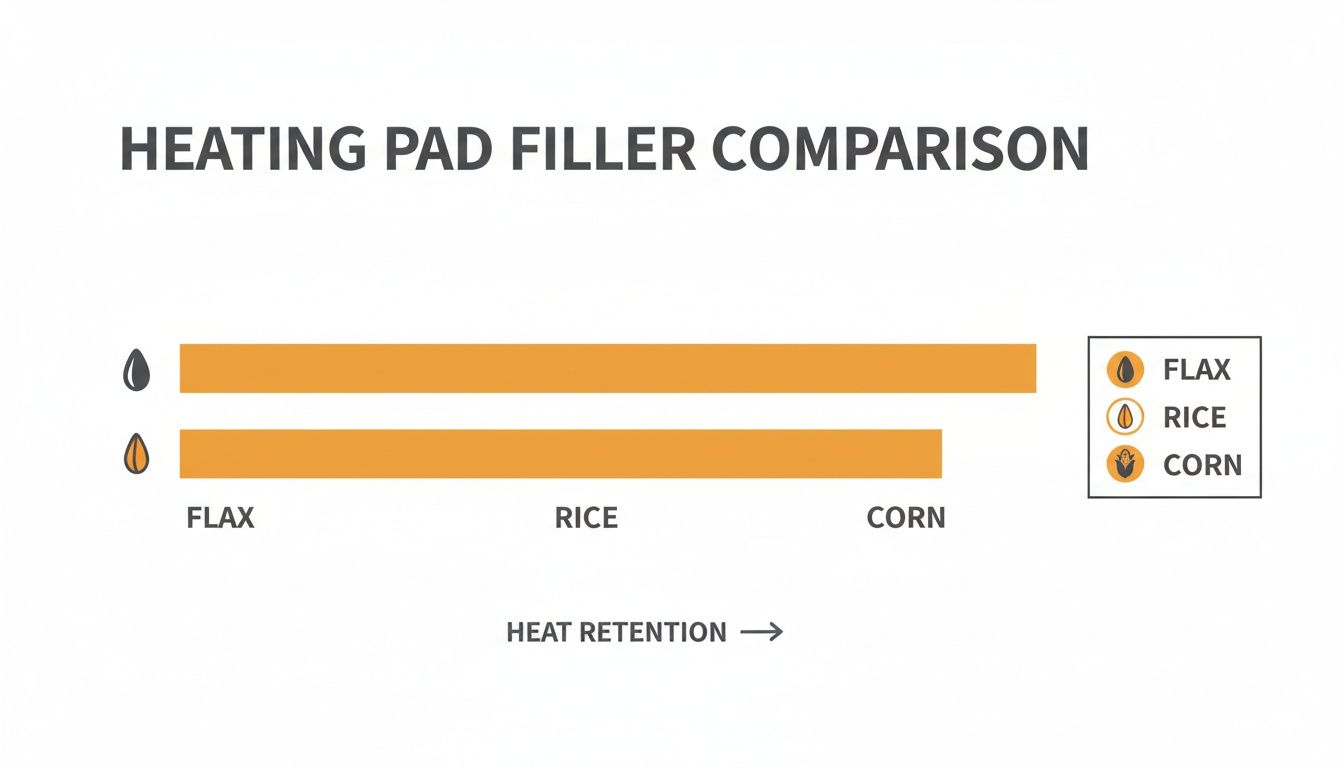
Rice Leads as the Best Choice
Rice is the most popular and reliable filler for good reason. It heats evenly, holds warmth for 10 to 15 minutes, and is naturally gluten-free, which matters for anyone with sensitivities or conditions like Hashimoto’s thyroiditis.
Other safe options include wheat, corn, flax seeds, and dry beans. Never use sand, gel packs, or non-food items, as these can overheat or create safety hazards.
Add Essential Oils for Aromatherapy (Optional)
Boost relaxation by adding 2 to 3 drops of essential oil directly to the rice before filling. Lavender is a favorite for its calming scent, but eucalyptus or chamomile work beautifully too.
Pro Tip: Mix the oil into a small portion of rice first, then combine with the rest. This prevents clumping and avoids hot spots during heating.
Gather Your Sewing Tools
Round Up the Basics
You don’t need fancy equipment, just these essentials:
– Rotary cutter and mat, or sharp scissors
– Disappearing ink pen or chalk for marking
– Pins or clips to hold layers together
– Sewing machine with adjustable stitch length
– Small funnel or rolled paper for clean filling
– Measuring cup (1/2 to 1 cup size)
A printable PDF pattern helps with precision, but manual measuring works just as well.
Cut and Mark the Pattern
Transfer Divider Lines to Fabric
On the wrong side of one fabric piece, mark two vertical lines 6.5 inches from each short end. These lines show where you’ll stitch internal dividers to keep the filler from shifting.
Use a ruler and disappearing ink pen for accuracy. These dividers create three equal compartments, which ensures even heat distribution when you bend or drape the pad.
Sew the Outer Shell
Stitch with Right Sides Together
Place both fabric pieces with right sides facing each other. Align all edges and pin or clip around the perimeter to prevent shifting during sewing.
Set your machine to a 1/2 inch seam allowance and stitch around the entire rectangle, but leave a 3-inch opening on one short end. This gap lets you turn the pad right-side out and add filling later.
Trim Corners and Turn Right-Side Out
After sewing, trim all four corners diagonally to reduce bulk. This step helps the pad lie flat once turned.
Carefully pull the fabric through the 3-inch opening to turn it right-side out. Use a blunt tool like a chopstick to gently push out the corners for crisp, clean edges.
Press and Prep for Filling
Fold and Press the Opening
At the unsewn opening, fold the raw edges inward 1/2 inch to match the seam allowance. Press with an iron to create a flat, clean edge. This prepares the opening for topstitching after filling.
Then press the entire pad flat so it looks neat and ready for stuffing.
Fill in Three Stages
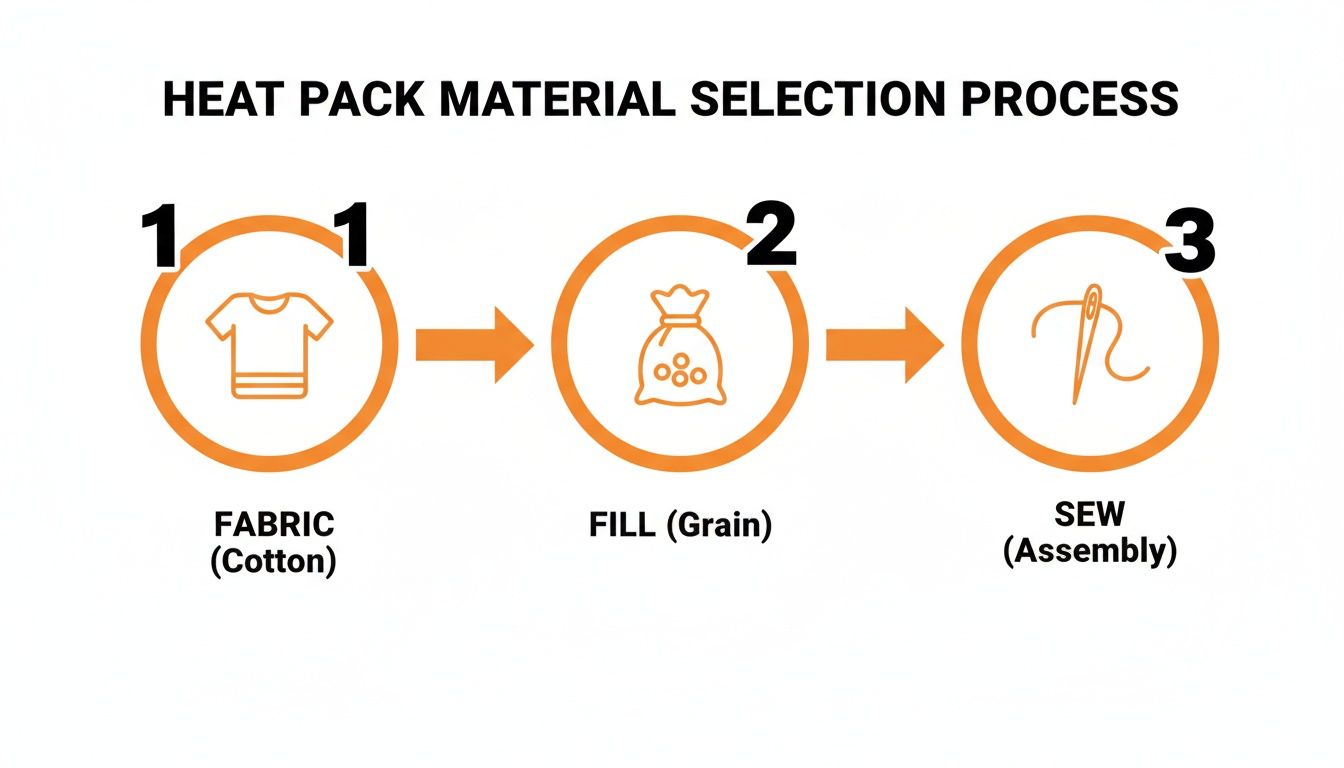
Fill and Stitch Each Compartment
Divide your filler into three equal portions. For a large pad, use 1.5 cups per section (4.5 cups total). For smaller pads, use about 1/3 cup per compartment.
First Section: Close the End
- Pour the first 1.5 cups of rice into the pad.
- Push it toward one end, stopping 1 inch before the first marked line.
- Insert a row of pins across the width just behind the rice to hold it in place.
- Stitch directly on the marked line, removing pins as you approach. Never sew over pins, since this can break your needle.
Second Section: Center the Fill
- Remove the first set of pins.
- Add the second 1.5 cups of rice to the center.
- Push it to end 1 inch before the second marked line.
- Pin again and stitch on the second line.
Final Section: Close the Opening
- Add the last 1.5 cups of rice to the remaining space.
- Push it away from the open edge.
- Place pins 1 inch from the raw edge of the opening.
- Stitch along this edge. This seals the final compartment and closes the opening in one step.
Pro Tip: Use a 1.8 mm stitch length throughout. This tight stitch prevents rice from leaking through needle holes over time, which is critical for long-term durability.
Heat Safely Every Time
Start With Short Bursts
Never microwave your pad for more than 2 minutes. Due to variations in microwave wattage, always begin with 30 to 60 seconds to test heat levels.
For full-sized pads, 1.5 to 2 minutes is usually enough. The pad should feel warm and comforting, not scalding.
Check Temperature Before Use
Test the pad on your inner wrist before applying it to sensitive areas. This step matters most for children, elderly users, or anyone with reduced sensation.
Your heating pad works well on the neck, shoulders, lower back, knees, and abdomen. It delivers moist-like heat without the mess, which makes it perfect for muscle knots or joint pain.
Maintain and Store Properly
Skip Washing and Make a New One
Most sewers agree: don’t wash a filled heating pad. Moisture can cause mold, and drying rice thoroughly is nearly impossible.
Instead, consider making disposable inner packs. For gifting, add a removable cotton cover that can be machine-washed while preserving the inner rice insert.
Store in a Cool, Dry Place
Keep your pad in a sealed bag or drawer away from humidity. This prevents mustiness and extends shelf life.
If you notice any off smells or discoloration, discard and make a fresh one. It’s quick, cheap, and keeps you safe.
Customize for Gifting
Match Fabric to Personality
One of the biggest perks of homemade pads is total customization. Choose fun prints for kids, elegant solids for adults, or seasonal patterns for holiday gifts.
Flannel adds a cozy touch that makes winter presents extra special.
Add a Gift Tag With Instructions
Include a small tag with these details:
– Microwave time (for example, “Heat for 1 to 1.5 minutes”)
– Care instructions (“Do not wash”)
– Filler type (“Filled with lavender-scented rice”)
This makes your gift thoughtful, safe, and easy to use.
Fix Common Construction Problems

Rice Leaking Through Seams?
This usually means the stitch length was too long. Always use 1.8 mm instead of the default 2.4 mm. A tighter stitch closes the needle holes and keeps grains contained.
Also, make sure you’re using woven cotton, not knit fabric, which has larger gaps between fibers.
Filler Pools at One End?
You skipped the dividers. Without internal stitching, rice shifts when the pad moves. Always sew two vertical lines to create three secure compartments.
Pad Overheats or Smells Burnt?
Stop using it right away. This could mean synthetic fabric was used, the pad spent too long in the microwave, or the rice has been overheated repeatedly.
Always stick with natural fibers, start with short heating times, and replace pads every 6 to 12 months.
Frequently Asked Questions About Microwavable Heating Pads
What fabric is safest for a microwavable heating pad?
100% natural woven cotton like quilting cotton or cotton flannel is the safest choice. These fabrics handle microwave heat without melting or releasing harmful chemicals. Avoid synthetic blends, polyester, or any fabric with metallic threads, since these can spark or degrade when heated.
How long should I microwave a heating pad?
Start with 30 to 60 seconds for smaller pads and 1 to 1.5 minutes for larger ones. Never exceed 2 minutes, since microwave wattage varies and overheating can damage the pad or cause burns. Always test the temperature on your inner wrist before use.
Can I wash a microwavable heating pad?
Most sewers recommend against washing a filled heating pad because moisture can cause mold and drying rice thoroughly is nearly impossible. If you want a washable option, create a removable cotton cover that can be machine-washed while keeping the inner rice insert dry.
What is the best filling for a heating pad?
Rice is the most popular and reliable filler because it heats evenly, retains warmth for 10 to 15 minutes, and is naturally gluten-free. Other safe options include wheat, corn, flax seeds, and dry beans. Avoid sand, gel packs, or non-food items.
How do I prevent rice from leaking out?
Use a tight stitch length of 1.8 mm instead of the default 2.4 mm. This closes the needle holes and keeps grains contained. Also, make sure you’re using woven cotton rather than knit fabric, which has larger gaps between fibers.
Is a homemade heating pad safe for kids?
Yes, with extra caution. Always test the temperature on your inner wrist before giving it to a child, and start with shorter heating times of 30 to 60 seconds. Supervise use and avoid giving pads to very young children who cannot communicate if it feels too hot.
Final Takeaways for Sewing Your Own Microwavable Heating Pad
Learning how to sew a microwavable heating pad is a fast, rewarding project that blends practicality with creativity. The three most important things to remember: always use natural woven cotton fabric, set your stitch length to 1.8 mm to prevent leaks, and never microwave for more than 2 minutes.
Your next step is simple: gather your materials, cut two rectangles of cotton fabric, and start stitching. In less than an hour, you’ll have a handmade heating pad ready to soothe sore muscles or warm cold hands. Whether you keep it for yourself or gift it to someone special, this project delivers comfort one stitch at a time.