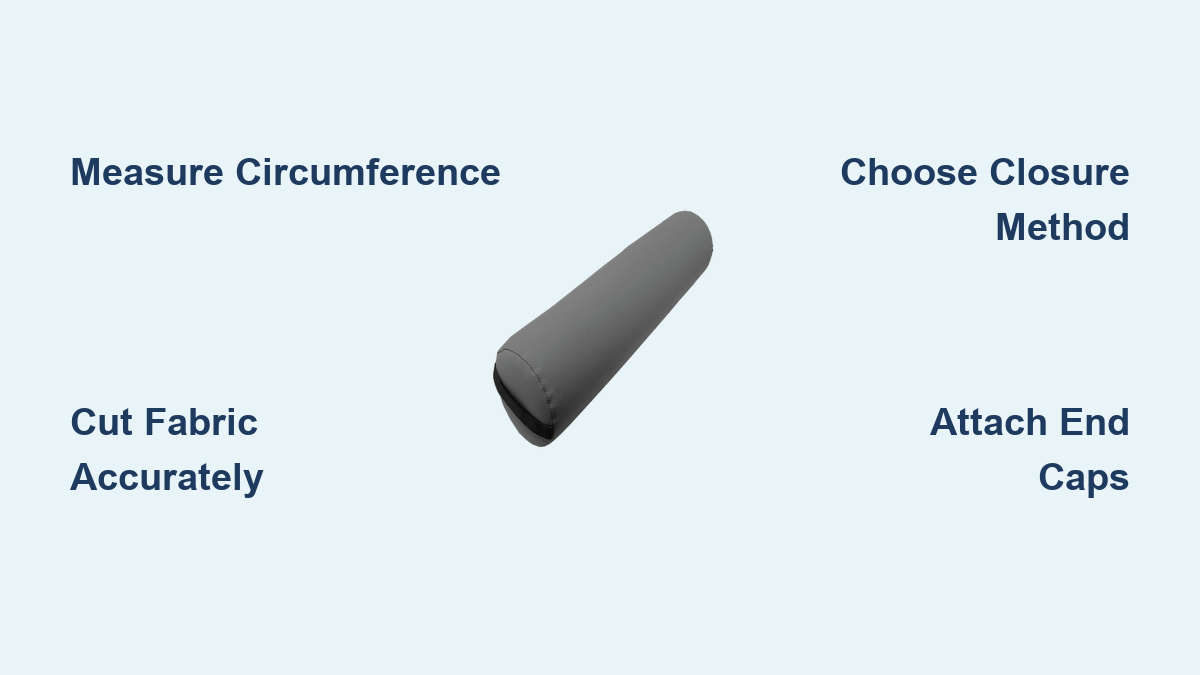
How to Make a Round Bolster Pillow: Easy DIY Guide
You’ve seen them on designer beds and stylish reading nooks—those plump, cylindrical pillows that add both comfort and visual interest. But at $50 or more per pillow, store-bought bolsters can quickly eat into your decor budget. The good news? You can create a custom round bolster pillow at home with basic sewing skills and simple materials. This guide walks you through four proven methods, from professional zippered covers to beginner-friendly Velcro closures, so you can choose the approach that fits your skill level and design vision.
By the end, you’ll know exactly how to measure your fabric, construct a durable cover, and achieve polished finishes like piping and tufting. Whether you want a removable washable cover for a family room or an elegant tufted design for your bedroom, these step-by-step techniques will help you create a bolster that looks store-bought but costs a fraction of the price.
Gather Materials and Tools First
Skipping the prep work leads to measurement mistakes and fabric waste. Getting everything ready before you cut ensures a smoother build from start to finish.
Select the Right Fabric
Your fabric choice determines how well your bolster holds its shape over time. Medium to heavy-weight fabrics work best because they resist sagging and maintain structure.
• Best choices: Upholstery cotton, linen, velvet, corduroy, or Sunbrella for outdoor use
• Avoid: Thin cotton or stretchy knits that lose shape quickly
• Quantity needed: Half to one yard, depending on your pillow size
A fun design option involves using contrasting fabrics. Imagine faux leather end caps with a cotton body—it’s a simple way to add visual interest without complex construction.
Choose Your Filler
You have two main paths for the pillow insert. Pre-made cylindrical forms come in sizes ranging from 6 to 12 inches in diameter and 14 to 39 inches long. Alternatively, you can make your own insert by sewing a muslin tube and stuffing it with polyfill, batting, or down.
Essential Tools Checklist
Having the right tools makes the difference between frustration and flow. You’ll need a standard sewing machine, a zipper foot for sewing close to piping and zippers, a rotary cutter with self-healing mat for precise circles, fabric markers or chalk, and clips rather than pins for thick layers. A stiletto helps guide fabric around curves, while a small notcher or scissors clips seam allowances to prevent puckering.
Calculate Dimensions Without Guessing

A poorly fitted cover usually stems from one cause: inaccurate measurements. Taking a few minutes to do the math prevents wasted fabric and a lumpy finished pillow.
The Key Formula
To find your body panel width, calculate the circumference using this simple formula:
Circumference equals pi multiplied by diameter, where pi equals approximately 3.14.
For example, a 7-inch diameter bolster requires a circumference of about 22 inches. Once you have this number, add seam allowances and account for your chosen closure type.
Standard Seam Allowances
Use half-inch seams for general construction. For end caps, add one inch total to the diameter. French seams require a quarter-inch first seam followed by a five-eighths-inch second seam.
Quick Reference for Common Sizes
A 6-inch diameter bolster needs a 19-inch circumference and 7-inch end circles. An 8-inch diameter requires 26 inches of circumference and 9-inch circles. For a 10-inch diameter, plan for 32-inch circumference and 11-inch circles.
Cut Fabric for Your Chosen Method
Each closure type requires slightly different cuts. Here’s how to slice precisely for your preferred method.
Zipper Closure Cuts
For a 6-inch diameter by 16-inch long bolster, calculate circumference at about 19 inches. Cut your body panel at 20 inches wide by 17 inches long. Cut two end circles at 7 inches in diameter each. Cut piping at twice your circumference plus seam allowance.
Velcro Closure Cuts
This method needs extra width for overlap. Cut body width at circumference plus 4 inches. Cut length at your pillow length plus seam allowance. End circles match your insert diameter. Velcro strips should be one inch shorter than your pillow length.
Tufted Version Cuts
This design uses gathered ends rather than separate circles. Cut body at circumference by pillow length. Cut end strips at circumference by radius plus half an inch. No separate end caps needed.
Drawstring Cover Cuts
Cut body at circumference plus 2 inches by pillow length plus 1.5 inches. Cut tunnel strips at 4 to 10 inches wide by body width. No end pieces required since closure happens at the ends.
Sew a Zippered Cover Like a Pro
The zippered method produces the most durable, washable cover with a hidden closure. This approach takes more time but yields professional results.
Attach Piping to the Body
Start by cutting 2-inch wide bias strips from your fabric. Fold each strip over quarter-inch cord and stitch close to the cord using your zipper foot. Pin the piping to one long edge of your body panel with right sides facing up. Sew along the cord, keeping your stitches close. Snip the piping flange every half-inch above your stitching to help it bend smoothly around curves.
Install the Zipper
Fully open your zipper before starting. Center it along one short end of your body panel. Cut a quarter-inch notch through both fabric layers to mark where the zipper pull will sit. Pin one side of the zipper face down to the fabric. Match the other side to your notch, then pin in place. Sew both sides with your zipper foot, staying as close to the teeth as possible. Backstitch at each end. Finally, stitch the ends of the zipper closed to prevent the pull from slipping off the track.
Close the Cylinder
Sew the remaining 2 to 4 inches on both ends past the zipper to form a complete tube. Use your regular or zipper foot for this step.
Attach Rounded Ends
With right sides together, pin a circle to each end of your tube. Use a stiletto to guide fabric smoothly around the curve. Sew with half-inch seam allowance, clipping curves every quarter-inch to reduce bulk and prevent puckering.
Turn and Insert
Clip all remaining curves, then turn the cover right side out—remember to open the zipper fully first. Insert your pillow form and close the zipper. You now have a sleek, removable cover that washes easily.
Try the Velcro Method for Beginners
If zippers feel intimidating, the Velcro approach offers a simpler path with equally satisfying results. This method works especially well for reversible covers or quick weekend projects.
Prepare the Closure
Fold both short ends of your body panel inward twice to hide raw edges. Sew the hook side of Velcro into one hem and the loop side into the other. Position them so they meet flat when closed.
Attach Ends
Pin circles to each end with right sides together. Sew around using half-inch seams, clipping curves every quarter-inch. Turn right side out, insert your pillow form, and close with Velcro.
Create an Elegant Tufted Bolster
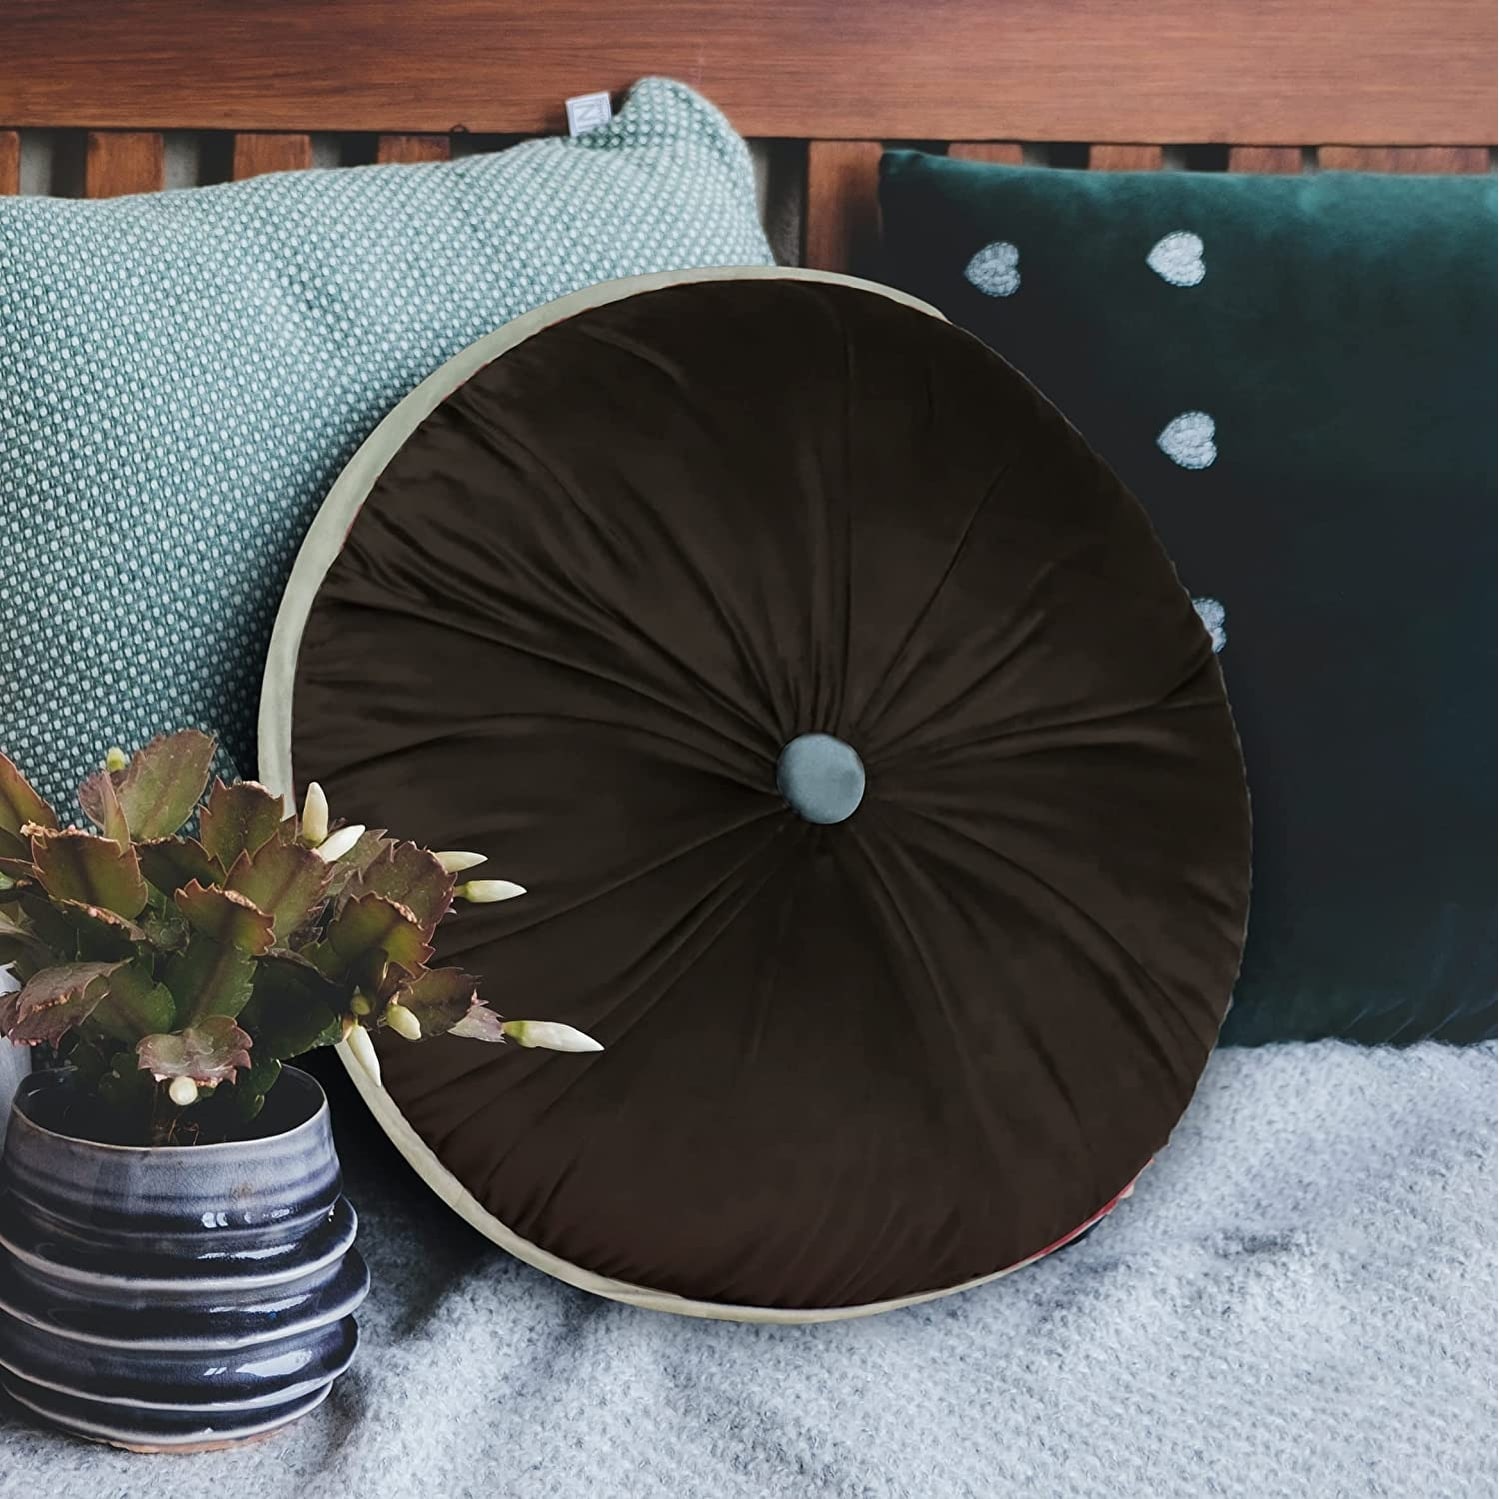
Tufting adds sophisticated detail with buttoned, dimpled ends reminiscent of high-end furniture. This method requires more hand sewing but produces stunning results.
Build the Tube and Attach Ends
Sew your body panel into a tube along the long edge. Make piping and sandwich it between the body and one end panel with right sides facing. Sew along the edge. Repeat for the other end. Fold and sew the short ends of end panels closed.
Insert and Tuft
Slide your pillow form into the tube before tufting since there’s no zipper for later insertion. Using upholstery thread, sew a running stitch around one open end with stitches about half-inch apart. Pull gently to gather fabric tightly over the end. Repeat on the opposite side.
Attach Buttons
Cover buttons with matching fabric. Thread both ends of a long piece of upholstery thread through your needle. Push the needle through one gathered end, through the pillow center, and out the other end. Attach the second button. Form a slipknot by creating a loop in one thread end, passing the other end through the loop, pulling tight, and knotting twice more. Trim excess thread.
Make a Quick Drawstring Cover
This no-zipper method uses a drawstring tunnel for easy closure. It’s perfect when you want something fast and adjustable.
Prepare Tunnels
Cut tunnel strips and iron them in half lengthwise with wrong sides out. Fold short ends inward twice and sew shut with backstitch. Pin tunnels to both ends of your body panel, centered, then sew along the edge.
Create French Seams
Fold the body in half with right sides together. Sew the first seam with quarter-inch allowance. Trim close, turn wrong side out, and press flat. Fold again to enclose the first seam, then sew the second seam with five-eighths-inch allowance. This technique hides all raw edges inside.
Add the Drawstring
Cut cord into two equal lengths. Tape one end to form a needle-like tip. Thread through your tunnel, pull until both ends emerge, and tie knots at each end.
Customize With Piping and Trim
Simple embellishments elevate your bolster from basic to boutique-quality.
Add Contrast Piping
Use bias-cut fabric in a different color for piping. This technique makes the shape pop and hides seam lines. It’s essential for professional finishes on zippered covers.
Choose Decorative Trim
Pom-poms add playful, boho flair. Fringe or tassels bring luxury and vintage character. Pin trim to the finished edge facing inward before stitching.
Fix Common Problems
Even experienced sewers encounter issues. Here’s how to handle the most frequent challenges.
Puckered curves result from tight fabric. Ease fabric slowly around curves and snip the piping flange every half-inch. Zipper problems often stem fromunstitched ends—always backstitch and close zipper ends after installation. Lumpy stuffing happens when you add fill too quickly. Use small handfuls of polyfill and smooth between layers. Bunching at drawstring ends responds well to narrower tunnels, around 2.5 inches wide.
Frequently Asked Questions About Making Round Bolster Pillows
What is the best fabric for a round bolster pillow?
Medium to heavy-weight fabrics work best. Upholstery cotton, linen, velvet, and corduroy hold their shape well. Avoid thin cotton or stretchy knits that sag over time.
How do I calculate how much fabric I need?
Calculate your circumference using diameter times 3.14. Add seam allowances based on your closure type. For a standard 6-inch by 16-inch bolster with a zipper, you’ll need roughly half a yard of fabric.
Can I make a bolster pillow without a sewing machine?
Yes, but it requires extensive hand sewing. You can hand-stitch seams using a backstitch, slip stitch closures, and running stitches for tufting. However, a sewing machine produces much more durable results.
How do I keep my bolster pillow looking plump?
Overstuff your insert slightly for a luxurious, plump look. For store-bought inserts, choose firm foam or fiber-fill rather than soft options that compress over time.
What’s the easiest method for beginners?
The Velcro closure method works best for beginners. It requires no special feet for your sewing machine and allows easy insertion and removal of the pillow form.
Can I use a drawstring bolster as lumbar support?
Absolutely. Shorter bolsters around 12 to 14 inches work well as lumbar supports. Choose a firmer insert and consider Velcro or zipper closure for stability.
Key Takeaways for Making Round Bolster Pillows
Measure twice, cut once. Taking accurate measurements of your insert before cutting fabric prevents wasted materials and poorly fitting covers. The circumference formula (diameter × 3.14) gives you the exact body width needed.
Choose your method based on your skill level and needs. Zippered covers offer professional, washable results. Velcro provides beginner-friendly simplicity. Tufted designs create elegant, decorative pieces. Drawstring methods give quick, adjustable options.
Finish every seam with pressing. Using your iron after each step produces crisp, professional-looking results that rival store-bought pillows. Steam helps flatten piping and reduces bulk around curves.
Now you’re ready to create custom bolster pillows that transform your living space. Whether you need lumbar support for your sofa, elegant accents for your bed, or playful additions to a nursery, these techniques give you complete control over size, fabric, and finish. Start with a simple Velcro version to build confidence, then tackle the zippered or tufted methods for more advanced projects.