How to Dye a Pillow: Easy Steps
Dyeing a pillow is one of the easiest, most rewarding DIY projects to refresh your home decor. Whether you’re updating faded pillowcases, customizing throw pillows for seasonal style, or reviving outdoor cushion covers, dyeing a pillow—specifically its removable fabric cover—lets you create bold, personalized results without buying new items. The best part? You can do it for under $10, using supplies from your kitchen and local craft store.
Unlike replacing entire pillow inserts, which is costly and wasteful, dyeing targets only the outer fabric—the part that shows. Success starts with knowing your fabric type: cotton and linen absorb standard dyes beautifully, while polyester and synthetic blends require special high-heat dyes like Rit DyeMore. In this guide, you’ll learn exactly how to dye a pillow cover using sink, stovetop, or washing machine methods.
Choose the Right Dye for Your Pillow Fabric
The key to successful pillow dyeing is pairing the correct dye with your fabric content. Mismatch them, and you’ll get uneven, faded, or no color at all.
Match Dye Type to Fiber
Natural fibers like cotton, linen, and rayon work perfectly with standard all-purpose dyes. Synthetic fibers like polyester, acrylic, and nylon require specialized dyes that can withstand higher temperatures. Check the care label on your pillow cover before purchasing dye.
For natural fibers, use Rit All-Purpose Dye available in liquid or powder form. For synthetic fibers, use Rit DyeMore specifically formulated for polyester and acrylic materials. Blends may produce muted tones unless using the specialized synthetic dye.
Understanding Dye Enhancers
Adding certain substances improves color vibrancy and uptake. For cotton and linen, add one cup of salt per three gallons of water. For silk and wool, use one cup of vinegar instead. Adding one teaspoon of dish detergent to any dye bath helps the color penetrate evenly and prevents splotches.
Prep Your Pillow Cover Before Dyeing
Proper preparation determines your final results. Skip this step, and you may end up with uneven, faded color.
Pre-Wash Without Fabric Softener
Wash your pillow cover in warm water without fabric softener. Fabric softener leaves a coating that blocks dye from absorbing into the fibers. Do not dry the cover after washing—use it damp for better dye uptake.
Test a Hidden Swatch First
Always test dye on an inconspicuous area like a seam or hem. Cut a small piece from a seam allowance if possible, dip it in the dye bath for five to ten minutes, then rinse and dry to preview the final color. Remember that wet fabric looks darker than the dry result will be.
Protect Your Workspace
Cover surfaces with plastic sheeting or old shower curtains. Wear rubber gloves to avoid stained skin. Use dedicated tools like a stainless steel pot, tongs, and wooden spoon. Never use kitchenware for food after dyeing.
Sink Method: Dyeing Pillows for Beginners
The sink or bucket method works best for one to two cotton pillow covers. This approach requires no stove and minimal equipment.
Step-by-Step Process
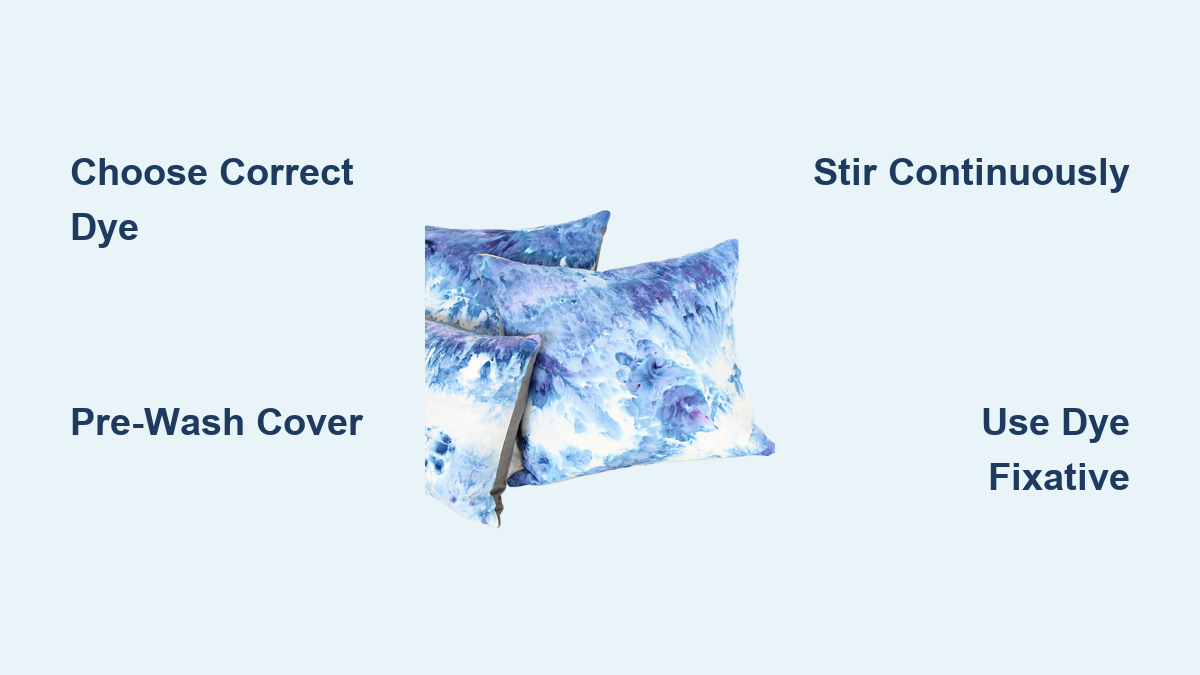
Fill your sink or a large bucket halfway with very hot water between 140 and 200°F. Add the dye, one cup of salt, and one teaspoon of dish soap. Stir thoroughly to dissolve the dye completely. Submerge the damp pillow cover and stir continuously for the first ten minutes, then occasionally for thirty to sixty minutes total. Rinse in warm water first, then gradually cool to cold water until the runoff runs clear.
A DIYer successfully dyed two taupe shams indigo blue in just ten minutes using Rit liquid dye and kitchen tongs. The key was continuous stirring during the initial phase.
Stovetop Method: Best for Polyester and Synthetics
Polyester and outdoor cushion fabrics require heat to accept dye. The stovetop method maintains the high temperatures necessary for synthetic fibers.
Required Equipment and Setup
Use a large stainless steel pot dedicated to dyeing. Fill it with approximately three gallons of water per pound of fabric. Heat the water to just below boiling, maintaining at least 200°F throughout the process. Add Rit DyeMore and one teaspoon of dish soap.
The Critical Temperature Rule
Temperature drop equals blotchy dye results on synthetics. Keep the water near boiling throughout the entire thirty to forty-five minute process. Stir gently but continuously to ensure even coverage. One user dyed four pounds of outdoor cushions using five bottles of Frost Grey and two bottles of Graphite to achieve a southwest-style medium grey.
Create Bold Patterns With Shibori Dyeing

Shibori creates striking geometric patterns by using resist techniques. The folded fabric blocks dye from penetrating certain areas.
How to Achieve Crisp Patterns
Accordion-fold the damp pillowcase into 4.5-inch wide sections, then fold into a compact square. Sandwich the folded fabric between two wooden blocks and secure tightly with rubber bands on all sides. Immerse in the dye bath and stir for fifteen to thirty minutes. Remove, let oxidize for thirty minutes or longer, then unfold to reveal crisp white resist lines against the solid color.
Fun Tie-Dye Techniques for Throw Pillows
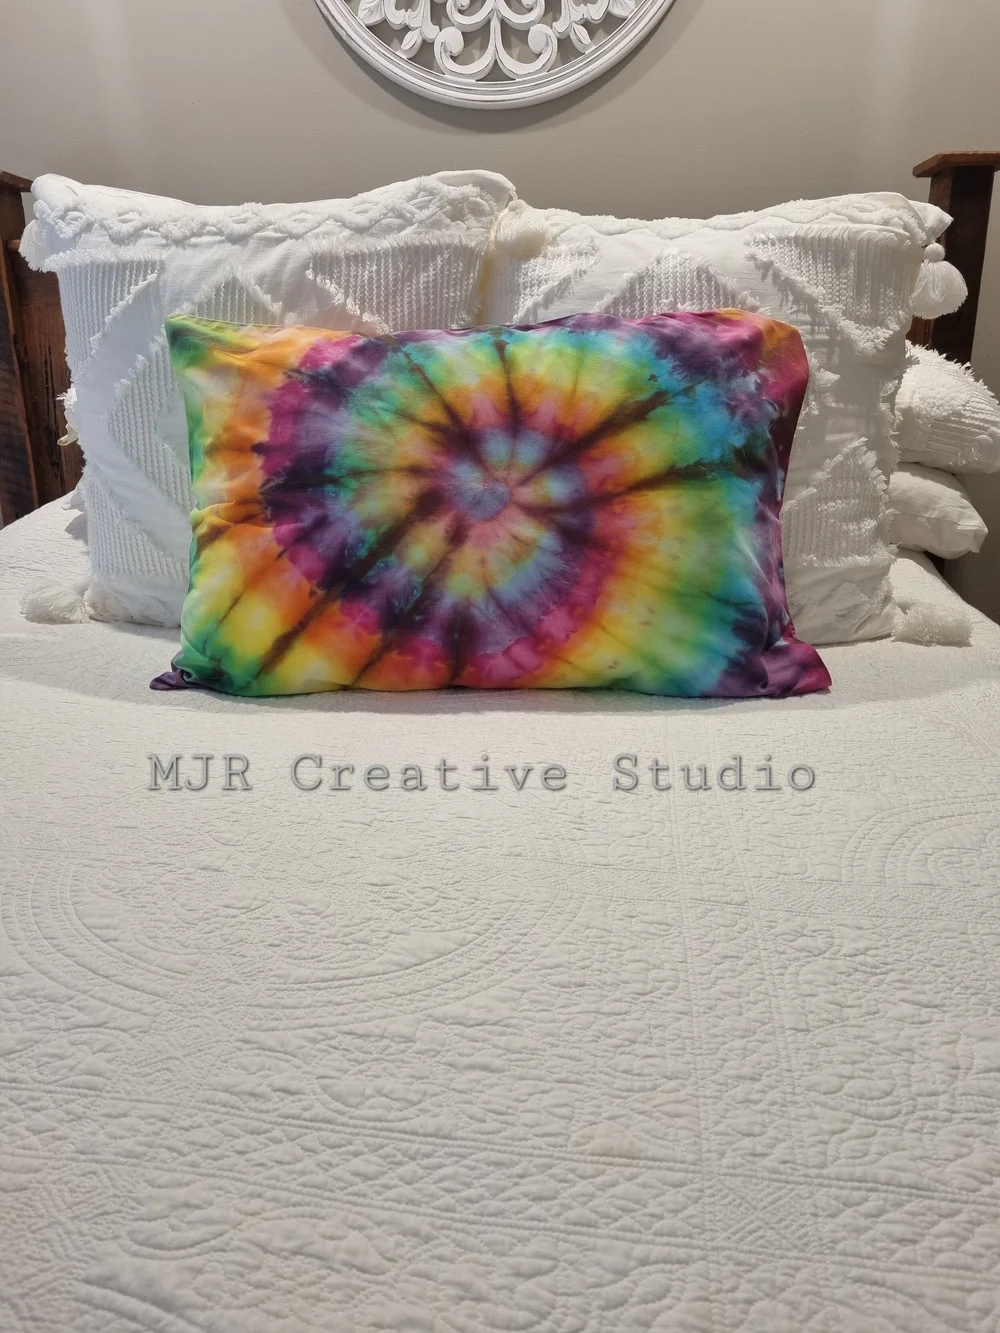
Tie-dye adds playful, colorful designs perfect for children’s rooms or summer decor.
Spiral Method Steps
Pre-wash the pillowcase without softener and lay it flat. Pinch the center and twist into a spiral cone shape. Wrap rubber bands every two inches to create segments. Soak in warm water and squeeze out excess. Use squeeze bottles to apply four different Rit dye colors, starting with the first color on every fourth segment. Let sit for thirty minutes or longer, then rinse warm until cool until the water runs clear. Carefully cut the rubber bands and unfold.
Fix Common Dyeing Mistakes
Even experienced crafters encounter issues. Knowing how to troubleshoot saves your project.
Uneven or Blotchy Color
Poor stirring, water that’s too cool, or dye not fully dissolved causes uneven results. Re-dye using correct temperature and continuous stirring. For synthetics, ensure water stays near boiling throughout.
Thread Stays White
Many pillow covers use polyester thread, which won’t absorb all-purpose dye. This isn’t a flaw—use it as a design feature. Indigo-dyed cotton with cream thread creates attractive vintage contrast.
Color Fades After Washing
Dye not set properly causes fading. Use ColorStay Dye Fixative for twenty minutes after dyeing. Rinse until water runs completely clear. Wash separately in cold water for the first one to three washes.
Dry and Set Your Dyed Pillow Properly
Proper drying and finishing protects your hard work.
Rinse Until Water Runs Clear
Start with warm water and gradually cool to cold. Squeezing helps release excess dye. Continue until the runoff is completely clear—this prevents bleeding onto other items.
Wash Separately Before Using
Machine wash with mild detergent in cold water. Hang or lay flat to dry. Avoid the dryer until you’re certain the dye is set. When in doubt, air dry to be safe.
Add UV Protection for Outdoor Pillows
Outdoor pillows fade quickly without protection. Apply ScotchGard Water and UV Fabric Protector after drying. Spray evenly until damp and let dry completely. Reapply every three to six months or after cleaning.
Pro Tips for Professional-Looking Results
These expert techniques elevate your dyeing from good to great.
Double the Dye for Bold Colors
On polyester and synthetics, use twice the recommended dye amount. More dye produces deeper, more vibrant results that don’t appear washed out.
Let It Oxidize for True Color
After removing from the dye bath, let the fabric sit for thirty minutes or longer before rinsing. This allows the color to fully develop. This step is especially important for indigo and natural dyes.
Mix Dyes for Custom Shades
Use Rit’s Custom Color Mixing Charts to create unique colors. Navy plus Olive creates forest green. Denim Blue plus Black makes charcoal. Cocoa plus Rust produces warm terracotta. Create a color no store sells.
Maintain Your Dyed Pillows Long-Term
Proper care keeps your transformed pillows looking fresh for years.
Wash With Care
For the first one to three washes, wash separately in cold water with mild detergent. After that, wash with similar colors. Never use bleach or fabric softener.
Store Indoors When Not in Use
Even with UV protection, prolonged sun exposure fades color. Bring outdoor pillows inside at night and use covers during off-seasons.
Refresh Color Over Time
If color eventually fades, re-dye using the same method. Alternatively, spot-treat with fabric paint or spray dye for quick refreshes.
Frequently Asked Questions About Dyeing Pillows
Can I dye a pillow that has a polyester cover?
Yes, but you must use Rit DyeMore instead of standard all-purpose dye. Polyester requires near-boiling water (at least 200°F) to accept color. Standard dyes will not work on polyester fabric.
How long does it take to dye a pillow cover?
The actual dyeing process takes thirty minutes to one hour depending on the method and desired color depth. Add thirty minutes for preparation and thirty minutes for rinsing and drying. Plan for two to three hours total.
Will the thread on my pillow cover also dye?
Polyester thread will not absorb all-purpose dye, so it remains the original color. This creates visible contrast with the dyed fabric. Many designers consider this a desirable stylistic feature rather than a flaw.
Can I use the washing machine to dye pillow covers?
Yes, the washing machine method works well for large items or multiple pillow covers. Run a hot water cycle, add dye during the fill phase, and let the cycle complete. Clean the machine thoroughly afterward to prevent color transfer to future loads.
How do I prevent dye from bleeding when washing my dyed pillow?
Use ColorStay Dye Fixative after dyeing and before the first wash. Wash in cold water with only one teaspoon of mild detergent. Avoid hot water and bleach until you’re certain the dye is set.
Key Takeaways for Successfully Dyeing Pillows
Dyeing a pillow is more than a craft project—it’s a smart, sustainable design strategy that saves money and reduces waste. Choose the correct dye based on your fabric type: Rit All-Purpose for cotton and linen, Rit DyeMore for polyester and synthetics. Prepare by washing without fabric softener and testing a hidden swatch first.
Master the method that fits your project: sink method for beginners, stovetop for synthetics, or washing machine for batches. Add salt or vinegar as enhancers, double the dye for bold colors, and always use ColorStay Fixative to prevent fading. With just a few hours and basic supplies, you can transform neutral, outdated, or mismatched pillow covers into vibrant, cohesive decor that matches any color scheme.
Start small—dye one pillowcase first. See the result, then tackle bigger projects. Your home will thank you for the personalized, budget-friendly upgrade.