How to Fix Walgreens Heating Pad Not Working
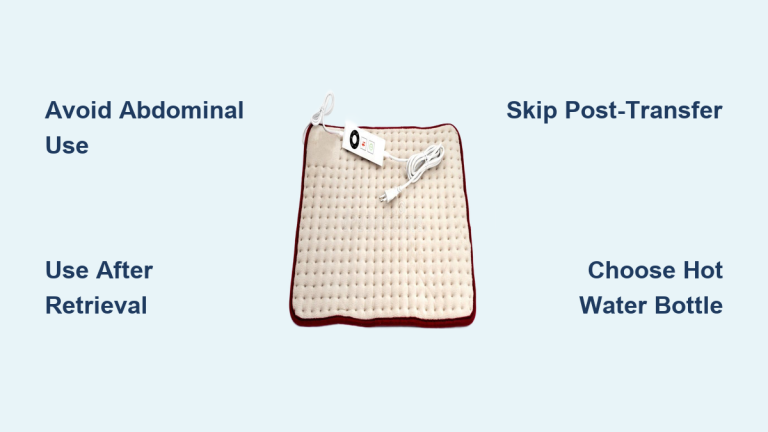
You plug in your Walgreens heating pad, press the high heat button, and instead of soothing warmth, you get a flashing red light and a pad that stays cold. This frustrating experience is shared by thousands of users across multiple Sunbeam and Walgreens-branded models. Despite working fine at first, these pads often fail with the same telltale symptom: the control unit powers on, but no heat reaches the pad.
This is not a random defect. It is a recurring design flaw tied to manufacturing weaknesses in connectors, wiring joints, and circuit board assembly. The good news is that many affected units are covered by a 5-year warranty, and both temporary and permanent fixes are possible. In this guide, you will learn how to diagnose the exact cause of your malfunction, apply proven troubleshooting steps, and secure a free replacement if needed.
Confirm the Flashing Red Light Failure Pattern
Before attempting any repairs, you need to confirm your heating pad is exhibiting the known failure mode. Misdiagnosis leads to wasted time and effort.
What the Flashing Red Light Means
The signature symptom is a flashing red indicator when you select the high heat setting. This is not normal operation. A solid red light means the pad is heating. A flashing light indicates an error detected by the control board. Some users report the light flashing on medium or low settings, but high heat failure is the most common. If your pad clicks on, the light stays solid, and warmth follows, your unit is working correctly. If it flashes and stays cold, the circuit is interrupted.
Power Is Reaching the Controller
The control unit draws power. The light works, the buttons respond, so it is not a dead outlet or broken power cord. This rules out simple power loss and points to an internal disconnection between the controller and the heating element. The auto-off feature (typically 2 hours) still functions, confirming the logic board is active. Your pad is alive but unable to send current to the wires that generate heat.
Identify Your Affected Model
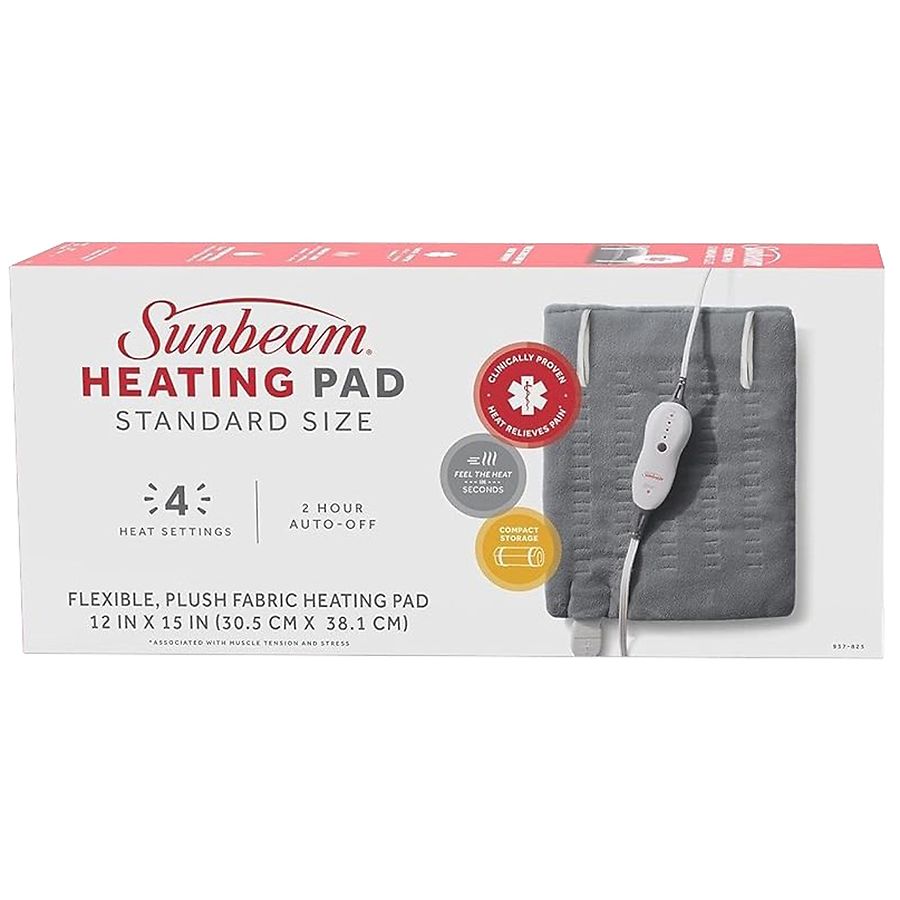
This issue spans multiple Sunbeam and Walgreens models, indicating a shared component flaw rather than an isolated incident.
Confirmed Faulty Model Numbers
Several specific models have been linked to the flashing red light and no heat problem:
- Model #788 and #790 (early generation models with high failure rates)
- Model #810-915 with part number 122659 (batch-specific defect)
- Model 805810 HeatSense (newer tech line still impacted)
- Model SW114 (repeated failure reports)
- Model CAT93 (pet pad variant with identical architecture)
If your model is not listed, check the label. Any Walgreens-branded pad made by Sunbeam with a 4-button interface (Warm, Low, Medium, High) and no dedicated power button likely uses the same vulnerable design.
Diagnose the Root Cause of the Failure

Three primary hardware failures cause the flash and no-heat issue. Test them in order from simplest to most complex.
Loose Connector Pins
The most common and easily fixable cause involves the detachable plug between the pad and the controller. Over time, the male pins in the plug compress or lose tension, failing to make proper contact with the controller’s socket.
To test this, unplug the pad and inspect the plug. Are the pins flat, bent, or recessed? Then plug it back in and gently wiggle the connector. If heat flickers on during the wiggle, you have confirmed a loose connection. Shiny wear marks on the pins suggest repeated insertion without full contact.
Broken Cast Wire Joint
A more serious manufacturing defect occurs where the copper power wire meets the resistance heating wire inside the pad. This joint is cast during assembly and prone to cracking from thermal expansion and contraction.
Signs of this failure include no response to resets or connector fixes, a permanent break where no amount of wiggling restores heat, and failure that often occurs after months of use rather than immediately. This is not user damage. It is a factory flaw where the break happens at the union point, stopping current flow entirely.
Faulty Circuit Board Connection
Less common but more serious, this failure involves the lead wire attached to the back of the control board becoming loose or poorly soldered during factory assembly. You can identify this when the connector and wiring appear intact, the unit shows an error even with a firm plug connection, and opening the control box would be required to verify. If the board’s connection fails, the signal dies before it reaches the pad.
Try Quick Fix Methods First
Start with non-invasive solutions. Many users restore function in under 10 minutes using these methods.
Perform a Hard Reset
Reset the control board’s memory to clear false error states with these steps:
- Unplug the heating pad from the wall.
- Press and hold the High heat button for 30 to 60 seconds.
- While still holding the button, plug the unit back into the outlet.
- Release the button after 5 seconds.
This forces the microcontroller to reboot. Some users report immediate success, especially if the fault was a temporary glitch.
Reconnect and Recycle Power
A simple disconnect can resolve minor contact resistance issues:
- Unplug from the wall.
- Disconnect the pad cord from the control unit if it is detachable.
- Wait 2 minutes.
- Firmly reconnect the cord.
- Plug into a known-working outlet.
Avoid power strips. Plug directly into the wall to eliminate voltage drop issues.
Repair Connector Contact Issues
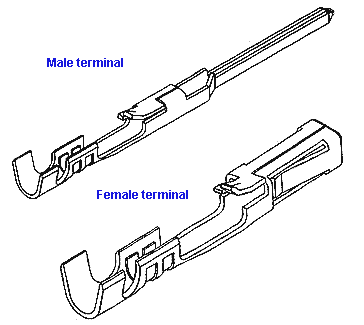
If resets fail, focus on the plug. This fixes the majority of cases.
Spread Compressed Male Pins
Use this method if pins appear flattened or recessed. You will need a small flathead jeweler’s screwdriver, needle-nose pliers (optional), and non-conductive gloves for safety.
Follow these steps:
- Unplug the device.
- Insert the screwdriver tip between two pins in the male connector.
- Gently twist to bend the pins outward slightly.
- Repeat for all pins, ensuring even spacing.
- Reconnect and test.
Do not over-bend. The goal is increased tension, not deformation. Test after each adjustment.
Tighten Female Socket Contacts
If the controller’s socket feels loose, gently compress the metal contacts using needle-nose pliers. Aim for a snug fit with no wobble when the plug is inserted, but avoid crushing the housing. This restores pressure between surfaces and improves conductivity.
Secure a Warranty Replacement
Given the systemic manufacturing defect, replacement is often smarter than repair.
Contact Sunbeam Customer Service
Sunbeam honors a 5-year warranty for defects in materials and workmanship. Call 1-800-458-8407 and explain: “My Walgreens/Sunbeam heating pad shows a flashing red light and produces no heat. I believe it is the known connector or wire joint defect.” Provide your model number and purchase date if known.
Most users report being sent a free replacement with no requirement to return the faulty unit.
Escalate for Faster Results
If the initial agent denies your claim, ask for a supervisor. Mention that you have read about the widespread design flaw in online forums and reviews. Politely state that you plan to share your experience publicly if the issue remains unresolved. Several users confirm that mentioning social media speeds up the process.
Prevent Recurring Failures
Even replacements may fail because the same design flaws persist across production runs.
Store Your Pad Properly
Never fold the pad tightly, especially near the connector. Coil it loosely and secure with a fabric tie. Avoid sharp bends that strain internal joints.
Limit Plug and Unplug Cycles
Frequent disconnection wears out the pins. If using daily, consider leaving the controller plugged to the pad and only unplugging from the wall.
Avoid Moisture Exposure
Never immerse the pad or wash near the connector. Dampness accelerates corrosion and contact resistance. Wipe with a dry or slightly damp cloth only.
Know When to Switch Brands
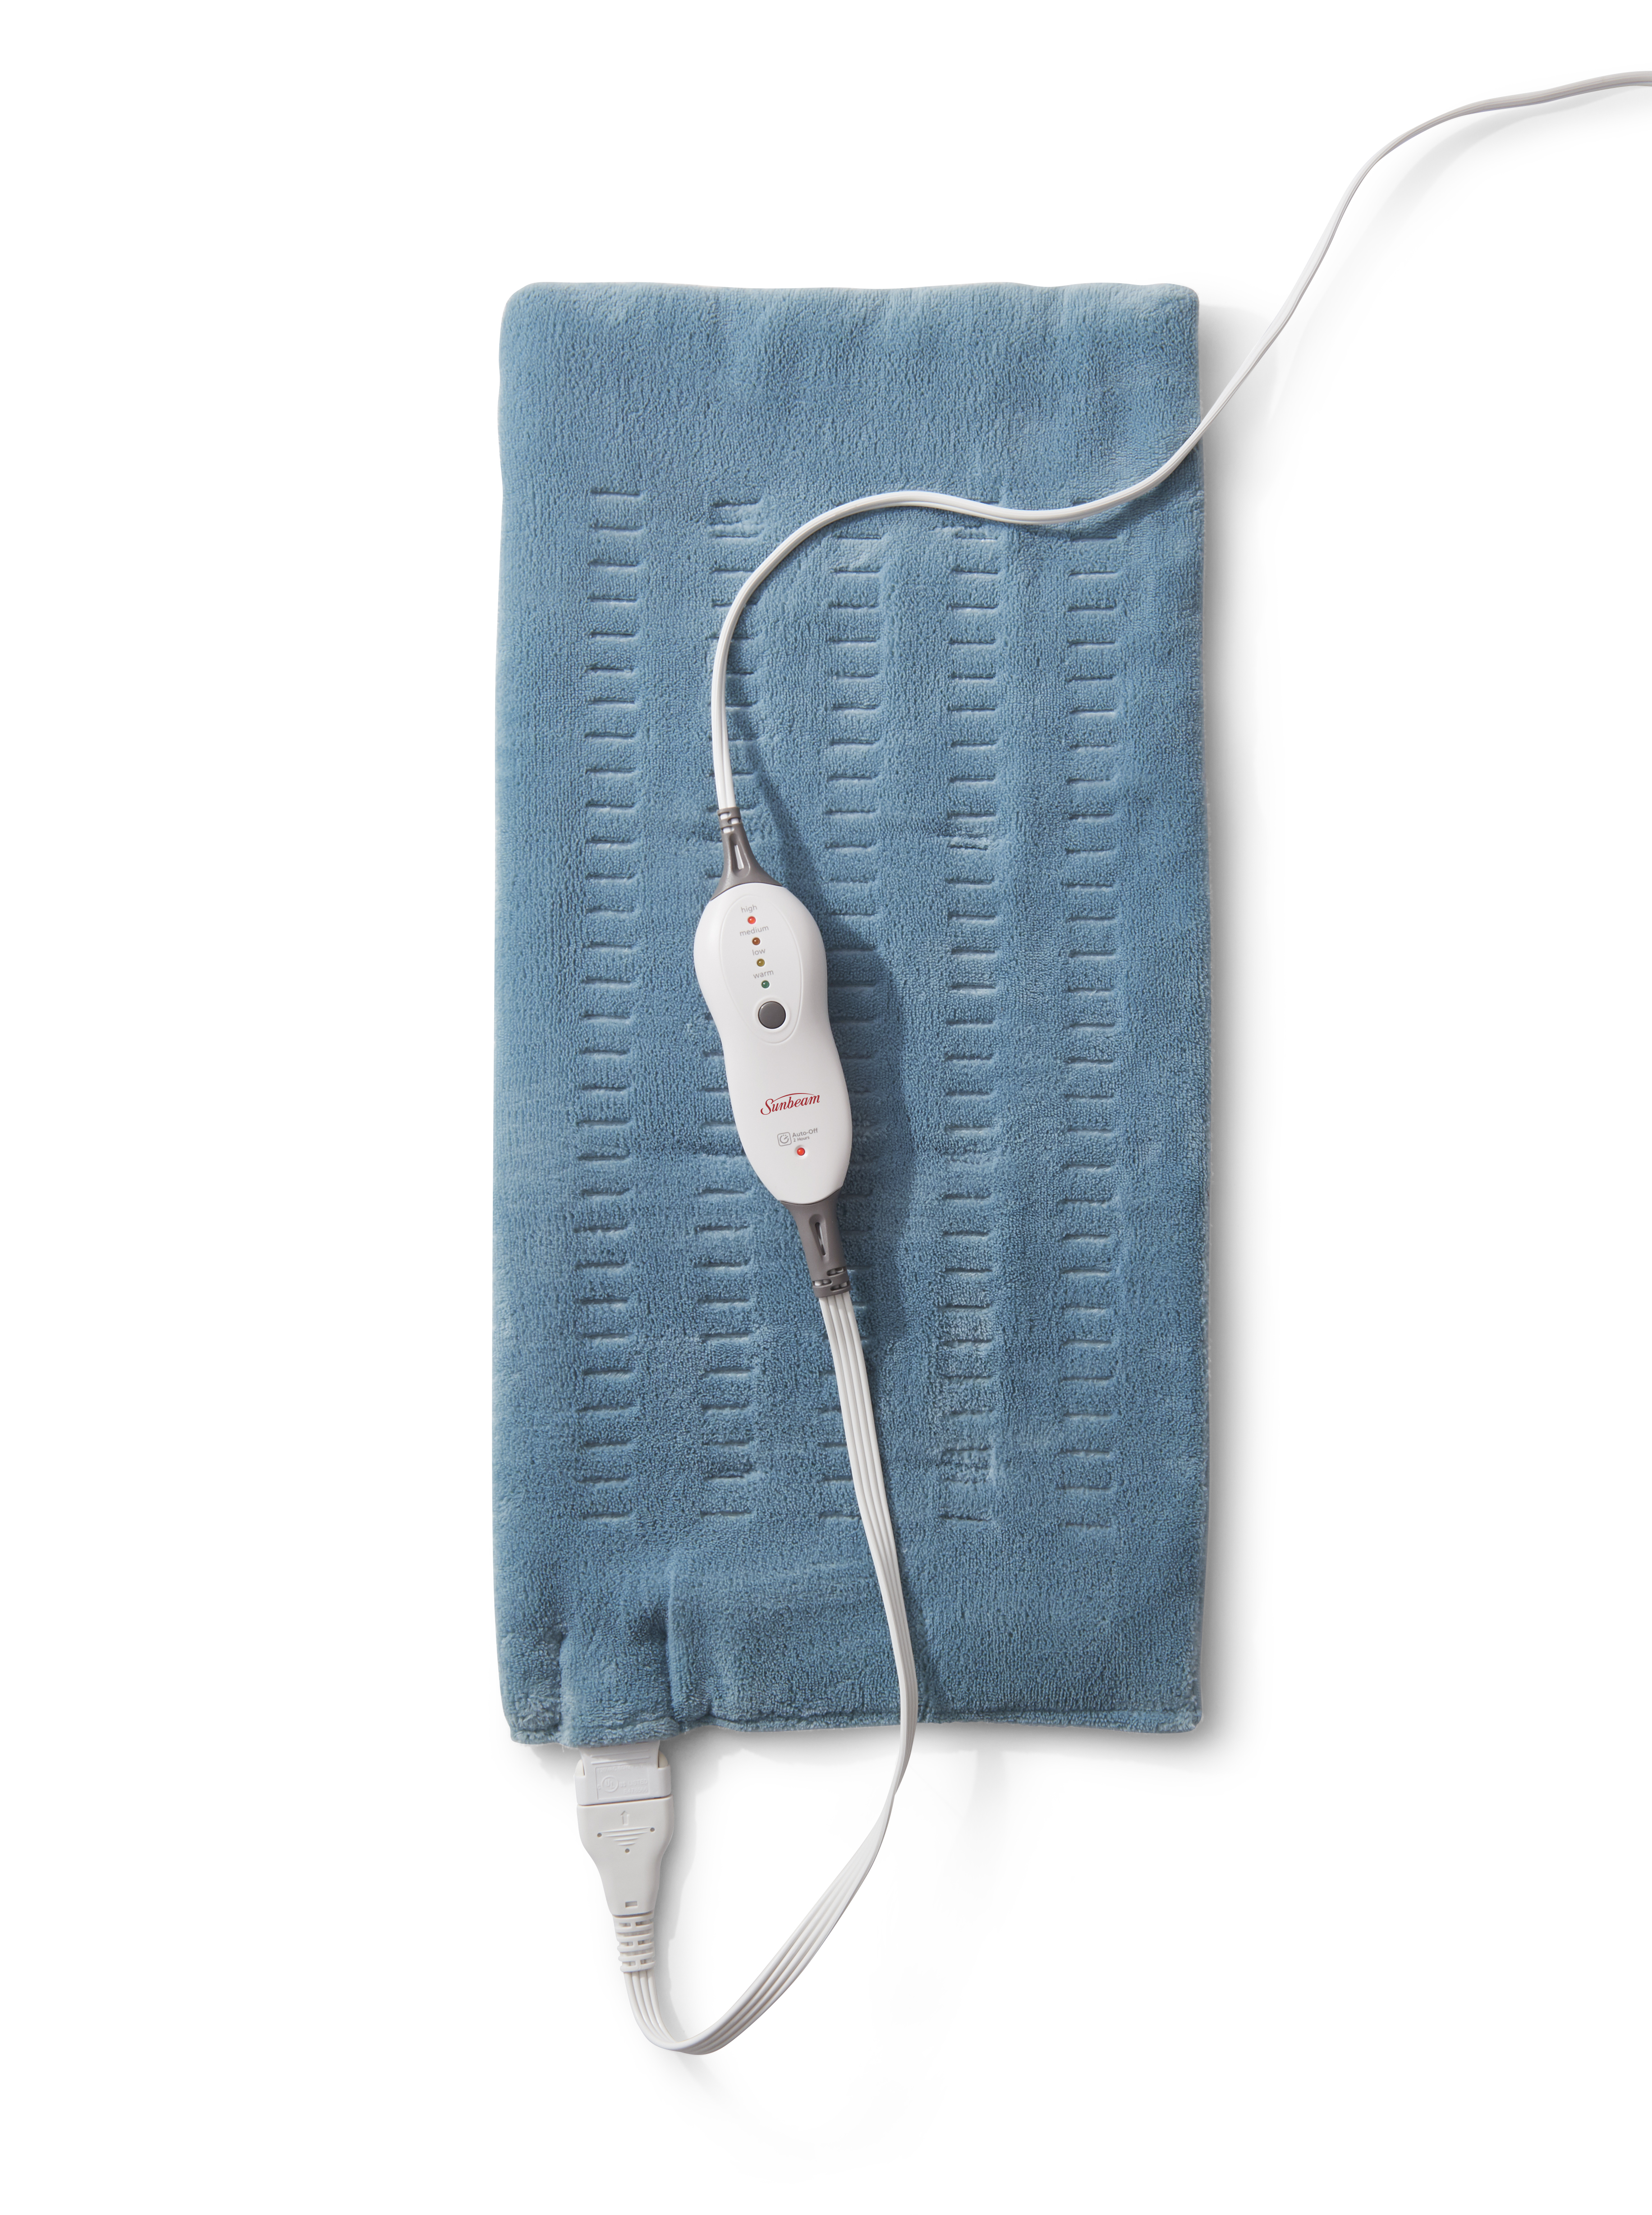
Despite the warranty, repeated failures erode trust in the product.
Long-Term Reliability Concerns
User reports paint a concerning picture. One user noted this was their third Sunbeam pad, and all three failed the same way. Another fixed the pins only to have the internal wire break six months later. These are not isolated cases. The same defect has persisted for over 10 years, suggesting no meaningful design overhaul.
Explore More Durable Alternatives
Consider brands that offer integrated (non-detachable) cords to eliminate connector failure, reinforced wire joints or braided heating elements, and independent durability testing. While not as convenient as a free Sunbeam replacement, long-term reliability may justify the investment.
Frequently Asked Questions About Walgreens Heating Pads Not Working
Why is my Walgreens heating pad flashing red but not heating?
A flashing red light indicates an error detected by the control board, most commonly caused by loose connector pins, a broken internal wire joint, or a faulty circuit board connection. This is a known manufacturing defect affecting multiple Sunbeam models sold at Walgreens.
How do I reset my Walgreens heating pad?
Unplug the pad from the wall, then press and hold the High heat button for 30 to 60 seconds. While still holding the button, plug the unit back into the outlet and release after 5 seconds. This forces the microcontroller to reboot and may clear temporary error states.
What models are affected by the flashing red light issue?
Confirmed affected models include #788, #790, #810-915 (P.N. 122659), 805810 HeatSense, SW114, and CAT93. Any Walgreens-branded Sunbeam pad with a 4-button interface (Warm, Low, Medium, High) and no dedicated power button likely uses the same vulnerable design.
Does Sunbeam warranty cover the flashing red light defect?
Yes, Sunbeam offers a 5-year warranty covering defects in materials and workmanship. Call 1-800-458-8407, describe the flashing red light issue, and provide your model number. Most users receive a free replacement without needing to return the defective unit.
Can I fix the connector pins myself?
Yes, you can spread compressed male pins using a small flathead screwdriver. Insert the tip between two pins and gently twist to bend them outward slightly. This increases tension and improves contact with the female socket. Test after each adjustment and avoid over-bending.
Should I buy another Sunbeam heating pad after replacement?
Given that the same defect has persisted for over a decade and many users report multiple failures across replacements, consider switching to a brand with integrated cords and reinforced wire joints. While the warranty provides convenience, the recurrence rate suggests long-term reliability concerns.
Final Thoughts on Fixing Your Walgreens Heating Pad
The Walgreens heating pad not working issue, specifically the flashing red light with no heat, is a well-documented defect tied to Sunbeam’s manufacturing design. From loose connector pins to broken internal joints, the root causes are physical rather than user error. While reset tricks and pin spreading can restore function temporarily, the safest and most effective solution is often a free warranty replacement through Sunbeam’s customer service line.
However, given the high recurrence rate, treat each replacement as potentially temporary. Store your pad carefully, minimize connector stress, and consider switching to a more durable brand if you have replaced it more than once. Your next step is to try the hard reset method right now. If the light continues flashing, call Sunbeam at 1-800-458-8407 to claim your warranty replacement before the 5-year coverage expires.