How to Make a Nursing Pillow Cover
If you’re wondering how to make a nursing pillow cover, you’re not alone—many parents want a custom, washable alternative to expensive store-bought options. Commercial covers cost $30 to $50, but a DIY version runs about $10 in materials and takes just 30 minutes to one hour to complete. You control the fabric, fit, and style, creating something far more durable than mass-produced versions.
This guide walks you through every step, from choosing baby-safe fabrics to installing zippers or using simple envelope closures. You’ll learn how to avoid common pitfalls like stretched fabric, poor fit, and zipper frustration while achieving a professional finish.
Choose the Right Fabric and Materials
Pick Baby-Safe, Washable Fabrics
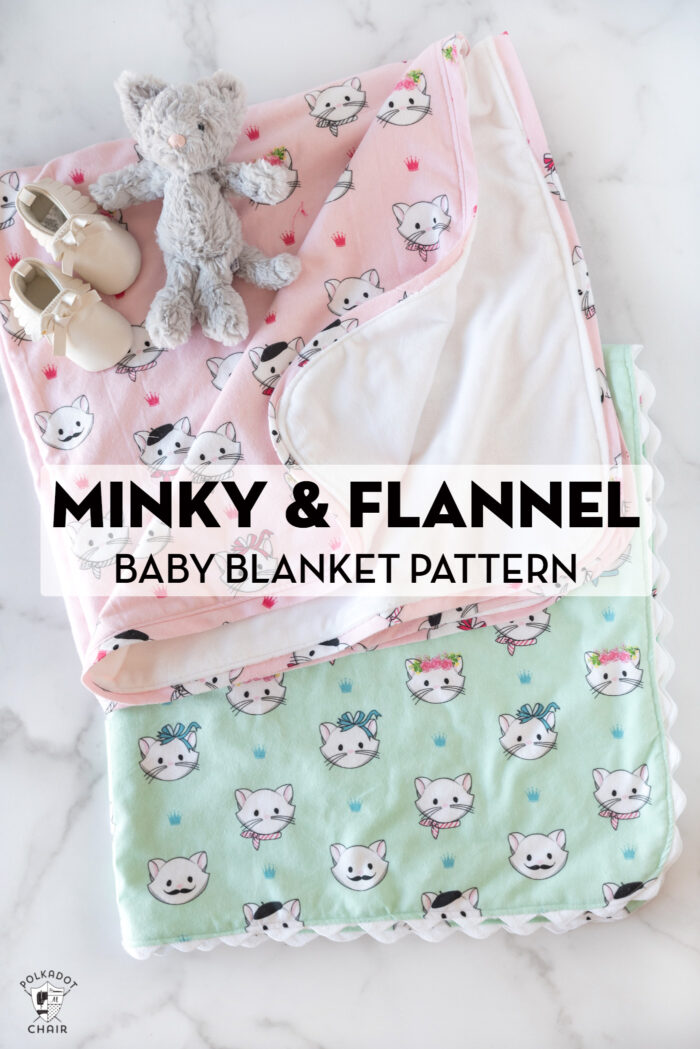
Select soft, durable fabrics that handle daily use and frequent washing. Cotton quilting fabric works well for the outer layer because it’s breathable, easy to clean, and available in countless prints. For the side touching your baby, consider minky or flannel. Minky is plush, slightly water-resistant, and wipes clean easily, making it ideal for spit-up and milk spills. Flannel adds cozy softness and warmth for cooler months.
Avoid stiff or scratchy materials. Knits and wovens both work, but watch for stretch when sewing. For a reversible cover, combine cotton on one side with minky on the other for both style and function.
Reinforce for Durability
Use fusible knit interfacing cut into 1″ x 24″ strips to stabilize the zipper area. Without it, repeated opening and closing stretches the fabric, leading to a loose or broken closure. Apply the interfacing to the wrong side of the back cover pieces where the zipper will go.
If you’re making the pillow from scratch, polyester fiberfill is the best stuffing. Overstuff slightly because this prevents flattening and ensures long-term support as your baby grows.
Gather Essential Tools
You need:
– Rotary cutter (45mm for straight cuts, 28mm for curves)
– Sharp fabric scissors
– Sewing machine with zipper foot and invisible zipper foot
– Walking foot or dual feed feature
– Pins or clips
– Iron and pressing cloth
– Seam ripper
– Chopstick or awl for turning corners
Having the right tools makes the process faster and more precise, especially when dealing with curves and bias cuts.
Create a Custom-Fit Pattern
Trace Your Existing Pillow Cover
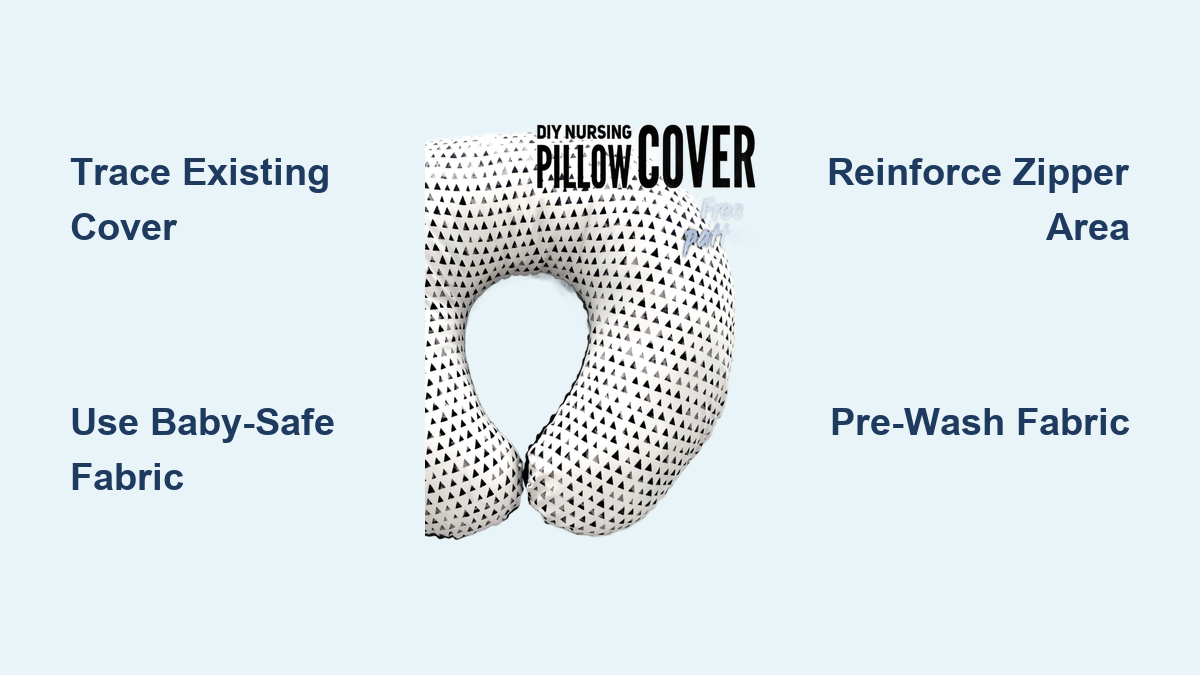
The easiest way to ensure a perfect fit is to trace your current cover. Remove it from the pillow and turn it inside out. Fold any gussets or flaps inward so only the main edge shows. Lay it flat on pattern paper and trace the entire shape with a pencil. This includes the seam allowance, so no need to add extra.
If your cover has an inner gusset, measure it. A typical bias strip gusset is 2½” wide by 24″ long. Note this on your pattern.
Cut and Label Your Pattern Pieces
Cut along the traced line precisely. Label each piece: “Front,” “Back Top,” “Back Bottom” for envelope style, or “Main Piece” for zippered. If making a zippered cover, mark the center back with a pin or notch to help align the zipper later.
For a looser fit that’s easier to put on, add ¼” to the seam allowance. For a snugger fit, stick to the traced line.
Cut Fabric with Precision
Pre-Wash to Prevent Shrinkage
Always pre-wash and dry your fabric. Cotton can shrink up to 5%, and you don’t want your cover to become too small after the first wash. Dry it the same way you’ll launder it later.
Fold and Align for Matching Pieces
Fold fabric lengthwise with wrong sides together and selvages aligned. This lets you cut two identical pieces at once. Place the front pattern piece on the fold if the design calls for it. For back pieces in envelope-style covers, cut the top and bottom sections on the fold to ensure symmetry.
Cut Bias Strips for Gussets
If your pillow has a curved inner edge, you may need a bias-cut gusset. Align the 45-degree line on your ruler with the fabric edge. Cut a 2½”-wide strip and square off the ends. Bias fabric stretches more, so handle it gently during sewing.
Sew an Envelope-Style Cover (Beginner-Friendly)
Hem the Back Panels
For envelope-style covers, the back splits into two overlapping flaps. Hem the straight edges based on fabric type:
– Wovens (cotton): Fold ½” to the wrong side and press. Fold another ½” and press again to encase raw edges. Sew close to the inner fold.
– Knits or fleece: Fold 1″ and sew in place. These fabrics don’t fray, so a single fold works.
Layer and Pin All Pieces
Lay the front piece right side up. Place the top back piece right side down, aligning the top edge. Place the bottom back piece right side down, aligning the bottom edge. The two back pieces overlap in the center by 3 to 4 inches.
Pin all layers together around the curved edges to prevent shifting.
Sew and Finish the Cover
Using a ⅜” to ½” seam allowance, sew all the way around the perimeter. Backstitch at the start and end. Clip the curves every ½” to 1″ to reduce bulk without cutting too close to the stitches. Turn the cover right side out through the open center and use a chopstick to push out corners gently.
Optional: Add Velcro or snaps to the overlapping flaps for extra security, though most find fabric friction sufficient.
Install an Invisible Zipper (Pro Finish)
Prepare Edges and Interfacing
Overcast all raw edges with a serger or zigzag stitch to prevent fraying. Apply fusible knit interfacing to the wrong side of the zipper edges on both back pieces to prevent stretching.
Mark and Pin the Zipper
Find the center of the outer curve on each cover piece and mark with a pin. Unzip the 18″ invisible zipper and fold it in half to find its center. Align this with the center mark on the fabric. Pin the zipper tape to the right side of the fabric, right sides together, with the coil sitting just inside the seam line.
Sew with an Invisible Zipper Foot
Attach the invisible zipper foot (#35) to your machine. Slide the zipper teeth into the groove. Sew from the top down to about 2″ from the zipper stop, then repeat for the other side. Press the cover pieces away from the zipper, flip to the wrong side, and press the seam flat.
Close the Seam with a Regular Zipper Foot
Switch to a standard zipper foot (#4) and move the needle to the right. Starting at the bottom of the stitched section, sew up to meet the zipper, guiding the tape out of the way. Repeat on the other side. Sew carefully around the bottom curve where the gusset meets, folding the gusset in on itself to align edges.
Leave the zipper partially unzipped before turning the cover right side out.
Use an Exposed Zipper (Easier Alternative)

Baste and Press the Seam
Mark where the zipper will go on the back seam. Sew a basting stitch (longest stitch setting) 3″ beyond each end of the zipper length, then press the seam open.
Pin and Sew the Zipper
Lay the zipper face down on the pressed seam and pin it in place along both sides. Use a zipper foot to stitch close to the zipper teeth on both sides.
Remove Basting and Finish
Flip the cover to the right side and use a seam ripper to remove the basting stitches, exposing the zipper teeth. Unzip the zipper completely, then sew the rest of the perimeter with a 1″ seam allowance. Clip curves and turn right side out through the open zipper.
Customize Fit with the Pinch-and-Sew Method

Test Fit Before Finalizing
If your cover feels loose, use the fit-adjust technique. Turn the cover inside out and insert the pillow form. Smooth out wrinkles, then pinch excess fabric together where it bulges without piercing the pillow. Secure with safety pins or clips.
Reshape and Re-Sew
Remove the cover without losing the pin marks. Sew along the pinned line with a zigzag stitch for stretch, then trim excess fabric. Turn right side out for a snug, custom fit.
Stuff and Close the Pillow (If Making from Scratch)
Sew the Pillow Shell
Cut two identical pieces from sturdy fabric like muslin. Sew around the edge with a ½” seam allowance, leaving a 6 to 8″ gap for stuffing. Trim corners, clip curves, turn right side out, and press flat.
Overstuff for Long-Lasting Support
Fill with polyester fiberfill, packing extra into the ends and center. Overstuff slightly because this prevents flattening and keeps the pillow supportive as your baby grows heavier.
Hand-Stitch the Opening Closed
Fold the raw edges inward and use a ladder stitch (invisible hand stitch) to close the gap. Pull tight between stitches for a seamless finish, then slide your custom cover over the pillow.
Reinforce for Long-Term Use
Strengthen Seams and Curves
For heavy daily use, reinforce seams with a second line of stitching or a narrow zigzag to prevent splitting from constant pressure. Always clip curves before turning to reduce bulk and create smooth edges. Use a walking foot when sewing bias-cut gussets or stretchy fabrics to prevent rippling.
Turn Corners Without Poking Holes
Use a blunt tool like a chopstick to push out corners slowly. A smooth, crisp shape makes the cover look store-bought.
Design Reversible and Stylish Covers
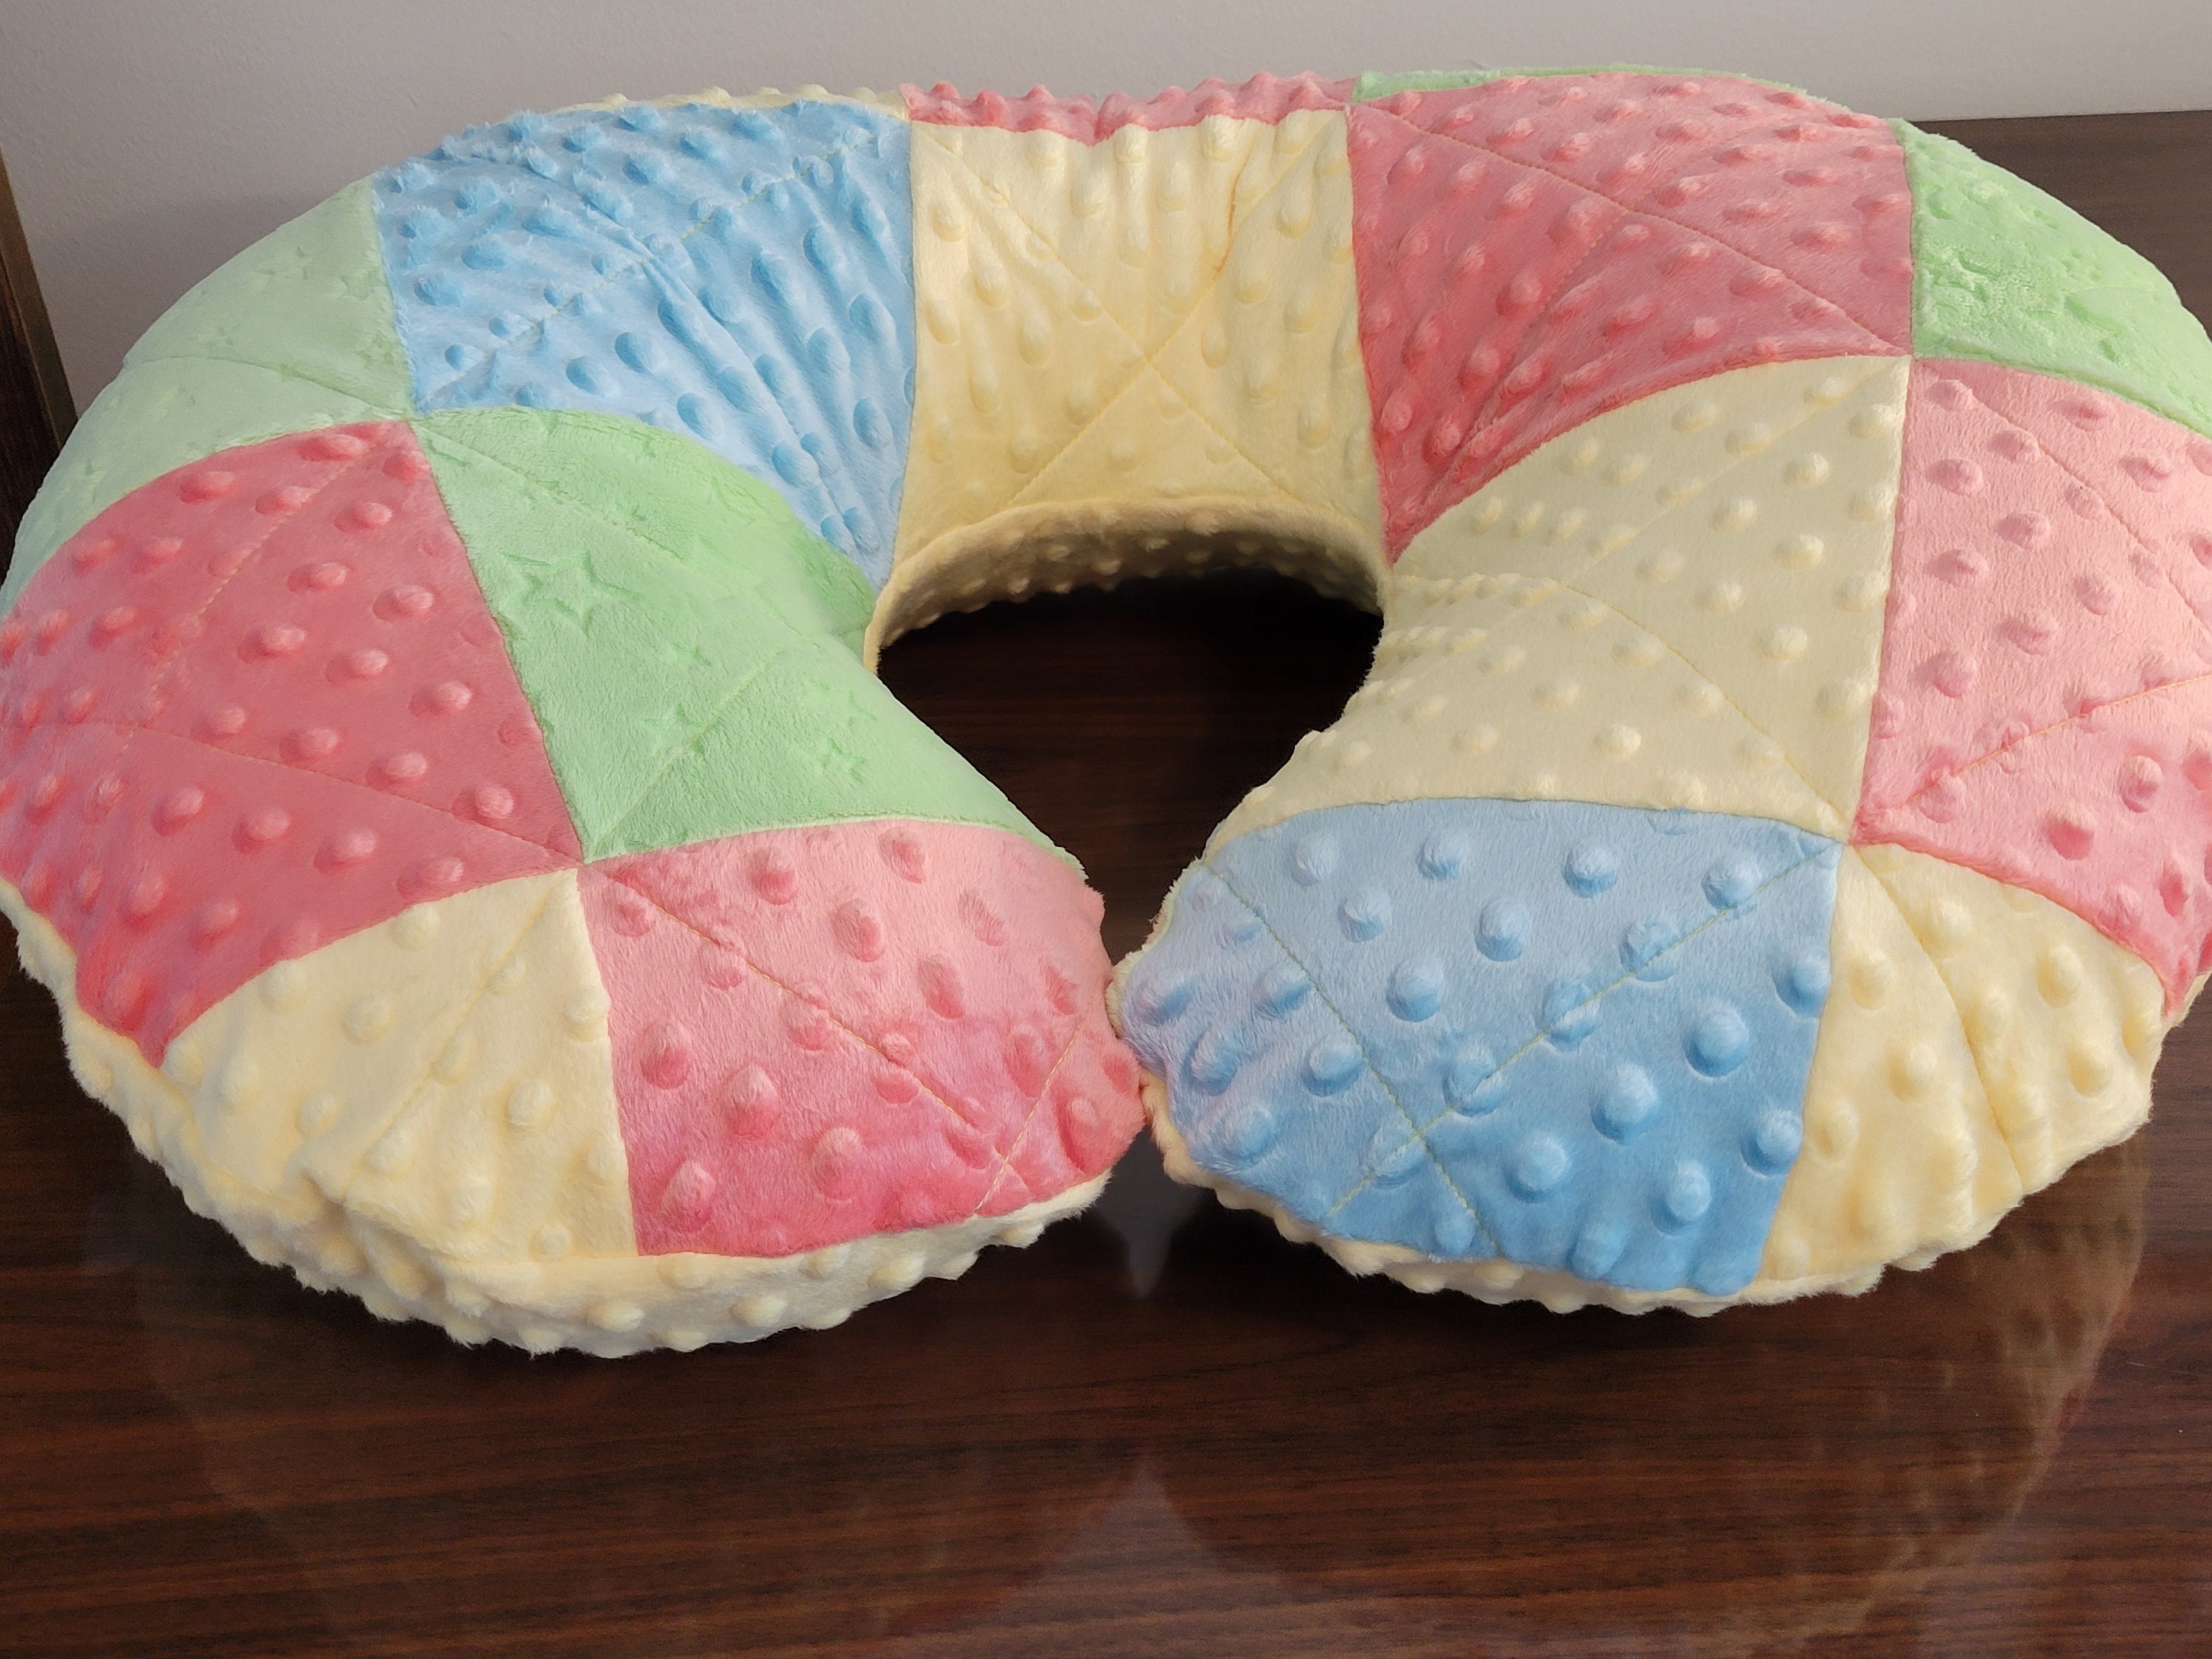
Mix Fabrics for Function and Fashion
Make reversible covers using cotton on one side and minky on the other. This gives you two looks in one and extends usability. Choose coordinating colors or contrasting patterns for visual interest.
Add a Pop with Contrast Lining
Use bright or patterned fabric for the inner layer. When the cover shifts during use, a splash of color shows through, adding personality and helping you spot stains faster.
Place Zipper on Top for Flexibility
Install the zipper along the top curve instead of the back. This lets you flip the pillow and use either side as the front, doubling wear time between washes.
Care and Maintenance Tips
Wash Frequently for Hygiene
Custom covers are easy to remove and wash, which is essential with frequent spills. Machine wash in cold water on a gentle cycle and tumble dry low or air dry. Minky wipes clean with a damp cloth for quick cleanups between washes.
Store Neatly When Not in Use
If using an envelope-style cover, add a snap or button to keep the flaps closed. This makes the pillow more compact for travel or storage. Avoid over-drying cotton because high heat can shrink or stiffen the fabric.
Troubleshoot Common Issues
Fix Zipper Problems
If the zipper won’t close smoothly, check that the teeth are fully exposed. For invisible zippers, ensure you used the correct foot and didn’t stretch the fabric. If the zipper pulls break, replace with sturdier ones or reinforce the ends with a bar tack stitch.
Prevent Fabric from Stretching
When sewing curves or bias cuts, always use a walking foot. Pin frequently and avoid pulling the fabric as you sew. Don’t use steam when pressing minky because heat can damage the pile. Use a pressing cloth and low heat instead.
Adjust for Fit Issues
If the cover is too tight, check your stuffing level because overstuffed pillows can strain seams. If too loose, use the pinch-and-sew method or add elastic to the inner edge. For gusset gaps, match quarter marks precisely and ease the fabric without stretching.
Frequently Asked Questions About Nursing Pillow Covers
What is the best fabric for a nursing pillow cover?
Cotton quilting fabric for the outer layer and minky or flannel for the baby-facing side work best. Cotton is breathable and easy to wash, while minky offers slight water resistance and wipes clean easily. Avoid stiff or scratchy materials that irritate baby’s skin.
How much fabric do I need for a nursing pillow cover?
For an envelope-style cover, you need 5/8 yard for the front and 3/4 yard for the back. For a zippered cover using a traced pattern, 2 yards is a safe standard. If creating a lined or reversible design, add 1 yard of lining fabric.
Can I make a nursing pillow cover without a zipper?
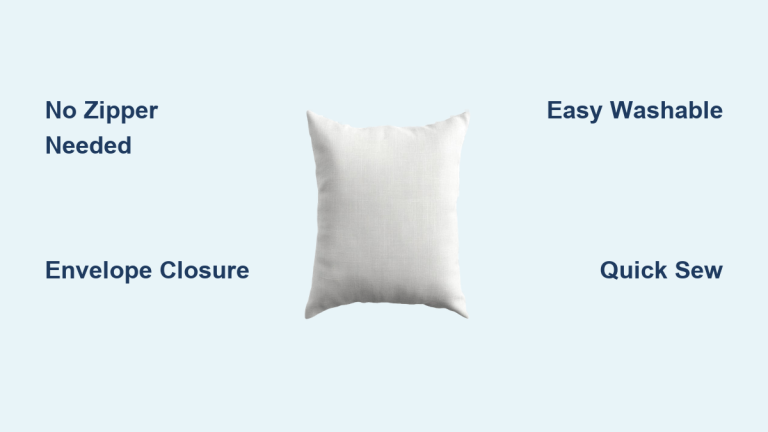
Yes, the envelope style is ideal for beginners and requires no zipper. The back consists of two overlapping flaps that hold the cover in place through fabric friction. You can add Velcro or snaps for extra security if desired.
How do I prevent my nursing pillow cover from stretching?
Use fusible knit interfacing on the zipper area to stabilize the fabric. When sewing curves or bias-cut gussets, use a walking foot or dual feed feature to prevent shifting. Avoid pulling the fabric as you sew and pin frequently.
How long does it take to sew a nursing pillow cover?
Active sewing time ranges from 30 minutes to one hour, depending on the closure method and your experience level. Envelope-style covers are faster for beginners, while invisible zipper installations take longer but provide a more professional finish.
Should I pre-wash fabric before making a nursing pillow cover?
Yes, always pre-wash and dry your fabric before cutting. Cotton can shrink up to 5%, and pre-washing ensures your cover maintains its size and fit after the first wash. Dry the fabric the same way you plan to launder the finished cover.
Final Thoughts on Making a Nursing Pillow Cover
Making a nursing pillow cover is a practical, budget-friendly project that delivers long-term value. With the right fabric, precise pattern, and smart construction method, whether envelope, invisible zipper, or exposed zipper, you can create a durable, washable, and beautiful cover tailored to your needs.
The three most important factors for success are choosing baby-safe fabrics, creating an accurate pattern by tracing your existing cover, and reinforcing stress points like zipper areas and curves. Overstuffing the pillow and clipping curves before turning ensure a professional finish that withstands daily use.
Start by gathering your materials and tracing your existing cover today. In just one hour, you’ll have a custom cover that outperforms store-bought versions in both function and style, with extras ready for those inevitable spill emergencies.