How to Make a Seat Belt Pillow
Few things ruin a car nap faster than a stiff neck and a seat belt strap digging into your shoulder. If you or your passengers regularly drift off during drives, a DIY seat belt pillow offers a simple, affordable fix. This cushioned cover wraps around the shoulder belt, creating a soft surface to rest your head against while preventing skin irritation and friction marks.
You can complete this project in under two hours with basic sewing skills, and it costs far less than buying one online. This guide covers two versions: a full-featured comfort pillow with storage and adjustable tabs, plus a compact medical port pillow for sensitive chest areas. Both are safe for passengers but should never be used by drivers, as cushioning may interfere with proper seat belt function.
Design a Comfort Pillow With Storage and Adjustable Tabs
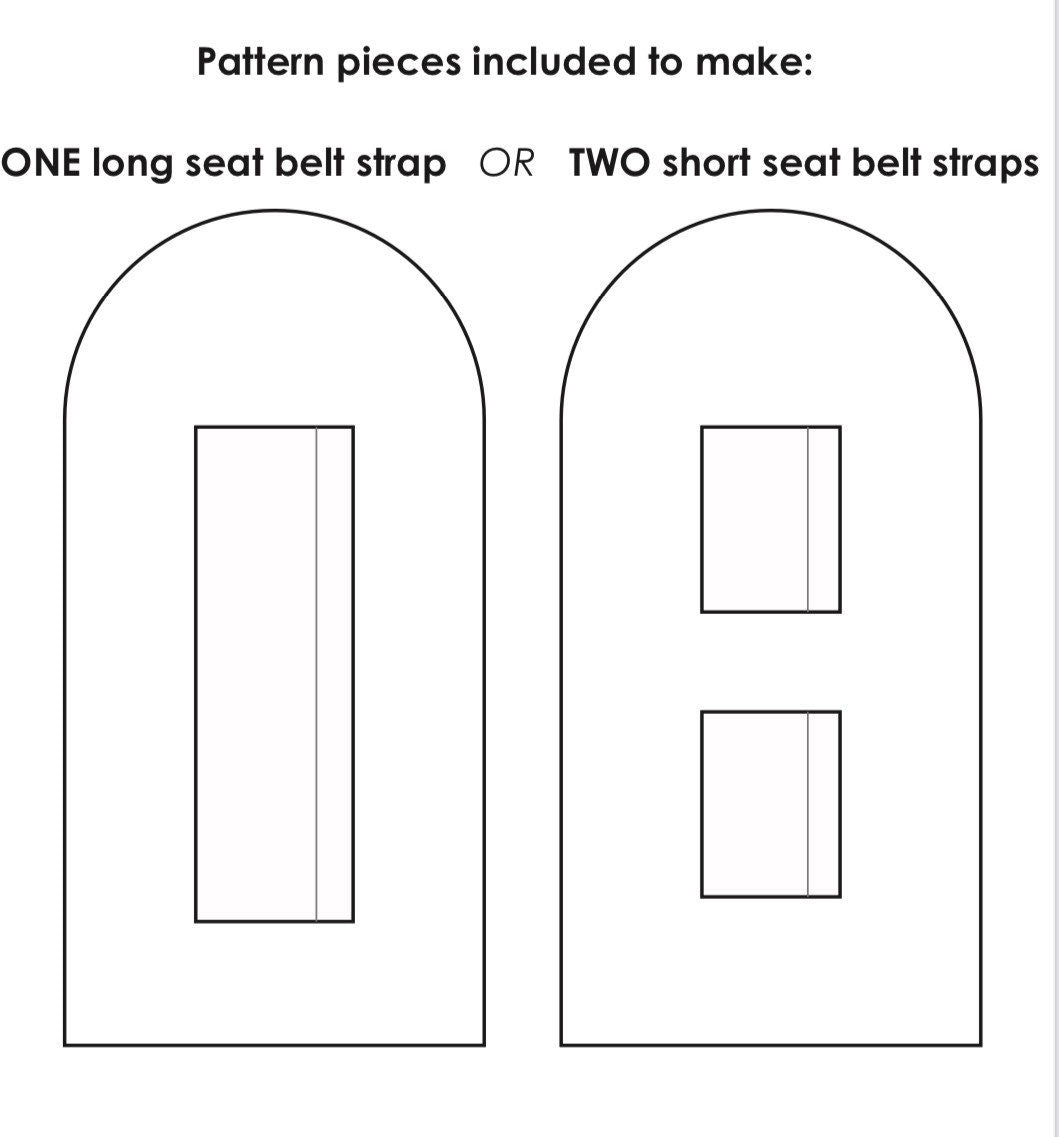
This full-featured version includes a diagonal pocket for phones or snacks and Velcro tabs that adjust to fit different belt widths and passenger heights. It’s ideal for road trips, kids, and frequent travelers.
Cut Your Fabric Panels
Start by cutting two rectangles of luxury fleece measuring 7.5″ x 26″. This size allows for a 0.5″ seam allowance, finishing at approximately 6.5″ x 25″. Use a rotary cutter and mat for clean, straight edges.
Round all four corners on both panels using a drinking glass as a template. This step prevents bulky corners and helps the pillow lie flat when sewn. Match the curves as closely as possible so both panels align during assembly.
For the pocket, cut two 7.5″ x 8.5″ rectangles from quilting cotton. For the Velcro tabs, cut four 6″ x 7″ cotton rectangles. These smaller pieces need structure, which you’ll add next.
Add Interfacing for Structure
Fusible interfacing prevents tabs and pockets from sagging over time. Cut four strips of mid-weight interfacing (like Pellon Décor Bond) measuring 5″ x 3″. Fuse these to the wrong side of two tab pieces, leaving a 0.5″ border around all edges.
For the pocket, cut one piece of interfacing measuring 6.5″ x 7.5″ and fuse it to the wrong side of one pocket panel. This stability ensures Velcro adheres cleanly and pockets hold their shape.
Sew the Diagonal Pocket

One pocket panel needs a diagonal cut for easy access while wearing the pillow. Measure 4″ up from the bottom-right corner along the raw edge and mark it. Draw a line from the top-left corner to this mark, then cut along that line.
Place both pocket panels with wrong sides together. Slip bias tape over the diagonal raw edge, trim the ends flush with the fabric, and edgestitch in place. With panels right-sides together, stitch only the bottom edge using a 0.5″ seam allowance. Turn right-side out and press flat. The top diagonal and side edges remain open and will be enclosed in the main seam later.
Build the Velcro Tabs
Fold each 6″ x 7″ tab piece in half with wrong sides together, creating a 6″ x 3.5″ strip. Press the center crease to mark it clearly.
Attach Velcro to the interfaced half of each tab. Pay attention to orientation if your fabric has a directional pattern:
- Underlap tab (hook side): Place the motif right-side up before folding
- Overlap tab (loop side): Place the motif upside-down so it flips right-side up when secured
Stitch around all four sides of each Velcro piece. Refold the tab right-sides together, pin the sides and one end, then sew with a 0.5″ seam. Clip the corners, turn right-side out, and press flat. For a polished look, edgestitch along the open edges.
Assemble the Main Pillow Body
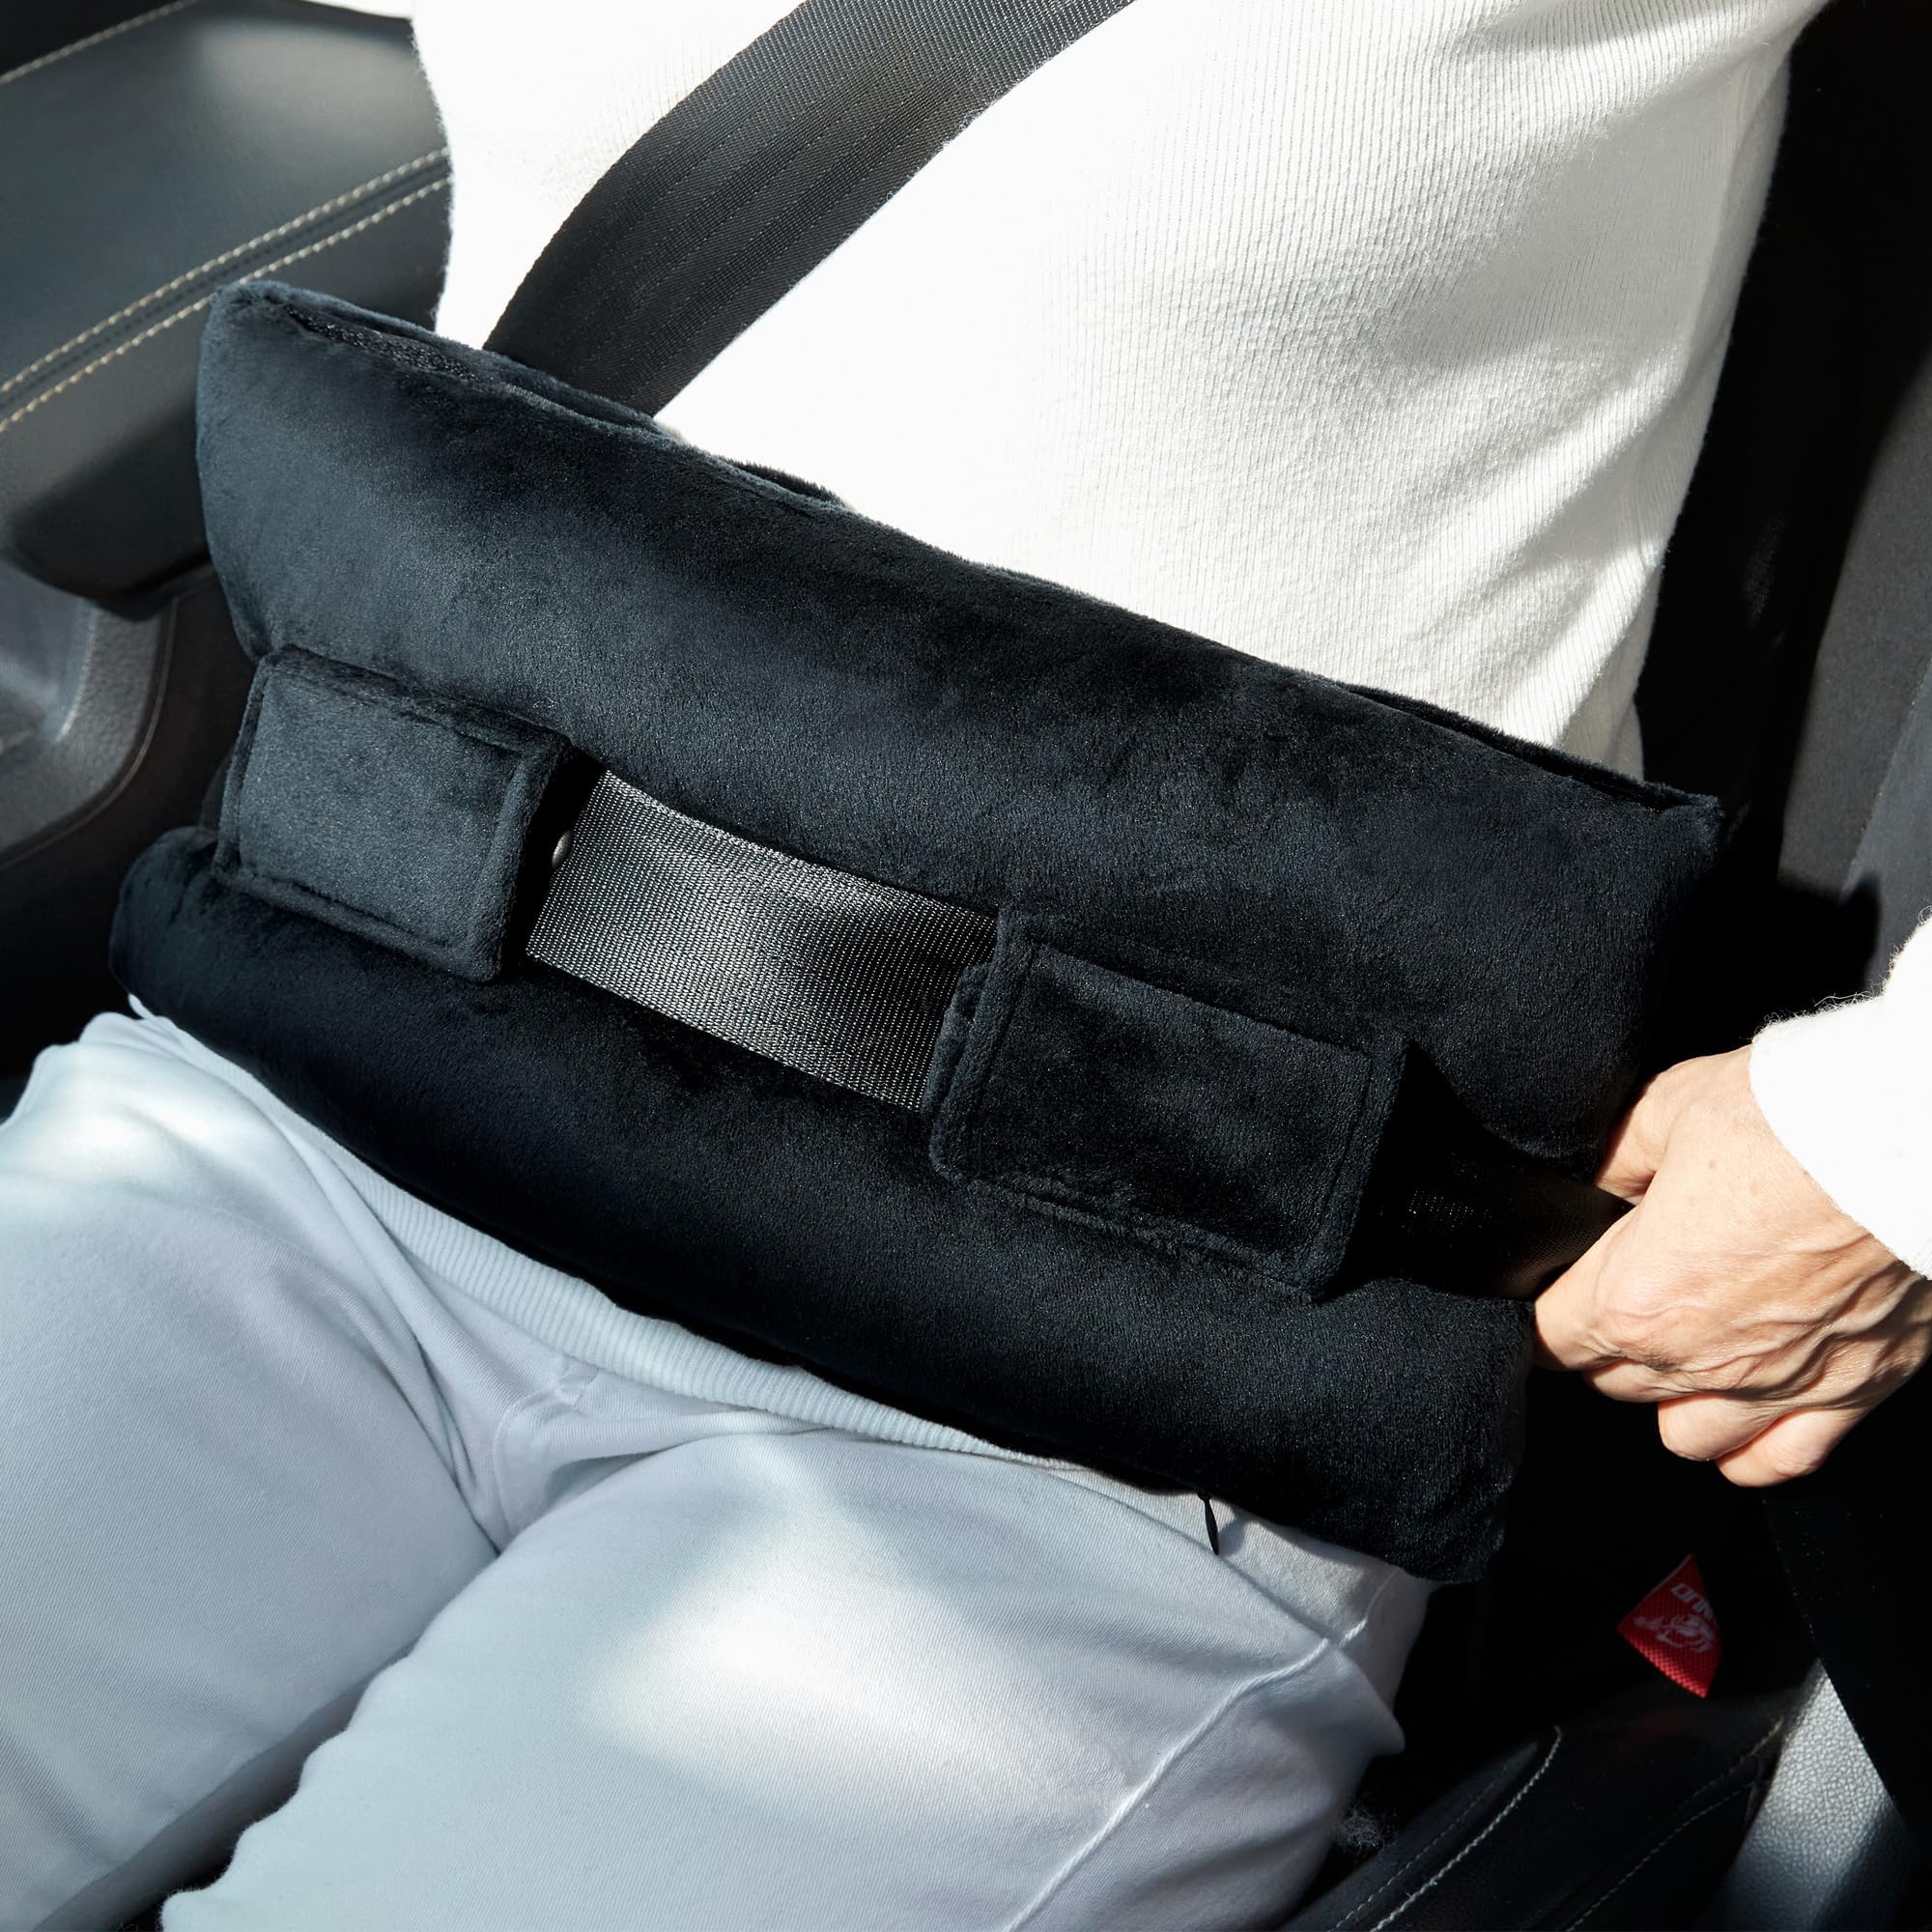
Lay the front fleece panel right-side up on your work surface. Position the pocket 4.5″ up from the bottom edge, with the taller side aligned to the left raw edge. Baste or edgestitch the bottom seam to secure it.
Place the Velcro tabs in pairs:
– Bottom pair: 4.5″ up from the bottom edge, with raw edges flush against the side edges
– Top pair: 4.5″ down from the top edge, matching alignment
Verify that hook and loop pairs face the correct direction before pinning. Place the back fleece panel right-side down on top, sandwiching all components between the layers. Pin around the entire perimeter.
Sew, Turn, and Stuff
Sew around the edge with a 0.5″ seam allowance, pivoting carefully at the rounded corners. Leave a 2–3″ opening along the bottom for turning and stuffing. Backstitch at both ends of this gap to secure the stitches.
Turn the pillow right-side out using a chopstick or point turner to push out the corners smoothly. Do not iron plush fleece directly; instead, roll the seams between your fingers to flatten them.
Tease the polyester fiberfill apart like hair before stuffing to eliminate clumps. Fill the pillow firmly enough to support a head, but soft enough for comfort. Hand-stitch the opening closed with invisible whipstitches.
Build a Medical Port Pillow

This compact version protects chest ports from seat belt friction. It’s smaller, faster to make, and particularly helpful for chemotherapy patients or anyone with sensitive skin in the chest area.
Cut and Prepare the Fabric
Cut one piece of soft fabric measuring 4″ x 16″. Fold it in half lengthwise with right sides together, creating a 4″ x 8″ tube. Use hypoallergenic, breathable fabric if skin sensitivity is a concern.
Insert Velcro and Sew
Cut two sets of hook and loop strips, each 3.5″ long. Place one set at each end of the folded fabric, sandwiched between the layers. Position them so the hook and loop faces will meet when you turn the tube right-side out.
Pin everything in place, then sew around the entire perimeter with a 0.5″ seam allowance. Leave a 2″ opening on one long side for turning and stuffing.
Turn, Topstitch, and Stuff
Turn the tube right-side out through the opening. Use a knitting needle to push out the corners gently. Topstitch around the entire edge about 1/8″ from the seam to close the gap and add durability.
Stuff with fiberfill or small memory foam scraps. Memory foam provides denser cushioning that absorbs impact better for medical applications. Fill until firm but still pliable.
Wrap the finished pillow around the seat belt with the Velcro closure facing outward. This way, the soft fabric cushions the port area and avoids direct contact with the closure.
Choose the Right Materials for Lasting Quality
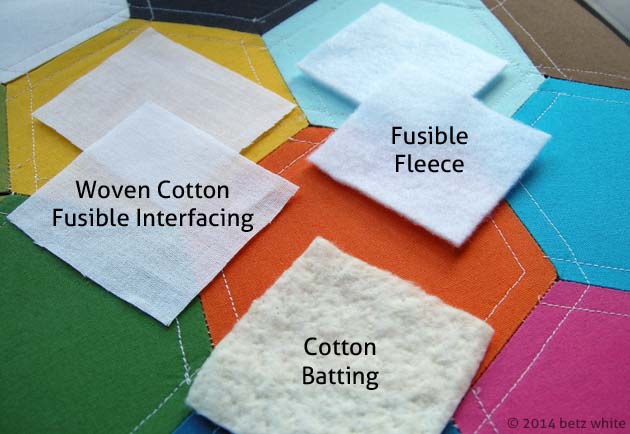
The materials you select directly affect comfort, durability, and how professional your finished pillow looks.
Pick Soft, Durable Fabric
Luxury fleece works best for the main body because it’s ultra-soft and has no wrong side. Brands like Shannon Fabrics Cloud Spa Cuddle offer excellent quality. You’ll need 1/4 to 1/3 yard depending on your design.
Use quilting cotton for pockets and tabs since fleece would stretch too much in those areas. Scraps or 1/3 yard will suffice. Avoid slippery or thin materials that wear quickly or shift during use.
Use Interfacing for Strength
Mid-weight fusible interfacing prevents Velcro from pulling through fabric and keeps tabs and pockets crisp. Apply it before assembling components so it integrates smoothly into your seams.
Select the Best Stuffing
Premium polyester fiberfill works well for comfort pillows and maintains loft after washing. For port pillows, memory foam scraps offer denser cushioning that better absorbs seat belt pressure. Aim for a “Goldilocks” feel: supportive but not hard.
Avoid Common Sewing Mistakes
Even straightforward projects can go wrong without attention to detail. Here’s how to prevent the most frequent issues.
Prevent Fleece from Stretching
Fleece tends to distort during sewing, causing misaligned corners and uneven edges. Use a walking foot or even-feed foot on your machine if available. As an alternative, place tissue paper under the fabric while sewing and tear it away afterward.
Stop Lumpy Stuffing
Clumped fiberfill creates an amateurish appearance and uncomfortable lumps. Tease the stuffing apart thoroughly before inserting it, and add it in small handfuls, working from the corners toward the center.
Avoid Velcro Orientation Errors
Directional fabrics can end up upside-down on tabs if you don’t plan ahead. Do a dry fold test before sewing. Remember: the underlap tab (hook) should have the motif right-side up, while the overlap tab (loop) should have it upside-down so it flips correctly when secured.
Reduce Bulky Corners
Thick fleece seams create lumps when turned right-side out. Trim the seam allowance slightly before turning, and clip curves carefully without cutting through your stitches.
Customize for Comfort and Style
Personal touches make your seat belt pillow more functional and fun.
Add a Storage Pocket
The diagonal pocket holds phones, snacks, or travel essentials. Use contrasting or themed fabric, like a child’s favorite character, to make it especially appealing for young passengers.
Choose Travel-Friendly Colors
Darker shades hide stains better during long trips. Consider machine-washable fabrics if the pillow will see frequent use.
Make Matching Sets
Create multiple pillows in coordinating fabrics for family road trips. Choose colors that complement your car interior for a seamless, intentional look.
Follow Essential Safety Guidelines
These pillows are comfort accessories, not safety devices. Keep these warnings in mind.
Never Use While Driving
A cushioned belt may reduce restraint effectiveness and interfere with the driver’s awareness of belt position. Only passengers should use these pillows.
Understand Medical Limitations
Port pillows are user-made solutions and are not FDA-approved. They may alter seat belt function during a crash. Use them at your own discretion and risk.
Keep Away From Children as Toys
Don’t let kids hit others with the pillow. It’s a comfort tool designed to prevent injury, not cause it.
Not for Water Use
Despite its softness, this pillow is not a flotation device. Keep it dry and use it only as intended.
Care for Your Pillow Properly
Regular maintenance keeps your pillow clean, functional, and looking good.
Clean Gently
Hand wash or use a gentle machine cycle with cold water. Air dry or tumble dry on low heat. High temperatures can melt fleece fibers or degrade Velcro grip over time.
Refresh the Stuffing
Fiberfill compresses with extended use. Remove the stuffing, fluff it by hand, and reinsert it to restore the pillow’s original shape and support.
Check Velcro Regularly
Inspect tabs to ensure they still grip firmly. Resew any loose strips immediately to prevent the pillow from slipping off the belt during use.
Frequently Asked Questions About Making a Seat Belt Pillow
What fabric works best for a seat belt pillow?
Luxury fleece is the top choice for the main body because it’s ultra-soft against skin and has no wrong side to track. Brands like Shannon Fabrics Cloud Spa Cuddle offer professional results. Use quilting cotton for pockets and tabs where you need more structure.
How long does it take to make a seat belt pillow?
A full-featured comfort pillow takes about two hours from cutting to finished product. The simpler medical port pillow can be completed in under one hour. Both are rated as confident beginner projects.
Can drivers use a seat belt pillow?
No. These pillows are strictly for passengers. Cushioning the belt may interfere with proper restraint function and the driver’s ability to feel the belt’s position, which could compromise safety.
Is the medical port pillow safe to use?
Port pillows are user-made solutions and are not FDA-approved medical devices. Their impact on seat belt function during an accident is unknown. While many patients find them helpful for everyday comfort, use them with awareness of these limitations.
How do I prevent fleece from stretching while sewing?
Use a walking foot or even-feed foot on your sewing machine to feed both fabric layers evenly. If your machine lacks this feature, place tissue paper under the fleece while sewing and tear it away afterward.
How do I clean a seat belt pillow?
Hand wash or machine wash on a gentle cycle with cold water. Air dry or tumble dry on low heat. Avoid high temperatures, which can damage fleece fibers and weaken Velcro grip.
Final Thoughts on Creating Your Own Seat Belt Pillow
A homemade seat belt pillow transforms uncomfortable car naps into restful breaks, whether you’re protecting a child’s neck on a long road trip or shielding a sensitive medical port from friction. The project rewards you with a practical, personalized item that costs a fraction of store-bought alternatives.
Start by deciding which version fits your needs: the full-featured comfort pillow with storage and adjustable tabs, or the compact medical port pillow. Gather quality materials, follow the step-by-step instructions carefully, and take your time with details like Velcro orientation and stuffing distribution. Your finished pillow will provide comfort for countless journeys ahead.
Ready to get started? Pick your fabric, set aside an afternoon, and enjoy the satisfaction of creating something both useful and thoughtful.