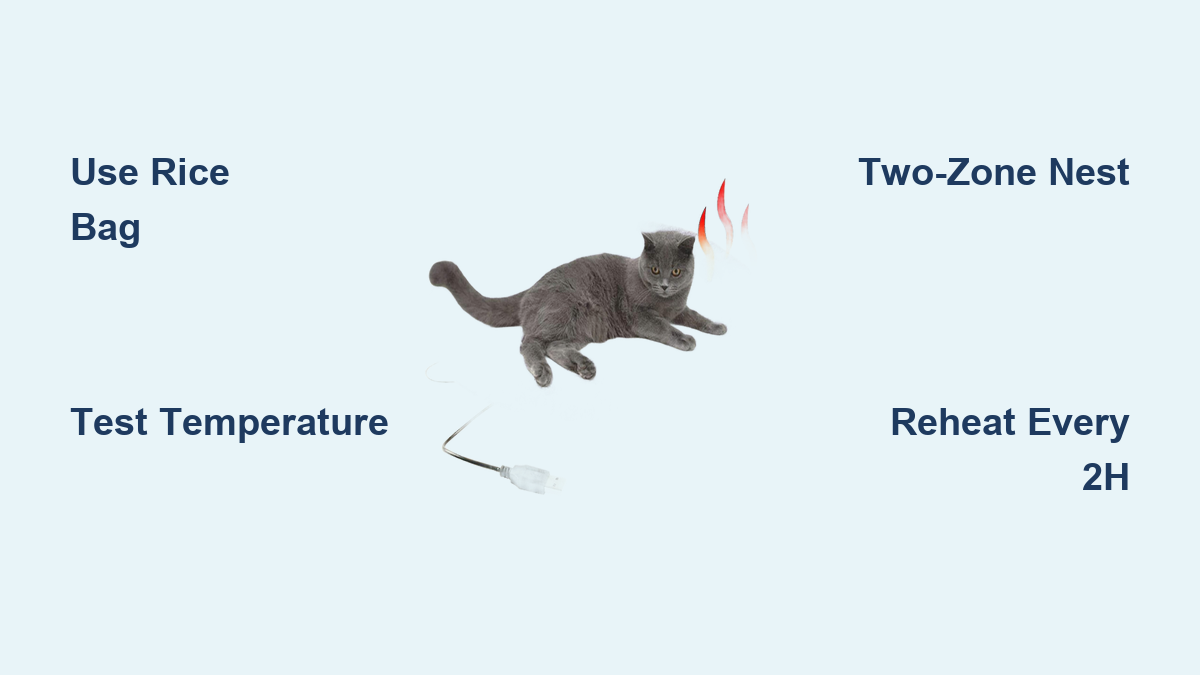
How to Make a Heating Pad for Kittens
Newborn and orphaned kittens cannot regulate their own body temperature, which makes hypothermia one of the deadliest threats they face. Without a mother cat to keep them warm, you become their primary heat source, and knowing how to make a heating pad for kittens can quite literally save lives. This guide walks you through safe DIY methods, proper nest setup, and critical temperature guidelines drawn from veterinary neonatal care standards.
You will learn three proven homemade heating techniques, how to build a two-zone warming nest, when to upgrade to commercial options, and the warning signs that mean a kitten needs immediate help. Every step prioritizes safety because fragile kittens can burn, overheat, or chill within minutes if their environment isn’t carefully managed.
Why Kittens Need External Warmth to Survive
The Critical Role of Thermoregulation in Newborns
Kittens under four weeks old cannot generate or retain their own body heat. Their thermoregulation systems simply aren’t developed yet, so they depend entirely on their surroundings to stay warm. When a kitten gets cold, digestion slows, the heart rate drops, and the immune system weakens. Even more dangerous, a chilled kitten cannot nurse properly, and attempting to feed one below 90°F (32.2°C) can cause fatal aspiration.
To check if a kitten is too cold, touch the ears, foot pads, or inside of the mouth. If any of these feel cool, the kitten needs immediate warming before you attempt to feed. For accuracy, use a baby or pet-safe rectal thermometer. Normal body temperatures rise as kittens grow:
- 1 week: 95–99°F (35–37.2°C)
- 2–3 weeks: 97–100°F (36.1–37.7°C)
- 4+ weeks: 99–101°F (37.2–38.3°C)
Emergency Warming Steps for a Cold Kitten
If you find a kitten unresponsive and cold, act quickly but gently. First, dry the kitten thoroughly if it’s wet, since moisture accelerates heat loss. Next, hold the kitten against your bare chest for skin-to-skin warmth. Never feed a cold kitten; wait until body temperature climbs above 90°F.
For kittens over one week old, you can use a blow dryer on a low, cool setting held at least 12 inches away. Never use a blow dryer on newborns under seven days. Once the kitten stabilizes, transition to a controlled, long-term heat source.
DIY Heating Pad Methods You Can Build Today

The Rice Mom (Cooked Rice in a Sealed Bag)
This method uses cooked rice as a microwaveable heat reservoir that stays warm for one to two hours.
Materials needed:
– Plain cooked white or brown rice (no salt, oil, or spices)
– Leak-proof ziplock bag
– Soft towel or cloth
Step-by-step instructions:
1. Cook ½ to 1 cup of plain rice until fully done.
2. Cool the rice to 100–110°F (38–43°C). Test on your inner wrist; it should feel warm, not hot.
3. Pour the rice into a sealed plastic bag. Double-bag for extra safety against leaks.
4. Wrap the bag tightly in a soft towel.
5. Place it in the nest on one side only, so kittens can move away if needed.
Reheating: Microwave the bag for 15–20 seconds, shake to distribute heat, and test again on your wrist before returning it to the nest.
Pro Tip: Pre-cook extra rice and store it in the fridge so you can reheat portions quickly during overnight shifts.
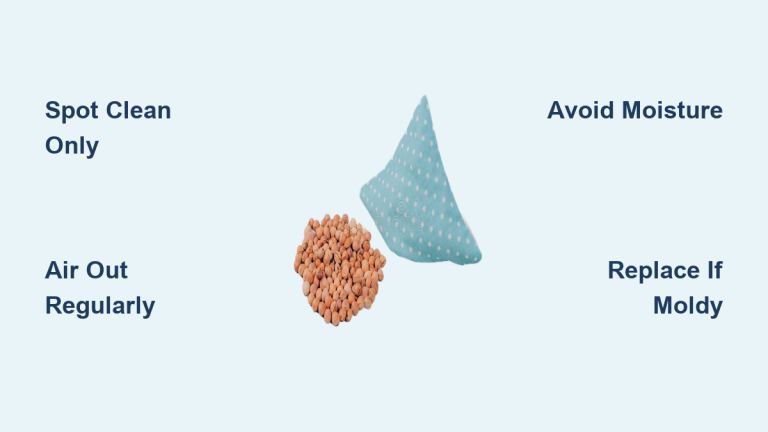
Heated Sock with Uncooked Rice or Beans
This reusable option avoids the moisture and spoilage risk of cooked grains.
Materials needed:
– Clean cotton sock
– Uncooked rice or white beans
– String or tight knot
– Towel for wrapping
Step-by-step instructions:
1. Fill the sock halfway with dry rice or beans.
2. Tie the end securely so no grains can spill out.
3. Microwave the sock for about 60 seconds.
4. Wrap it in a towel before placing it in the nest.
Reheating: Replace or reheat every two hours. Always shake the sock and test the temperature on your wrist first.
Hot Water Bottle Method
A classic solution that works well but cools faster than grain-based options.
Materials needed:
– Rubber or BPA-free plastic bottle (avoid glass unless heavily padded)
– Warm water around 100°F (38°C)
– Thick towel
Step-by-step instructions:
1. Fill the bottle with warm water, not hot.
2. Screw the cap on tightly and check for leaks.
3. Wrap the bottle completely in a thick towel.
4. Place it on one side of the nest only.
Reheating: Refill or replace the water every two hours. Use a thermometer to confirm the water stays at a safe temperature.
Building a Safe, Insulated Nest
Container, Bedding, and Location
A heating pad only works inside the right environment. Start with a high-sided cardboard box, which insulates naturally. The box should be large enough for kittens to move around but small enough to retain heat. Line the bottom with soft, clean towels or fleece, and avoid loose fabrics or strings that could tangle tiny paws.
Place the box away from drafts, vents, windows, and foot traffic. A quiet, low-stress area helps kittens rest and conserve energy. Change the bedding daily, or immediately if it becomes soiled, and always wash your hands before handling the kittens.
Creating Two Temperature Zones
Kittens must always have the ability to move away from heat. To create a two-zone setup, place your heating pad under or beside only half the nest. This creates a warm zone around 85°F and a cooler zone around 70–75°F.
Newborns instinctively crawl toward warmth, but if they get too hot, they will scoot to the cooler side on their own. Never cover the entire floor of the nest with a heating element, because this traps kittens and can cause burns or overheating.
Ideal Ambient Temperatures by Age
Adjusting Heat as Kittens Grow
The air temperature around the kittens matters just as much as the heating pad itself. Use a small air thermometer inside the nest and check it every few hours, especially during temperature transitions.
| Age | Target Air Temperature |
|---|---|
| 0–2 weeks | 85°F (30°C) |
| 3–4 weeks | 75–80°F (24–27°C) |
| 5+ weeks | Room temperature (70°F / 21°C) |
After week three, gradually reduce the heat by about 5°F per week. By five weeks, most kittens can self-regulate and no longer need supplemental warmth.
Pro Tip: A digital thermometer with min/max memory lets you track overnight fluctuations without staying awake.
Commercial Alternatives Worth Considering

Snuggle Safe Disks and Similar Products
Engineered specifically for pets, these microwavable disks offer safer, longer-lasting heat than most DIY options. Microwave the disk for about three minutes (follow package directions), and it will stay warm for 10 or more hours. Always wrap it in a towel before placing it in the nest.
These disks distribute heat evenly, carry no risk of leaks or mold, and last for years. You can find them at pet supply stores or online retailers.
Electric Heating Pads
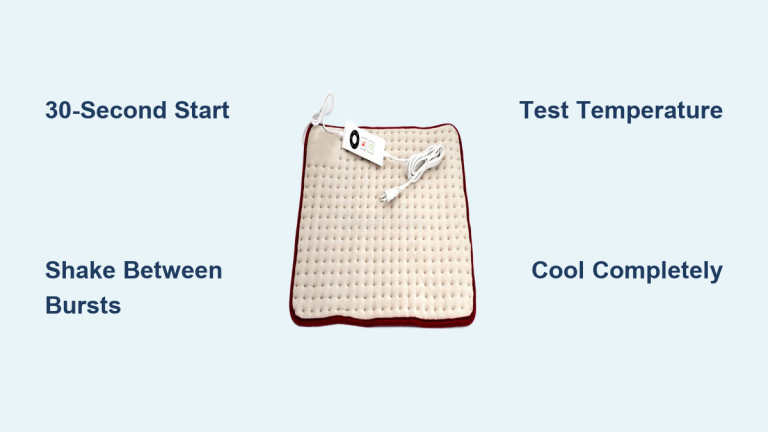
Electric pads can work in a pinch, but they require extreme caution. Set the pad to the lowest setting, wrap it in at least two thick towels, and place it under only one side of the nest. Check every 30 minutes for hot spots or malfunctions, and never use them near cardboard without constant supervision.
Heat Lamps
Many breeders and rescue groups prefer heat lamps for larger litters. Mount the lamp above the nest, angled to heat one side only, and use a red or ceramic bulb to avoid disrupting the kittens’ sleep. Hang the lamp at least 18–24 inches above the box, use a clamp light with a guard, and never leave it unattended. Keep the lamp far from bedding and cardboard edges to prevent fires.
Critical Safety Practices You Cannot Skip

Preventing Burns and Overheating
Even mild burns can be fatal for fragile kittens. Always test every heat source on the inside of your wrist before placing it near the kittens, the same way you would test baby formula. Use a towel or fleece barrier between the heat source and the kittens, and make sure they can move away freely.
Signs of overheating include:
– Panting or open-mouth breathing
– Red or flushed skin
– Restlessness or frantic movement
– Lying flat with legs splayed
If you notice any of these signs, remove the heat source immediately and cool the air slightly.
Common Mistakes to Avoid
Never use heating pads without a barrier, water hotter than 110°F, or electric pads set above low. Never allow direct contact between kittens and rice bags or water bottles, and never use microwaveable items that haven’t fully cooled.
Never leave DIY pads unattended for long stretches, because they lose heat quickly and kittens can chill within minutes. Rotate heat sources every one to two hours, label your heating schedule, and keep a thermometer in the nest at all times.
Maintenance and Monitoring Schedule
Round-the-Clock Care in the First Weeks
Kittens need constant attention during their first few weeks of life.
Every 1–2 hours:
– Check the heat source temperature
– Reheat or replace DIY pads
– Observe kitten behavior (huddling means cold; spreading out means warm)
Daily tasks:
– Change the bedding
– Wash heating pad covers or towels
– Inspect containers for wear or leaks
Before every feeding:
– Confirm body temperature is above 90°F
– Warm the kitten gradually if needed
At three weeks:
– Begin reducing ambient heat
– Introduce solid food and monitor energy levels
When to Seek Professional Help
DIY Solutions Are Temporary
Homemade heating pads are emergency measures, not long-term solutions. Contact a veterinarian or rescue organization if kittens appear lethargic, stop nursing, or lose weight. Also reach out if one or more kittens remain cold despite heating, or if you notice labored breathing, diarrhea, or dehydration.
Foster programs often provide snuggle disks and feeding supplies, and many vets will loan equipment or offer neonatal care guidance. Never hesitate to ask for help; early intervention saves lives.
Frequently Asked Questions About Heating Pads for Kittens
How warm should a heating pad be for newborn kittens?
The heat source itself should be around 100–110°F (38–43°C), and the ambient air in the nest should be approximately 85°F (30°C) for kittens under two weeks old. Always wrap the heat source in a towel and test it on your wrist before placing it near the kittens.
Can I use a regular electric heating pad for kittens?
You can, but only on the lowest setting and wrapped in at least two thick towels. Place it under one side of the nest only, and check every 30 minutes for hot spots or malfunctions. Electric pads carry a higher fire and burn risk than microwavable disks or DIY options.
How often do I need to reheat a DIY heating pad?
Reheat rice moms every one to two hours and replace hot water bottles every two hours. Heated socks should also be reheated or replaced every two hours. Always test the temperature on your wrist before returning the pad to the nest.
When can kittens stop needing a heating pad?
Most kittens can self-regulate their body temperature by five weeks of age. Gradually reduce the ambient heat by about 5°F per week starting at week three, and watch for signs that kittens are comfortable without supplemental warmth.
What are the signs a kitten is too cold?
Cool ears, foot pads, or mouth are early warning signs. Kittens may also huddle tightly together, cry constantly, or feel sluggish. A rectal thermometer reading below 90°F (32.2°C) means the kitten needs immediate warming before any feeding.
Is it safe to leave kittens alone with a heating pad?
Never leave kittens unattended with a DIY heating pad for long periods, because these lose heat quickly and can cause chilling or burns. If you must step away, use a commercial snuggle disk, which holds heat for 10 or more hours, and make sure the nest has a clear escape route from the warm zone.
Key Takeaways for Keeping Kittens Safe and Warm
Learning how to make a heating pad for kittens is one of the most important skills for anyone caring for orphaned or rejected litters. Always wrap heat sources in towels, test temperatures on your wrist, and build a two-zone nest so kittens can self-regulate. Reheat DIY pads every one to two hours, monitor ambient temperature with a thermometer, and never feed a kitten below 90°F.
Your next step is to gather your materials now, before an emergency happens. Cook rice, prepare a clean box with soft bedding, and place a thermometer nearby. When the moment comes, you’ll be ready to give vulnerable kittens the warmth they need to survive and thrive.