How to Make a Heat Pad for Cramps
If menstrual cramps have ever left you curled up on the couch, you already know how desperately you want relief. Over-the-counter meds help, but they aren’t your only option. A homemade heat pad is one of the fastest, cheapest, and most effective drug-free ways to ease cramp pain. Heat relaxes tense muscles, opens up blood vessels, and helps block pain signals from reaching your brain. Best of all, you can build one in under 10 minutes using stuff already in your kitchen.
This guide walks you through how to make a heat pad for cramps using three proven methods. You’ll get step-by-step instructions for a rice sock, a damp towel compress, and a steamed vegetable bag, plus safety tips, scent upgrades, and advice on when to skip heat entirely. By the end, you’ll have everything you need to soothe cramps naturally and safely.
Build a Rice Sock Heat Pad
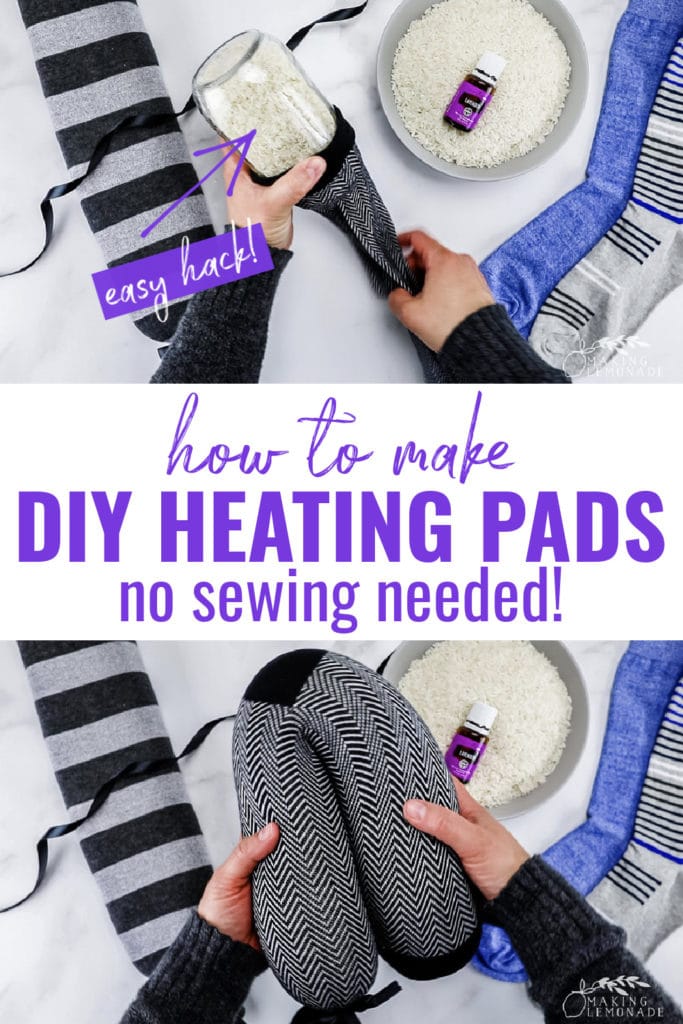
The rice sock is the gold standard of DIY heat pads. It molds to your body, holds warmth for up to 30 minutes, and costs almost nothing to make. You can sew one for long-term use or skip the needle and thread for a 5-minute version.
Sewn Rice Pad Instructions
Cut two 6×8-inch pieces of cotton fabric. Flannel or muslin works best because they handle heat without scorching. Place the pieces together with the right sides facing inward, then sew around three edges using a ½-inch seam allowance. Leave one short side open.
Turn the pouch right-side out through the opening. Fill it with uncooked rice until the pad feels plump but still flexible. Overfilling makes the pad stiff and uncomfortable. Hand-stitch the open end shut using a whipstitch to keep the rice locked inside.
Stick with regular long-grain rice. Instant rice has additives that can burn or smell strange when heated. Dried beans or lentils also work and actually hold heat longer than rice.
No-Sew Sock Version (Quick Fix)
Need relief right now? Grab a clean cotton tube sock and fill it with uncooked rice or beans. Tie the open end tightly with a rubber band or a strip of fabric. Make sure the sock is 100% cotton. Synthetic materials can melt or scorch in the microwave.
Skip socks with bright dyes if you have sensitive skin. Dyes can sometimes irritate or transfer when heated. This version takes about 3 minutes from start to finish.
Heat Safely in the Microwave
Place your rice pad in the microwave and heat on high for 2–3 minutes. Check the temperature every 30 seconds, especially the first time you heat it. If the pad smells burnt or feels too hot to touch, stop and let it cool.
Never walk away while microwaving. Overheating can cause scorching or even fire. Once heated, shake the pad gently to spread out any hot spots before placing it on your skin.
Add Aromatherapy for Calming Relief
Drop 2–3 drops of essential oil onto the rice before sealing the pad. Lavender and chamomile calm your nervous system, while peppermint adds a cooling sensation that pairs nicely with heat for deep aches.
Apply oils to a small cotton ball tucked inside the pad rather than directly onto the rice. Too much oil can make the filling clump or grow mold. Refresh the scent every few weeks.
Maintain and Replace Regularly
Replace the rice or bean filling every 6–12 months. Moisture from use can slowly build up and cause mold. Check the fabric or sock monthly for small tears or weak seams. If the pad develops a musty smell, toss it and make a new one.
Store your heat pad in a dry, sealed container when not in use. Always let it cool completely before putting it away.
Use a Heated Towel Compress
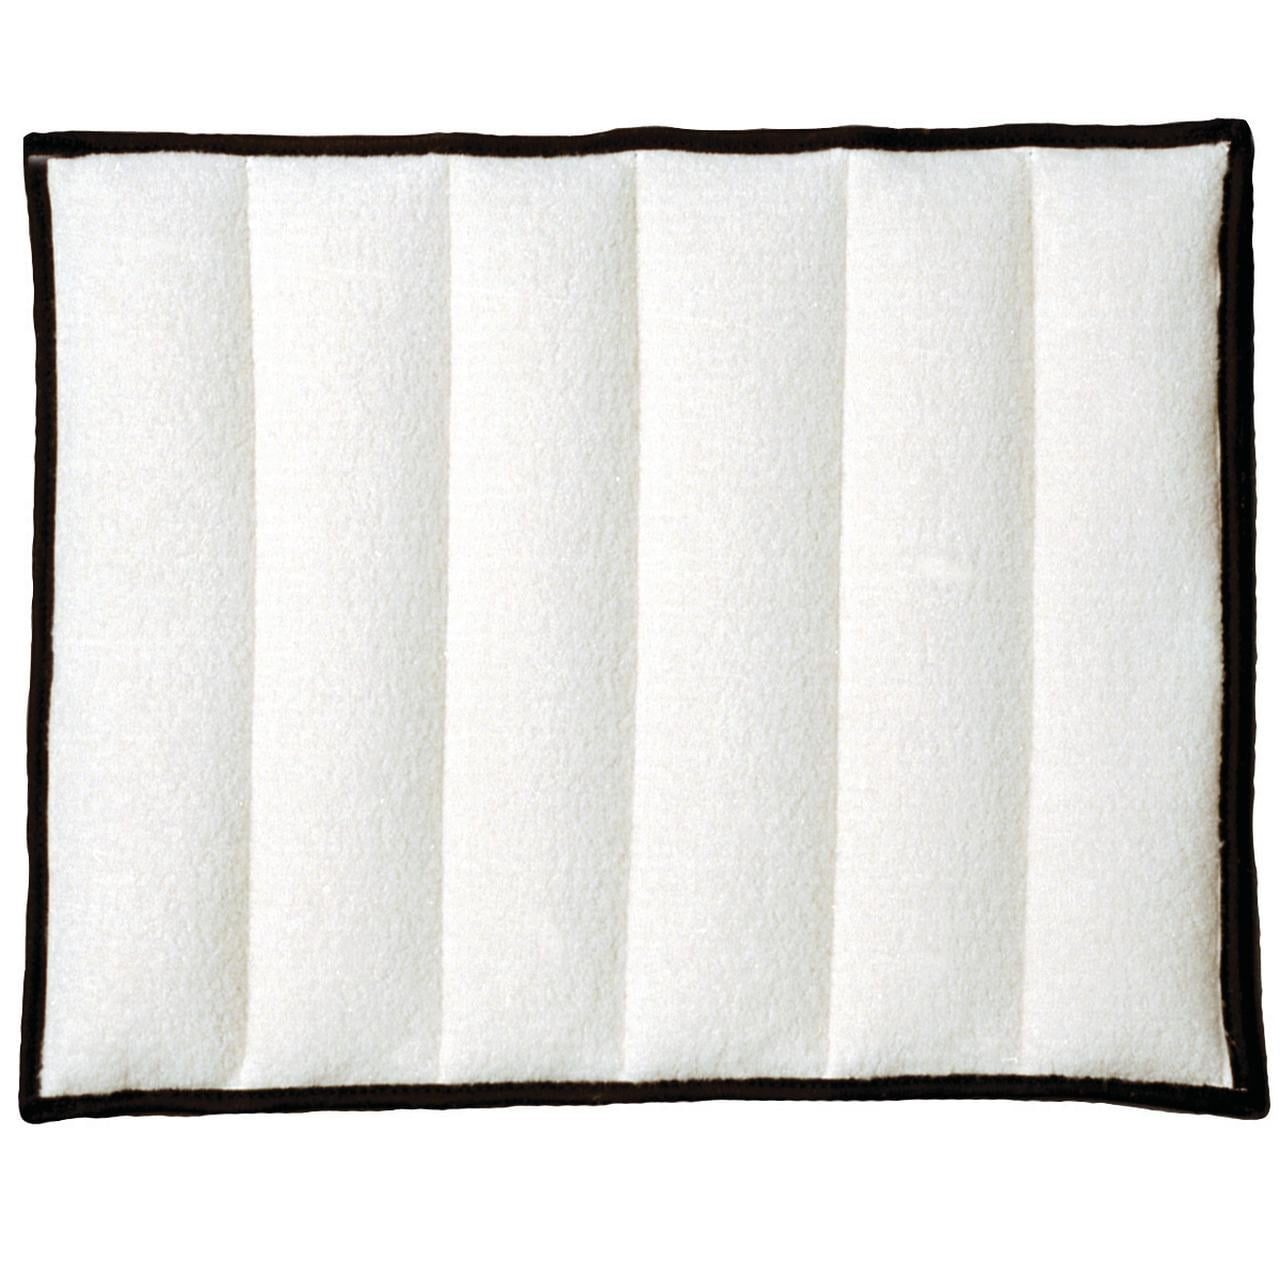
When you have zero time to craft anything, a damp towel is your fastest option. It heats in under a minute and delivers immediate warmth to cramping muscles.
Prep the Towel Properly
Use a 100% cotton hand towel or washcloth. Wet it thoroughly, then wring it out so it’s damp but not dripping. Excess water creates steam inside the microwave, which can cause burns.
Avoid heavily bleached towels or anything with synthetic fibers. These can melt or release fumes when heated.
Heat and Test Temperature
Microwave the damp towel on high for 20–30 seconds. Pull it out and touch it immediately. If it’s steaming or too hot to hold, wait 30 seconds and test again.
A properly heated towel should feel warm and comforting, not scalding. It will stay warm for about 10–15 minutes, which is perfect for a quick cramp-relief session.
Add Essential Oils (With Caution)
For extra relaxation, add 1–2 drops of lavender or chamomile oil to the towel before heating. These scents promote calm and can help reduce menstrual discomfort through aromatherapy alone.
Never use clove or peppermint oil on broken skin or sensitive areas. These oils can sting or cause irritation. If you have any open cuts or rashes, skip the oils entirely.
Apply with a Protective Layer
Place the warm towel directly on your lower abdomen or lower back. If your skin runs sensitive, fold the towel in half to lower the heat intensity.
Limit each session to 15–20 minutes. You can reheat the towel as needed, but take at least a 30-minute break between uses to avoid skin irritation.
Try a Steamed Vegetable Bag
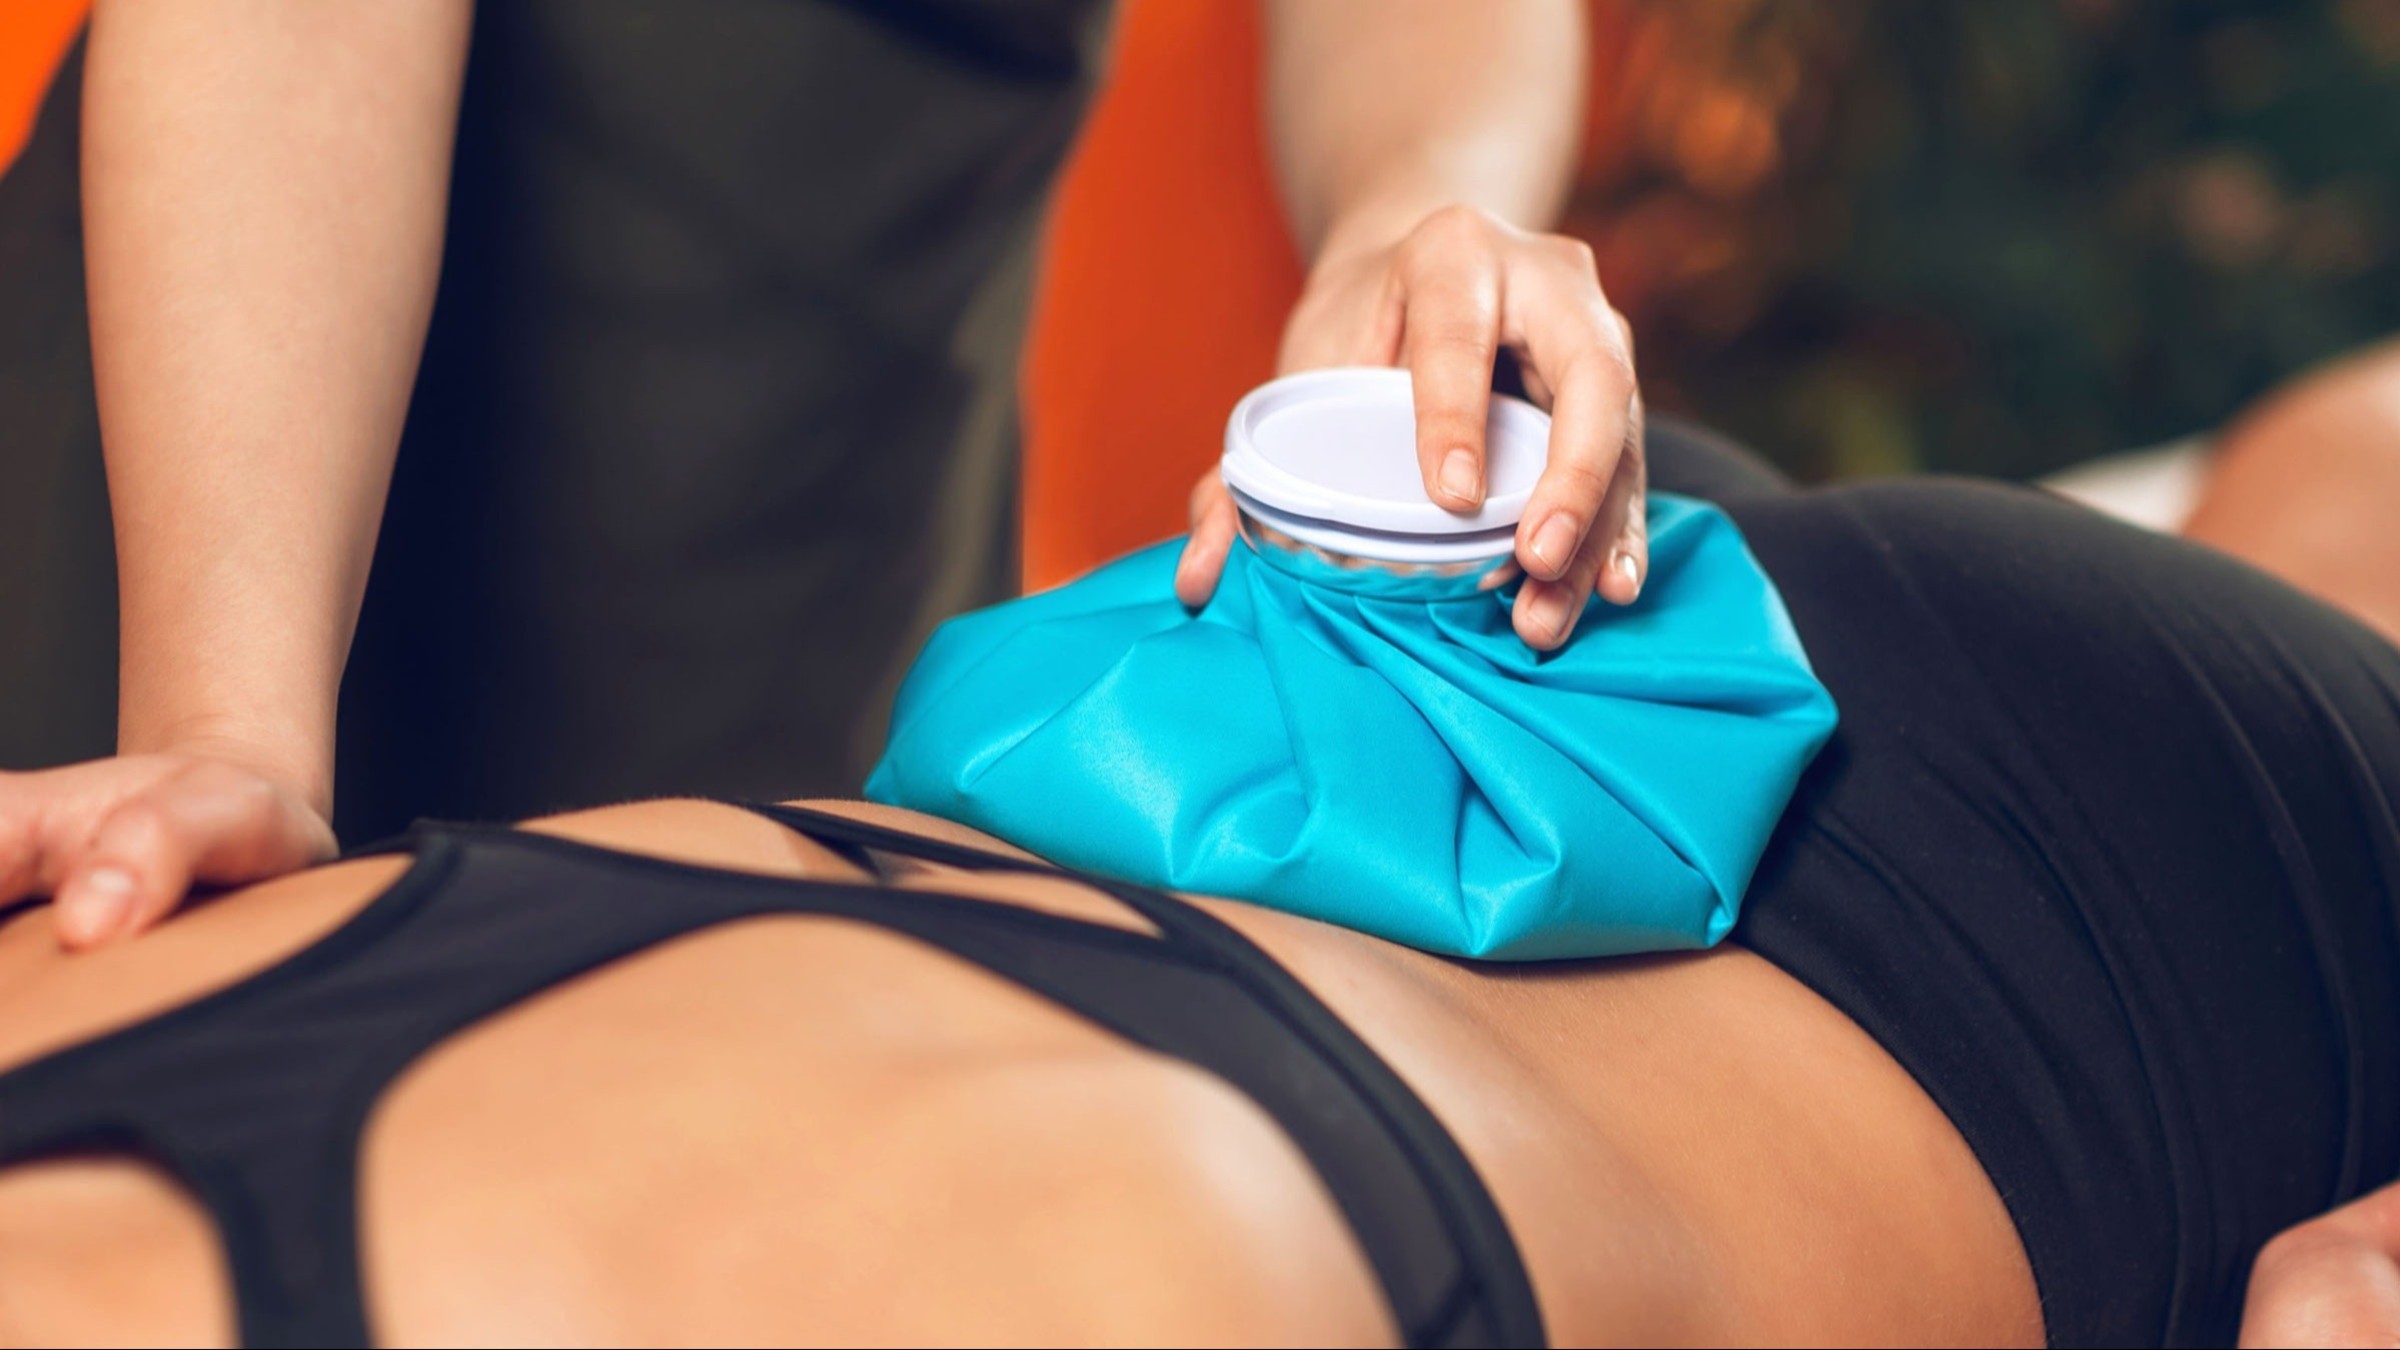
That bag of frozen peas in your freezer isn’t just for ice packs. Warmed up, it becomes a moldable heat source that hugs your body’s curves perfectly.
Choose the Right Vegetables
Peas are the top pick because they’re small and conform easily to your shape. Corn, green beans, or mixed vegetables work just as well. Stay away from vegetables with sauces or high oil content.
Check the bag for tears or leaks before heating. A punctured bag can spill moisture into your microwave or cause steam burns on your skin.
Warm Gently in the Microwave
Heat the frozen veggie bag on high for 3–4 minutes. Pause halfway through to check the temperature and rotate the bag for even warming.
If the bag feels too hot or starts to sizzle, stop heating right away. Overheating can cause the bag to burst or scorch.
Always Use a Skin Barrier
Never place a heated vegetable bag directly on your skin. Always wrap it in a thin washcloth or towel first. This barrier prevents burns and makes the heat more comfortable.
The bag should feel warm and soothing. If it’s uncomfortable, let it cool for a minute before applying.
Reuse and Rotate Stock
After use, put the bag back in the freezer. It doubles as a cold pack for future injuries. Replace the vegetables if the bag gets punctured or starts smelling off after heating.
Keep one bag designated only for therapy so you don’t accidentally cook it for dinner later.
Know When to Use Heat vs. Cold

Picking the right therapy matters as much as the heat pad itself. Heat and cold work differently and treat different problems.
Heat for Menstrual Cramps and Stiffness
Use your DIY heat pad for menstrual cramps, chronic back pain, arthritis, or general muscle tightness. Heat relaxes the uterine muscles and boosts pelvic blood flow, which lowers cramp intensity.
It also works well for soreness that builds up over time, like post-workout stiffness or a stiff neck from sleeping wrong.
Avoid Heat for Acute Injuries
Never use heat on fresh injuries, swelling, or bruises. Heat increases blood flow, which can make inflammation worse and slow down healing.
For sudden back spasms or pulled muscles, use cold therapy for the first 24–48 hours. After that, switch to heat if the pain lingers.
Quick Reference Guide
| Condition | Best Therapy |
|---|---|
| Menstrual cramps | Heat |
| Recent muscle strain | Cold first, then heat after 48 hours |
| Chronic lower back pain | Heat |
| Swollen joints | Cold |
| Post-exercise stiffness | Heat (after 48 hours) |
If you’re ever unsure, check with a healthcare provider. This is especially important if you have diabetes, nerve damage, or circulation problems.
Customize Your Heat Pad Design
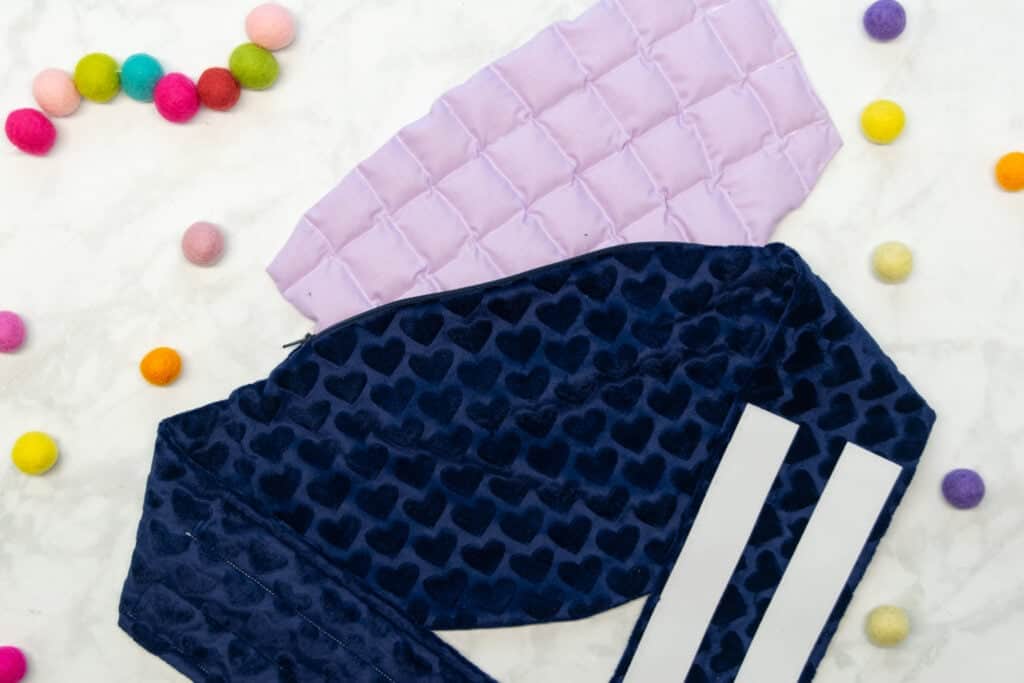
A few small upgrades can make your heat pad more effective and more enjoyable to use.
Size for Specific Areas
Build different sizes for different body parts:
– Small (5×5 inches) for wrists, feet, or neck
– Medium (6×8 inches) for your lower abdomen
– Large (8×12 inches) for full back coverage
Pick patterned cotton fabric that matches your bedroom or bathroom. A pretty design makes the pad feel cozy instead of clinical.
Add a Scent Pouch or Pocket
Sew a small external pocket onto your rice pad. Slip in a chamomile tea bag or a fabric sachet filled with dried lavender buds. This lets you swap scents without redoing the entire filling.
Refresh the sachet once a month to keep the aroma strong.
Mix Fillers for Better Performance
Blend rice with oats or barley for a softer, quieter pad. Toss in dried lavender or chamomile flowers for a steady calming scent. A small amount of Epsom salt (around 10–20% of the fill) adds a mild magnesium boost.
Skip flaxseed or wheat in humid climates. These fillers spoil faster than rice and can develop mold quickly.
Follow Safety Rules Strictly
Even simple home remedies can cause harm if you misuse them. A few basic rules keep your heat therapy safe.
Never Exceed 140°F (60°C)
This is the highest safe temperature for skin contact. If your pad is steaming, it’s too hot. Let it cool for 1–2 minutes before using it.
Test the pad on your inner forearm first. That skin is sensitive and gives you an accurate read on whether the temperature is safe.
Limit Use to 15–20 Minutes
Long sessions can cause toasted skin syndrome, a condition triggered by repeated heat exposure. Symptoms include blotchy skin, itching, and in serious cases, open sores.
Set a timer so you don’t lose track of time. Take at least 30 minutes off between sessions.
Check for Skin Sensitivity
If you have diabetes, neuropathy, or circulation issues, talk to your doctor before using heat therapy. You might not feel when the pad gets too hot, which raises your burn risk.
Stop using the pad right away if you notice redness, swelling, or pain during or after a session.
Keep Away from Children and Pets
Store your heat pad somewhere kids and animals can’t reach. A warm rice sock can look like a toy, and burns happen fast. Label the pad clearly if it contains essential oils. Some oils, like tea tree and eucalyptus, are toxic if swallowed.
Boost Relief with Holistic Habits
A heat pad works even better when paired with other simple self-care habits.
Stretch and Move Gently
After heating, try light stretches like child’s pose or a seated forward bend. Gentle movement releases muscle tension and improves circulation.
Skip intense workouts during cramps, but a short walk or easy yoga can reduce discomfort.
Stay Hydrated and Balanced
Dehydration and low mineral levels make cramps worse. Drink plenty of water and eat potassium- and magnesium-rich foods like bananas, spinach, and almonds.
Ask your doctor about a magnesium supplement if you get cramps often.
Combine with Over-the-Counter Relief
Heat pairs well with NSAIDs like ibuprofen. These meds lower inflammation and reduce prostaglandins, the chemicals that trigger uterine contractions. Using both together often works better than either method alone.
Rest and Breathe Deeply
Lie down with your heat pad and try slow, deep breathing. Breathe in for 4 counts, hold for 4, then exhale for 6. This activates your parasympathetic nervous system and helps your whole body relax.
Frequently Asked Questions About DIY Heat Pads for Cramps
How long should I use a homemade heat pad for cramps?
Limit each session to 15–20 minutes. Take at least a 30-minute break before reheating and applying again. Longer sessions increase the risk of skin damage.
Can I use a rice sock heat pad every day?
Yes, you can use it daily as long as you follow the time and temperature limits. Replace the filling every 6–12 months and inspect the fabric regularly for wear.
Is it safe to sleep with a heat pad on my stomach?
No. Falling asleep with a heat pad can lead to burns or toasted skin syndrome. Always set a timer and remove the pad before you drift off.
What filling holds heat the longest?
Dried beans and lentils retain heat longer than rice. If you want extended relief, fill your pad with beans instead of rice, or mix the two together.
Can I add essential oils directly to the rice?
Yes, but use only 2–3 drops and apply them to a cotton ball tucked inside the pad. Adding oil directly to the rice can cause clumping, mold, or a strong overwhelming scent.
What should I do if my heat pad smells burnt?
Discard it immediately. A burnt smell means the filling or fabric has scorched, which can release harmful fumes. Make a new pad and reduce your microwave time by 30 seconds.
Key Takeaways for Making Your Own Heat Pad for Cramps
Making a heat pad for cramps is one of the simplest, safest, and most affordable ways to manage menstrual pain at home. The rice sock method is the most versatile and long-lasting, while a damp towel gives you relief in under a minute. A steamed vegetable bag is perfect when you want something that molds to your body. No matter which method you choose, keep temperatures below 140°F, limit sessions to 20 minutes, and never use heat on fresh injuries or swollen areas.
Start with the no-sew rice sock if you’re new to DIY heat pads. It takes just a few minutes, costs almost nothing, and gives you a reusable tool for cramp relief month after month. Once you see how well it works, experiment with scents, sizes, and fillers to build a collection that fits your exact needs.