How to Sew Twisted Cord on a Pillow
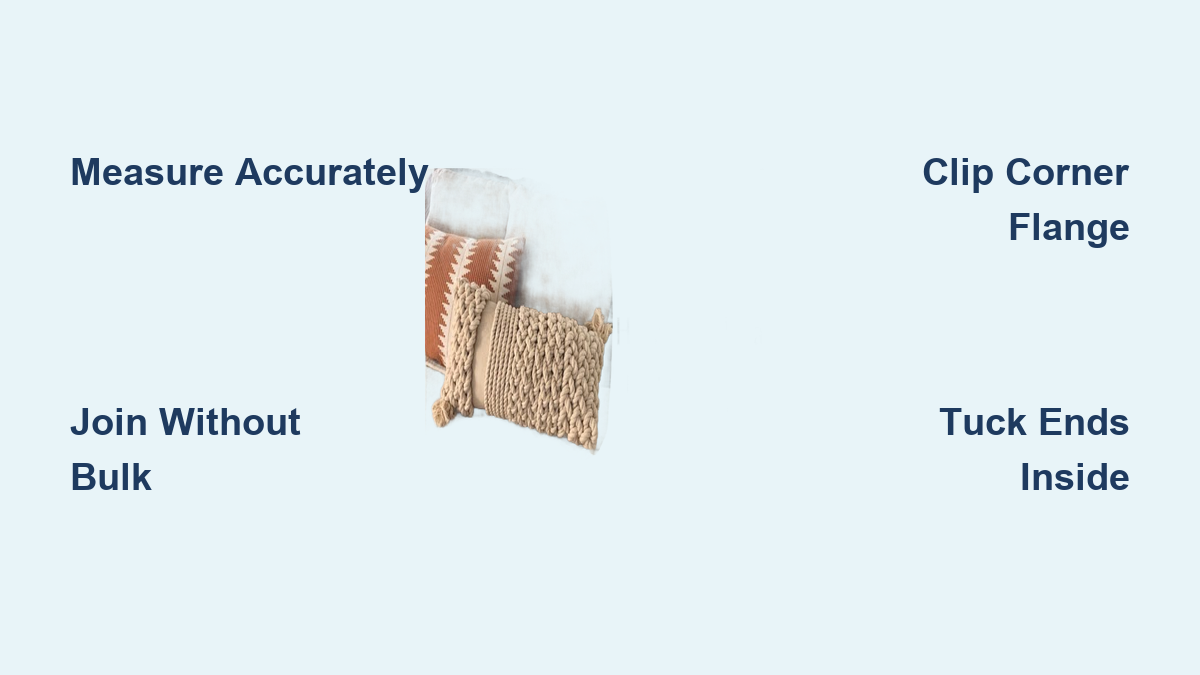
Adding twisted cord to a pillow turns an ordinary cover into a polished, custom-looking piece. The challenge most sewers face is hiding the join where the two ends meet, especially with braided or rope-style trims that have no fabric flange. A bulky seam, visible gap, or unraveling strand can ruin an otherwise clean project. With the right measurements, tools, and join method, you can attach twisted cord on a pillow so it looks like one continuous loop.
This guide breaks down exactly how to sew twisted cord on a pillow, from calculating cord length to choosing the best join technique for your trim type. You will learn how to prevent fraying, pivot sharp corners, and finish the opening invisibly.
Measure and Cut the Cord Accurately
Calculate the Total Cord Length
Before cutting anything, measure all four sides of your pillow form and add extra length for the join. The standard formula is:
Pillow Perimeter + 5 inches = Total Cord Needed
For a 14″ x 14″ pillow, the perimeter is 56″. Adding 5 inches gives you 61 inches of cord. This buffer gives you room to overlap, untwist, and stitch without tension. Cutting too short is the most common mistake, so never cut less than 2 inches extra.
Identify Your Cord Type
The right join method depends on the trim you choose:
- Flanged cording has a fabric strip for sewing directly into seams
- Twisted or braided cord has no flange and requires strand manipulation
- Self-corded trim is made from the same fabric as the pillow
- Contrast cording uses a different color or texture for visual impact
Set Up Your Sewing Machine and Supplies
Install the Right Presser Foot
Attach a zipper foot and align your needle to the left side of the foot. This positioning lets you stitch close to the cord without the foot catching on it. For final topstitching, a cording foot gets even closer to the cord edge. Use standard polyester thread in a matching color so seams blend into the fabric.
Gather Your Tools
You will need:
- Sharp scissors for clean cuts
- Washable tape to secure loose strands
- A blunt tool like “That Purple Thang” for pushing out corners
- A hand-sewing needle and thread for closing the opening
- Clips or pins to hold the cord in place while sewing
Join Flanged Cording with a Smooth Seam
Start Sewing at the Bottom Center
Place the cording on the right side of the front pillow fabric. Begin stitching about 3 inches from the bottom center, leaving the first 3 inches of cord loose. Sew around the perimeter using the zipper foot, stopping 3 to 4 inches before you reach the starting point. This gap is where you will create the join.
Create the Overlap Join
Lay the loose end flat, then place the starting end on top, overlapping by 2 to 3 inches. Cut the bottom fabric strip 1/4 inch from the edge of the top strip. Sew the two strips together at right angles to form a smooth seam. Wrap the flange around the cord core and stitch it closed. Return to the bottom edge and restitch over the join to lock it in place.
Join Non-Flanged Twisted Cord Without Bulk

Try the Comb and Overlap Method
This technique works well for braided cord where you want a surface join that blends in:
- Cut the cord about 2 inches longer than needed
- Stitch most of the way around, leaving a 1-inch gap
- Tape each individual strand to stop fraying immediately
- Untwist the left-side end and flatten strands downward
- Untwist the right-side end and lay strands over the left ones
- Stitch directly over the overlapped area to secure
The result is a gradual taper instead of a hard bump.
Use the Right Angle Taper for Thick Braids
For 3-strand braids, this method takes advantage of the natural twist pattern:
- Separate the strands at the start for about 3 inches
- Lay them flat at a right angle to the seam and stitch down
- Sew the braid around the pillow
- At the end, untwist the final strands and lay them over the starting ones
- Cross and machine-stitch the overlap
The strands interlock naturally because of how the braid twists.
Hide Joins Inside with the Tuck Method
For thick or delicate cords where surface stitching would look bulky:
- Sew the cord to the outside edge, stopping an inch from the start
- Feed the tail end through the seam allowance to the inside
- Untwist and flatten the inner end to reduce bulk
- Whip-stitch it to the inner seam to prevent unraveling
- Close the opening by hand
The exterior shows a continuous cord with no visible join at all.
Prevent Raveling with a Zig-Zag Stitch
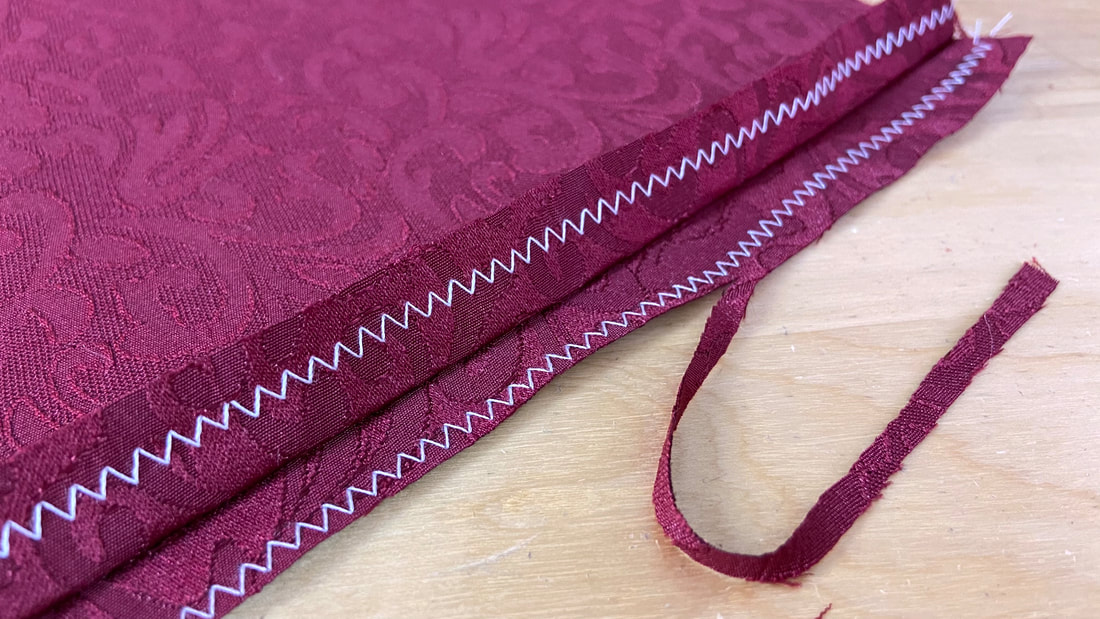
For rope-style trims where fraying is the main concern:
- Flatten the cut ends against the fabric
- Trim them evenly
- Sew over them with a zig-zag stitch to lock the fibers
This method is fast and requires no untwisting.
Sew the Pillow Together
Pin and Stitch Front to Back
Place the back fabric over the front with right sides together. Pin around the edge, catching the cording base in the seam. Sew close to the cord using the zipper foot. Start and stop at the bottom corners, leaving a 6 to 8 inch opening for turning and stuffing.
Clip Corners and Turn Right-Side Out
Trim excess fabric at the corners to reduce bulk. Use a blunt tool to push out the corners fully for sharp edges and proper cord alignment. Insert the pillow form snugly so the cover holds its shape.
Close the Opening by Hand
Fold the raw edges inward and hand-sew with a ladder stitch for an invisible closure. If you used the internal tuck method, confirm the cord ends are secured before closing.
Handle Corners Like a Professional
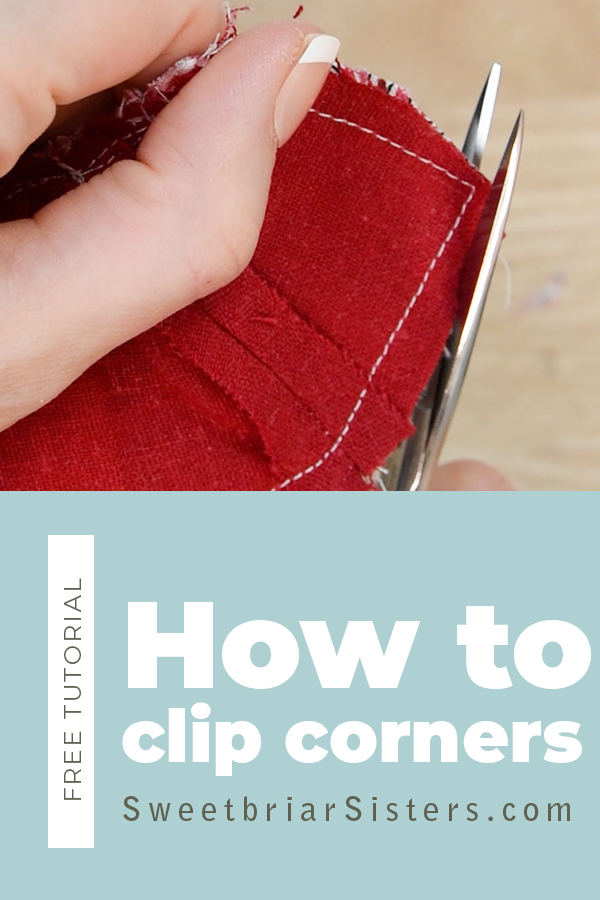
Clip the Seam Allowance at Turns
When the cording reaches a corner, clip the flange (the fabric part) every 1/4 inch so it bends smoothly. Never cut into the cord core itself. Ease the cording around the corner without pulling tight, since tension causes bowing and puckering.
Pivot at the Exact Corner Point
Stop sewing at the corner point. Lift the presser foot, pivot the fabric 90 degrees, then continue. This keeps corners crisp and the cord lying flat against the edge.
Avoid Common Mistakes
Stop Fraying Before It Starts
Tape individual strands immediately after cutting. Braided cords unravel quickly, and tape keeps them manageable until you join them. For rope trims, zig-zag stitch over the ends right after trimming.
Reduce Bulk at the Join
Untwist and layer strands flat instead of knotting them together. A thick lump distorts the pillow shape and shows through the fabric. If bulk persists, move the join inside using the tuck method.
Manage Color Misalignment
With multicolored braids, perfect pattern matching at the join is nearly impossible. Place the seam at the bottom center to minimize visibility, and focus on texture continuity rather than exact color alignment.
Ensure Durability and Washability

Test the Join Strength
After sewing, gently tug the cord along the seam. It should not pull away. Reinforce any weak spots with a second line of stitching. The join must withstand repeated insertion and removal of the pillow form.
Confirm Wash Resistance
If the pillow will be washed, make sure all raw ends are fully secured through stitching, taping, or tucking inside. Machine wash agitation can loosen weak joins over time.
Frequently Asked Questions About Sewing Twisted Cord on a Pillow
How much extra cord should I cut for a pillow?
Cut your cord 5 inches longer than the pillow perimeter. This gives you enough overlap to create a clean join without running short. The minimum recommended extra length is 2 inches, but 5 inches provides greater flexibility for complex joins.
What is the best way to join twisted cord without a flange?
The internal tuck method works best for non-flanged cord. Feed the cut ends through the seam allowance to the inside of the pillow, untwist them to reduce bulk, and whip-stitch them to the inner seam. The exterior shows a continuous loop with no visible join.
Where should I position the join on the pillow?
Start and stop at the center bottom of the pillow. This location is the least conspicuous and hides any minor imperfections in the join or color alignment.
How do I keep braided cord from unraveling?
Tape each individual strand immediately after cutting to prevent fraying. When you untwist the ends for the join, the tape holds the fibers in place until you stitch them down.
Can I wash a pillow with twisted cord trim?
Yes, as long as all raw ends are fully secured. Use stitching, tape, or internal tucks to lock the fibers. Machine-stitched joins and internal tucks hold up best to wash agitation.
What foot should I use to sew close to cord?
A zipper foot is essential for sewing close to cord. Align the needle to the left side of the foot so it stitches right next to the cord without the foot catching on it. A cording foot can get even closer for final topstitching.
Key Takeaways for Sewing Twisted Cord on a Pillow

The three most important factors for a professional finish are accurate measurement, proper join technique, and corner handling. Always cut at least 5 inches extra, choose a join method that matches your cord type, and clip the flange at corners to prevent puckering.
Your next step is to practice on scrap fabric before working on your final pillow. Test your chosen join method on a small piece to build confidence, then apply it to the real project for a clean, custom-looking result.