How to Fill Pillow Shams
You’ve bought beautiful pillow shams with soft fabrics and elegant textures, the perfect pop for your bed or sofa. But when you slip in the insert, something’s off: lumpy corners, sagging edges, or a pillow that feels like a rock. The secret isn’t just the sham or the insert. It’s how to fill pillow shams correctly. Done right, you get a plump, polished look that mimics high-end interior design. Done wrong, you get stress on zippers, misshapen pillows, and frustration. This guide walks you through the exact method designers use, from choosing the right insert size to the final “chop” that gives your pillows that boutique finish.
Choose the Right Insert Size

Use the 1–2 Inch Oversizing Rule
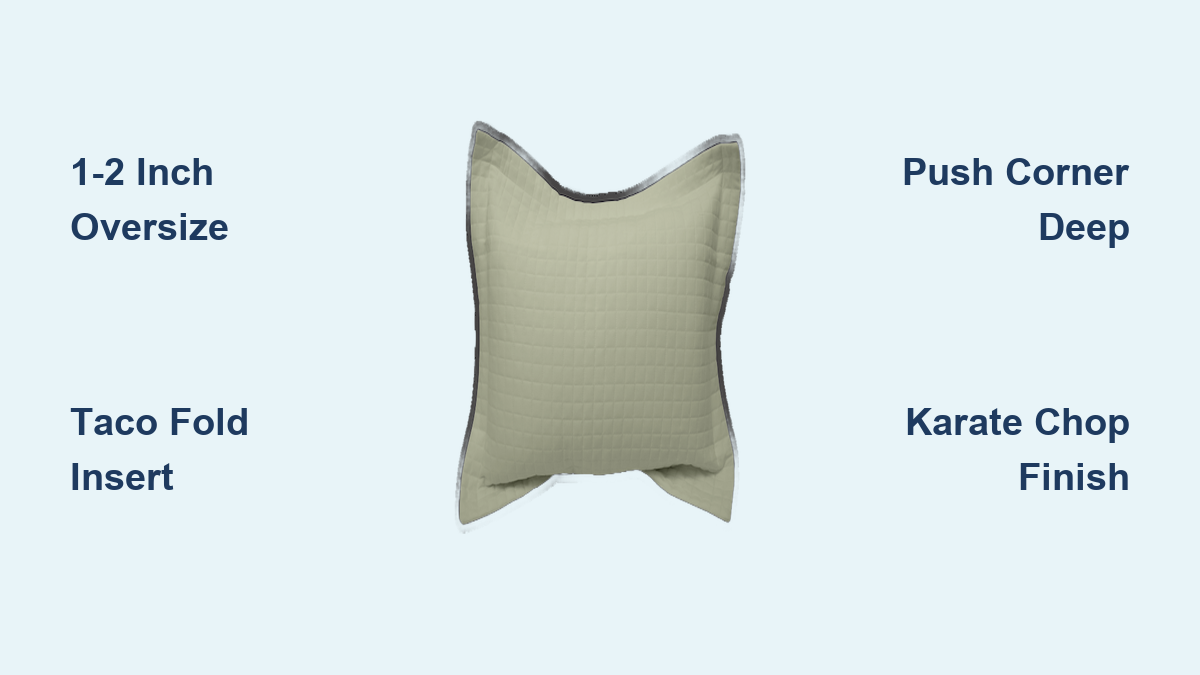
To get that full, luxurious look, your pillow insert should be 1 to 2 inches larger than the pillow sham. A 20×20 inch sham needs a 22×22 inch insert. A 24×24 inch sham pairs best with a 26×26 inch insert.
Why does this work? A properly oversized insert fills every corner, eliminating sag and creating natural resistance that holds its shape. Too small, and the pillow looks flat. Too big, and you risk zipper damage and stiff, uncomfortable pillows.
Avoid These Sizing Mistakes
- Matching insert to cover size: Results in a limp, unstructured appearance.
- Oversizing by more than 2 inches: Causes excessive tension, especially on delicate fabrics or weak zippers.
- Ignoring depth: Some inserts are thicker. Confirm your sham’s opening can accommodate both width and girth.
Pick the Best Filling Material

Down Alternative Inserts
Lightweight and soft, down alternative inserts mimic real down without the cost or allergens. Made from polyester fiberfill, they’re machine washable and budget-friendly.
Best for: Everyday use, kids’ rooms, or allergy sufferers. They fluff back easily and maintain a plush shape when properly sized.
Foam Pillow Inserts
Firm and shape-retentive, foam inserts provide structure. They don’t compress easily, making them ideal for shams that need to hold their form.
Best for: Decorative pillows, bench seating, or layered bedding where support matters more than softness.
Natural Down Feather Inserts
Luxurious and moldable, natural down inserts offer the ultimate in fluff and drape. Designers love them for their ability to be shaped by hand.
Best for: High-end bedding. Requires careful fluffing and professional cleaning to maintain loft.
DIY and Repurposed Fillings
Save money and reduce waste by repurposing old pillows or fabric scraps.
- Cut open old pillows and redistribute the filling.
- Sew small pouches from cotton or flannel and stuff with batting or beans for firmness.
- Combine old fill with new fiber to restore volume.
This method gives you full control over firmness and is perfect for crafters on a budget.
Hybrid Fill Combinations
Boost comfort and stretch your budget with layered fills.
Try:
– A foam base topped with down alternative for softness.
– A thin cotton batting layer over a polyester insert to enhance plumpness.
Hybrid fills offer the best of both worlds: support and squish.
Prepare for Insertion
Check Insert and Sham Fit
Before you begin, measure both the sham and insert. Confirm the insert is 1–2 inches larger. If it’s not, swap it out now to avoid damage.
Fully Unzip the Sham
Never force an insert through a partially open zipper. Open the zipper all the way. This reduces stress on the seam ends and prevents zipper teeth from snagging or breaking.
Lay Sham Flat, Opening Facing You
Place the sham on a clean, flat surface, whether bed or floor, with the opening wide and accessible. Smooth out wrinkles so the insert slides in cleanly.
Insert the Pillow Correctly
Fold Insert into a Taco Shape
Fold the insert vertically in half, pressing it flat like a taco. This reduces its profile and makes it easier to feed through the opening.
Why this works: A flat, narrow shape slides in smoothly, avoiding a “tug-of-war” that strains the sham’s corners.
Slide Insert In Gently
Hold the folded insert at the crease and guide it slowly into the sham. Push it in with both hands, letting the fabric unfold inside.
Do not shove or cram. If it resists, reposition or adjust the fold. Forcing it can tear seams or jam the zipper later.
Align Corners Perfectly

Push Far Corners In First
Once the insert is inside, reach into the sham and grab the back corners of the insert. Push them deep into the top two corners of the sham.
Use your fingers to massage the fabric, ensuring no air pockets or loose material. Fully seated corners prevent a “bunchy” look.
Set the Near Corners
Next, push the bottom two corners of the insert into the front corners of the sham, which are closest to the opening.
Pull gently on the sham’s fabric if needed to help the insert slide into place. All four corners should now be taut and fully filled.
Close and Finish the Pillow
Press Insert Away From Zipper
Before zipping, press down on the insert near the opening to push it back from the zipper line.
This prevents the insert fabric from getting caught in the teeth, a common cause of zipper jams and tears.
Zip Slowly and Carefully
Zip the sham closed with both hands, watching the seam line. Stop if you feel resistance. Check for trapped fabric and reposition if needed.
Never rush this step. A damaged zipper ruins an otherwise beautiful sham.
Fluff and Shape the Pillow
Fluff in Multiple Directions
Hold the pillow and shake it side to side, then top to bottom. This helps the filling settle evenly and restores loft.
Pat the top gently to smooth the surface.
Deliver the Final “Chop”
Smack the center of the pillow firmly with the side of your hand, the “karate chop.”
This redistributes the fill, creates a slight indentation, and gives the pillow that plump, designer-ready look used in luxury hotels and styled photos.
Troubleshoot Common Problems
Pillow Looks Flat or Lifeless
Cause: Insert too small or corners not fully extended.
Fix: Replace with a larger insert. Always form-fit all four corners by hand.
Pillow Feels Rock Hard
Cause: Insert oversized by more than 2 inches.
Fix: Downsize the insert. A pillow should be full, not rigid.
Corners Are Bunchy or Floppy
Cause: Insert corners not pushed all the way into sham corners.
Fix: Unzip slightly, reach in, and massage each corner into place.
Zipper Won’t Close or Snags
Cause: Insert fabric caught in zipper teeth.
Fix: Always press the insert away from the opening before zipping. Use a seam ripper gently if fabric is stuck.
Special Tips for King-Size Shams

Measure Before You Buy
King shams (typically 20×36 inches) require long, wide inserts. Verify exact dimensions, since some vary by brand.
Buy Inserts in Bulk
For multiple king shams, purchase generic inserts in bulk from retailers like Amazon or Walmart. You’ll save significantly per unit.
Use Hybrid Fill for Support
For bed shams used for leaning, combine a firm foam base with a soft down alternative top. This gives back support while keeping the surface cozy.
Maintain Your Pillows Long-Term
Fluff Daily for Lasting Loft
Give each pillow a quick shake every morning. This prevents fill from settling and keeps the shape fresh.
Rotate Inserts Regularly
Switch inserts between shams every few months to even out wear and compression.
Clean Inserts Properly
- Down alternative: Machine wash cold, tumble dry low with dryer balls.
- Foam: Spot clean only; never saturate.
- Natural down: Use a duvet cover or professional cleaning to preserve loft.
Protect Shams From Wear
Use the correct insertion technique to prevent zipper strain and seam tears. A well-maintained sham can last for years.
Frequently Asked Questions About Filling Pillow Shams
What size insert should I use for a 20×20 pillow sham?
Use a 22×22 inch insert for a 20×20 inch sham. This 1–2 inch oversize fills the corners completely and creates a plump, professional look without stressing the seams.
Can I use a pillow insert that is the same size as the sham?
You can, but it will look flat and lifeless. Matching sizes leave no room for the insert to push into the corners. Always go 1–2 inches larger for a full appearance.
How do I keep pillow sham corners from looking empty?
Push the insert corners deep into the sham corners by hand after insertion. Massage the fabric to remove air pockets. This form-fitting step is the most critical part of achieving a polished look.
What is the best filling for decorative pillow shams?
Down alternative inserts offer the best balance of softness, affordability, and easy care. For firmer support, choose foam. For luxury and maximum loft, go with natural down.
How do I fix a pillow sham zipper that keeps snagging?
Press the insert away from the zipper line before zipping, and never force the zipper closed. If fabric is already caught, use a seam ripper gently to free it. Always unzip fully during insertion to reduce stress.
Can I make my own pillow insert from old materials?
Yes. Cut open old pillows and redistribute the filling, or sew small cotton pouches stuffed with batting or fabric scraps. This DIY approach saves money and lets you customize firmness.
Key Takeaways for Filling Pillow Shams Like a Pro
Filling pillow shams correctly comes down to three essentials: size your insert 1–2 inches larger than the sham, use the taco fold method to slide it in without stress, and manually push each corner into place before zipping. Finish with a firm karate chop to achieve that signature designer look. Your next step: grab your shams, measure your inserts, and try the technique on one pillow tonight. You’ll see the difference immediately.