How to Make Pillow Cover No Zipper
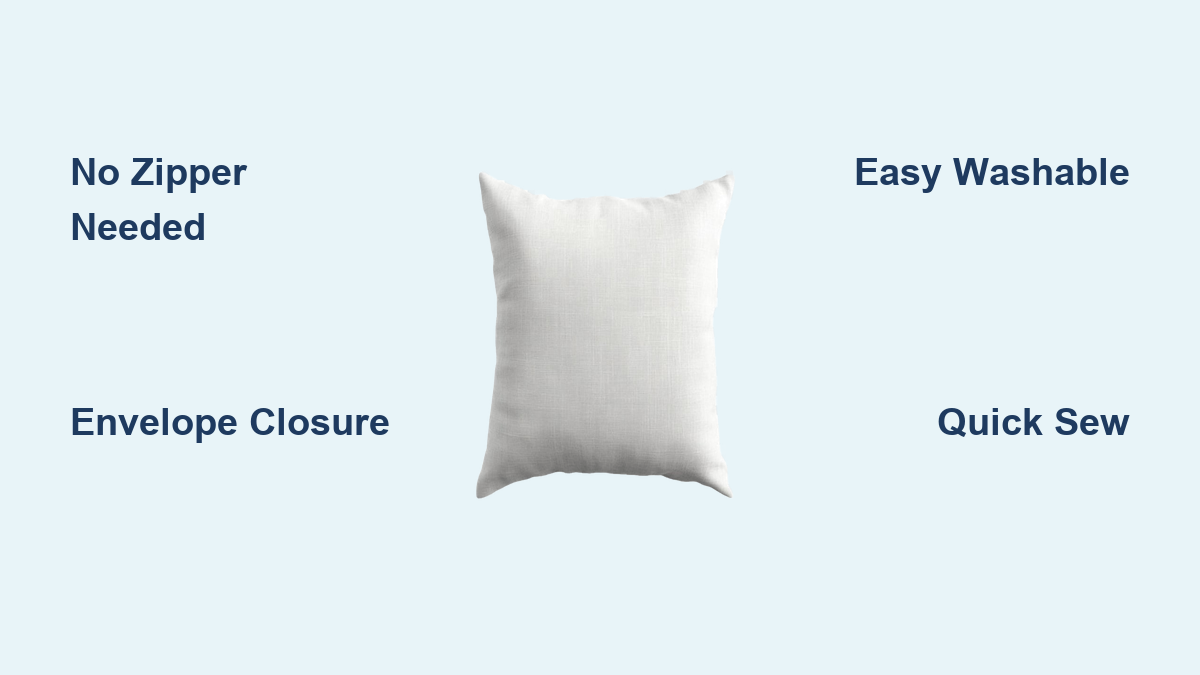
Frustrated with zippers that snag, break, or interrupt your fabric patterns? You’re not alone. Many DIY home decorators are discovering that no-zipper pillow covers are faster, cheaper, and more reliable than traditional methods. The envelope-style closure uses overlapping back panels to create a hidden opening that looks clean and professional on any pillow.
In this guide, you’ll learn how to make a pillow cover without a zipper using the three-piece envelope method. We’ll cover fabric calculations, cutting, hemming, sewing, and finishing. Even if you’ve never sewn a straight line, you can complete this project in under 20 minutes.
Choose Your Construction Method
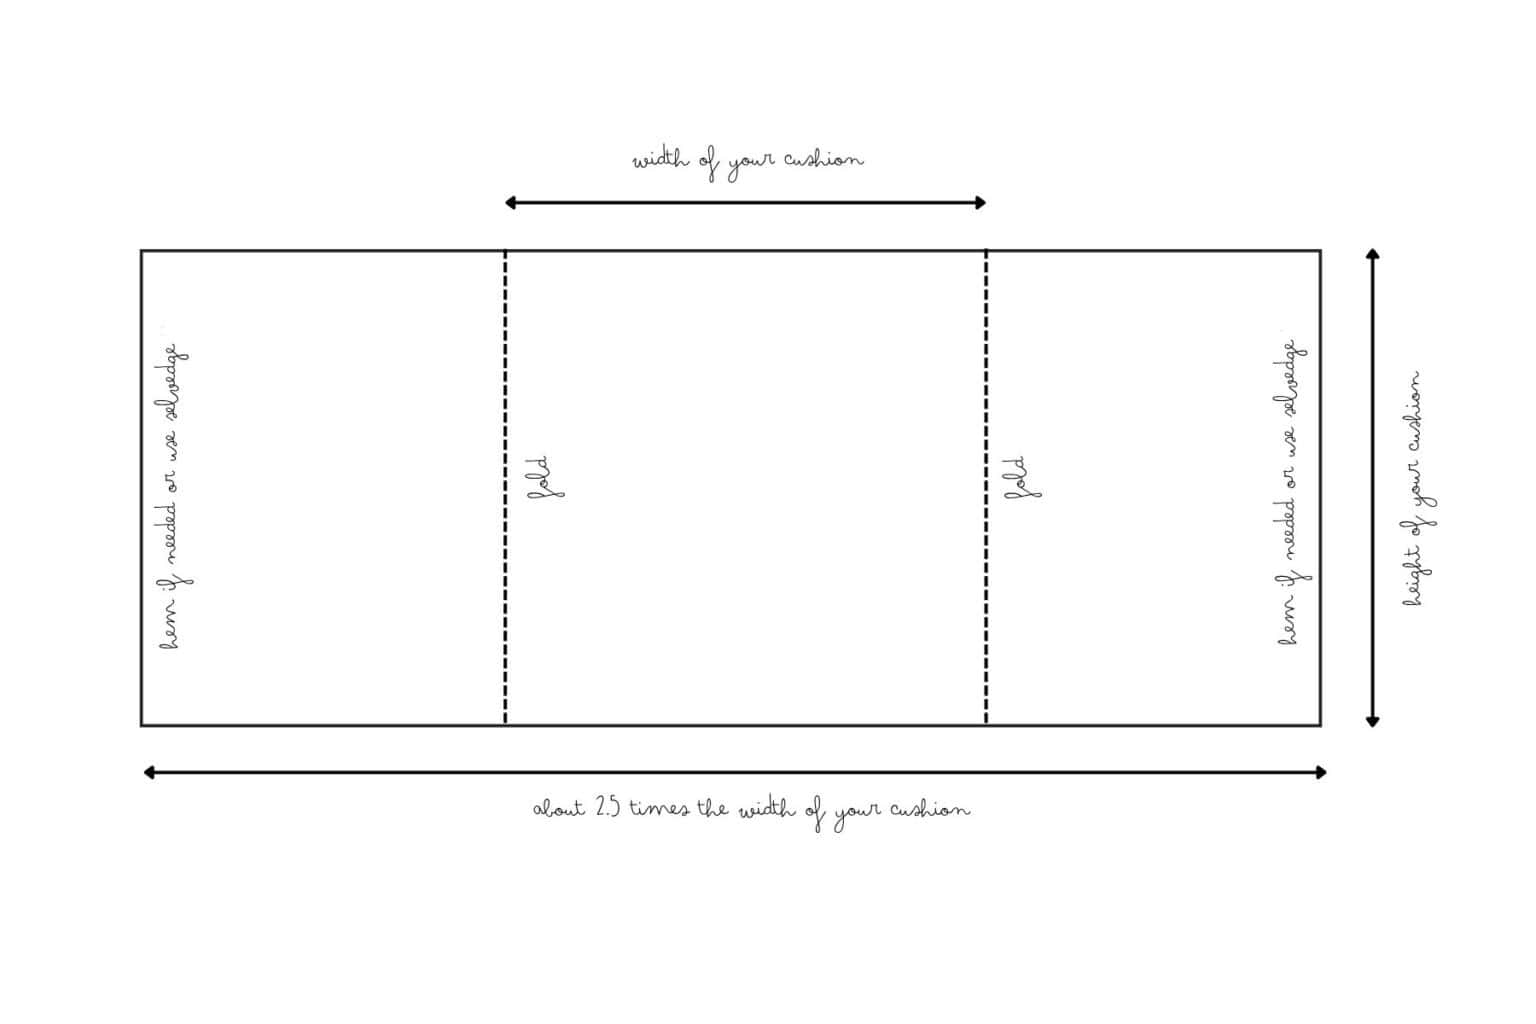
Two proven techniques exist for zipper-free pillow covers. Both work well, but one delivers better structure and a more polished result.
Three-Piece Envelope Style (Recommended)
This approach uses one front panel and two overlapping back panels that slide together like an envelope. The overlap keeps the pillow insert securely hidden while allowing easy removal for washing.
Why it wins:
– Clean, seamless front with no visible hardware
– Full access for inserting and removing the pillow
– Ideal for frequent washing and seasonal swaps
– Works with any fabric type, indoors or out
One-Piece Wrap Style
This method uses a single strip of fabric that wraps around the pillow and overlaps at the back. The sides are stitched, and the hemmed ends form the front and back faces.
Best for:
– Minimal-seam projects
– Using fabric scraps or narrow cuts
– Temporary decor or gift wraps
While both styles avoid zippers, the envelope method offers superior durability and finish. We’ll focus on that approach throughout the rest of this guide.
Gather Tools and Materials
Preparation prevents mistakes. Before cutting any fabric, make sure you have everything ready.
What You Need
Fabric
– Type: Medium-weight cotton, linen, or outdoor fabric like Sunbrella for porches
– Pre-wash: Always pre-wash and dry to prevent shrinkage later
– Width: Standard 45-inch fabric works for most pillows
– Quantity: 1 yard for envelope style (makes one 20×20 cover), or 2/3 yard for one-piece wrap
Thread: Match your fabric color for invisible seams
Pillow Insert: Size determines your cut dimensions (commonly 20×20 inches)
Essential Tools
- Sewing machine with straight stitch capability
- Walking foot (optional but recommended for thick or slippery fabric)
- Rotary cutter, mat, and ruler or sharp scissors for straight cuts
- Iron and ironing board for crisp hems
- Pins or clips to secure layers
- Measuring tape
- Chopstick or turning tool for sharp corners
- Serger (optional) for finishing raw edges
Calculate and Cut Your Fabric
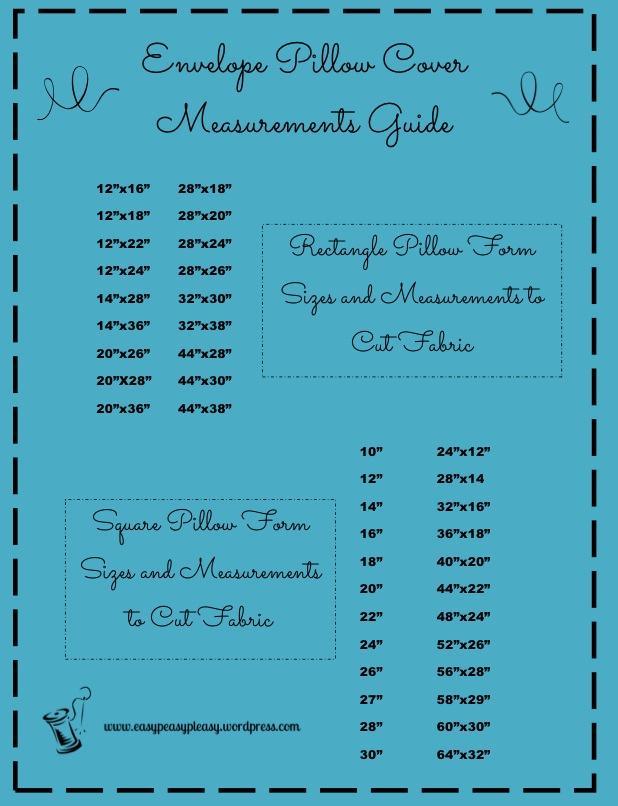
Accurate cutting is the foundation of a snug, professional-looking cover. Use these formulas based on your pillow insert size.
Envelope Method Dimensions (20×20 Inch Pillow)
| Panel | Size | Notes |
|---|---|---|
| Front | 20″ x 20″ | Exact size of insert |
| Back (each) | 20″ x 13″ | Cut one 20×26 piece, then split horizontally |
Why 13 inches? Total back height equals 20 inches (pillow) plus 6 inches (overlap), giving 26 inches. Split into two equal pieces, you get 13 inches each. When overlapped, they create a secure 6-inch closure.
Smaller Pillow? For a 12-inch pillow, cut the front at 12×12 inches and back pieces at 12×8 inches each (add 4 inches to height before splitting).
One-Piece Wrap (Alternative)
- Width: 18 to 19 inches (1 to 2 inches smaller than insert for tension)
- Length: 26 inches (for a 20-inch pillow, allowing 4 to 6 inches of overlap)
Hem the Back Panels
Crisp hems make the opening look clean and extend the life of your cover.
Fold and Stitch Double Hems
- Take one back panel (20″ x 13″)
- Pick the 20-inch edge that will overlap (not the side seam)
- Fold the raw edge 1/4 inch toward the wrong side and press with an iron
- Fold again 1/4 inch, enclosing the raw edge, and press
- Stitch close to the inner fold
- Repeat for the second back panel
Pro Tip: Use pins or clips to keep hems aligned. Iron after each fold for razor-sharp edges.
Layer and Pin the Panels
Now assemble the layers before sewing.
Position the Layers
- Lay the front panel face up on your work surface
- Place both back panels face down on top
- Align outer edges with the front panel
- Slide the hemmed edges to overlap in the center by 4 to 6 inches
Check This:
– Right sides of all fabric are touching (you’re seeing wrong sides)
– Hemmed edges face inward and overlap smoothly
– No gaps or twists in the fabric
Secure with Pins
- Pin all four sides
- Add extra pins near the center where back panels overlap
- Use clips if fabric is slippery
Pattern Alignment: If using a directional print, double-check that all motifs are upright before pinning.
Sew the Seams

This step locks everything in place permanently.
Stitch Around the Perimeter
- Use a 1/2 inch seam allowance for better durability
- Backstitch at start and end to lock stitches
- Sew all four sides in one continuous line
- Keep stitching straight and slow down on corners
Finish the Seam Allowance (Critical!)
Raw edges inside will fray over time without treatment.
Options:
– Zig-zag stitch along both sides of the seam
– Serge with an overlock machine (best for frequent washing)
Expert Move: Sew the seam first, then finish the edges. This creates a stronger result than serging the seam itself.
Turn, Shape, and Press
Now reveal your cover and give it a polished finish.
Turn Right Side Out
- Reach through the overlapping back opening
- Pull the entire cover through from inside
- Gently tug corners and edges
Shape the Corners
- Use a chopstick or turning tool
- Push gently into each corner until square and sharp
- Avoid piercing the fabric
Press with an Iron
- Iron flat, starting with seams
- Press hems on back panels for a crisp fold
- Remove all wrinkles for a store-bought look
Final Fit Check: Measure from seam to seam. For a 20-inch insert, the interior should measure roughly 19 inches, snug enough to look “pudgy” when stuffed.
Insert the Pillow and Test
The moment of truth reveals whether your calculations worked.
Slide in the Insert
- Open the back envelope flaps
- Push the pillow form through the opening
- Center it inside, ensuring no fabric bunches
Check for Security
- Gently pull on the back; the insert should stay hidden
- Overlap should measure at least 4 inches
- No white fabric should peek through
Fix if Loose: If the cover is baggy, you likely cut the front too large. Next time, cut 1 inch smaller than the insert.
Why This Method Wins
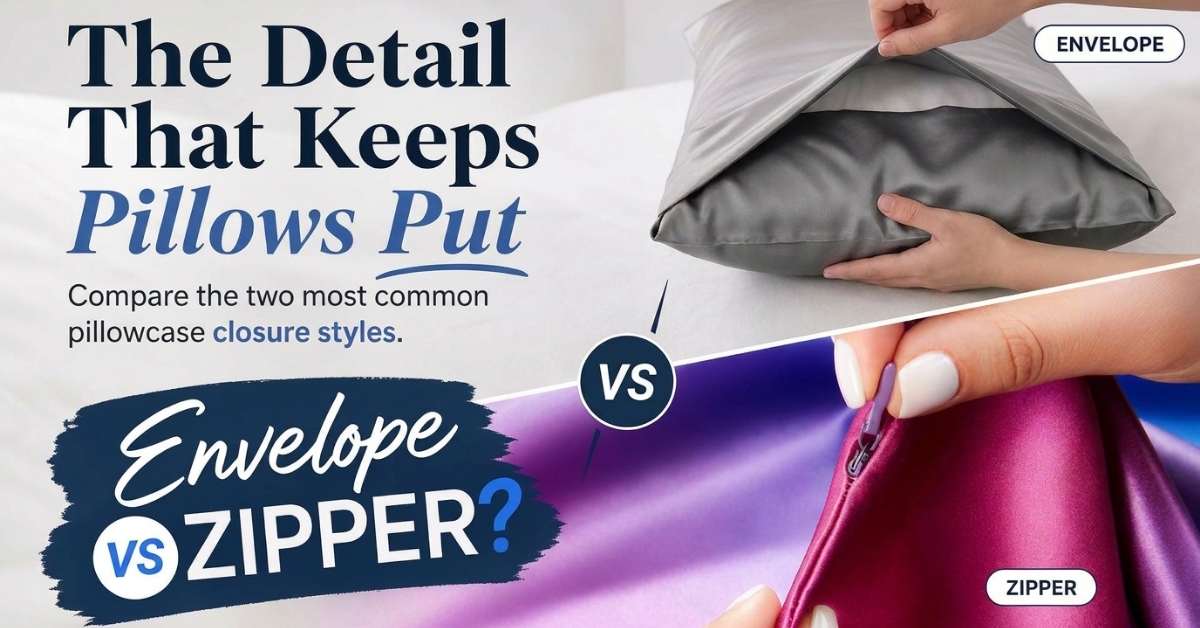
No Zippers = No Problems
- No broken sliders
- No rusted teeth (perfect for outdoor pillows)
- No snagged threads
- No design disruption from visible hardware
Built for Real Life
- Washable: Remove and toss in the machine anytime
- Swap-ready: Change covers for seasons, holidays, or moods
- Cost-effective: One yard of fabric yields multiple covers under $10 each
- Beginner-friendly: Only requires straight stitching
Troubleshooting Common Issues
Pillow Pokes Out the Back
Cause: Insufficient overlap
Fix: Cut back panels with +6 inches height (not +4) for 20-inch pillows
Cover Feels Too Loose
Cause: Fabric cut to exact insert size
Fix: Cut 1 to 2 inches smaller than insert to use fabric tension
Seams Are Fraying Inside
Cause: Raw seam allowance
Fix: Always zig-zag or serge edges before turning
Corners Are Rounded
Cause: Not using a turning tool
Fix: Push out corners with a chopstick for sharpness
Pro Tips for Better Results
- Use a walking foot when sewing thick fabrics like canvas or outdoor blends
- Pre-wash everything, including thread if possible
- Iron every fold for a visible difference in finish
- Label your covers (e.g., “Christmas,” “Summer”) for easy rotation
- Make extras since they stack flat and take minutes to sew
When to Use This Method
Perfect For:
- Holiday decor (swap out Christmas, Halloween, or spring themes)
- Outdoor furniture (porch, patio, deck with no zippers to corrode)
- Rental properties (update style without buying new pillows)
- Gifts (personalized, handmade, and done in one evening)
Not Ideal For:
- Pillows that get daily heavy use, like floor cushions
- Situations where the insert must be completely sealed, such as pet beds
Frequently Asked Questions About Making Pillow Covers Without Zippers
What is the easiest way to make a pillow cover without a zipper?
The three-piece envelope method is the easiest approach. It uses one front panel and two overlapping back panels that create a hidden closure. You only need basic straight stitching, and the project takes about 20 minutes.
How much fabric do I need for a 20×20 envelope pillow cover?
You need 1 yard of standard 45-inch wide fabric. This allows enough material for the 20×20 front panel and the 20×26 back panel (which splits into two 20×13 pieces).
How do I keep the pillow insert from poking out the back?
Ensure your back panels overlap by at least 4 to 6 inches in the center. The formula is to add 6 inches to the pillow height before splitting the back panel in half. This creates sufficient coverage to hide the insert completely.
Can I wash pillow covers made without zippers?
Yes. The envelope opening allows easy removal. Toss the cover in the washing machine according to fabric care instructions. For best results, finish the internal seam allowance with a zig-zag stitch or serger to prevent fraying over time.
What fabric works best for no-zipper pillow covers?
Medium-weight cotton and linen work well for indoor use. For outdoor pillows on porches or patios, choose weather-resistant fabrics like Sunbrella. Always pre-wash and dry fabric before cutting to prevent shrinkage later.
Do I need a serger to finish the seams?
No, a serger is optional. You can achieve similar results using a zig-zag stitch along the raw edges of the seam allowance. This prevents fraying and extends the life of your cover, especially with frequent washing.
Key Takeaways for Your First Zipper-Free Pillow Cover
Making a pillow cover without a zipper is faster and more beginner-friendly than traditional methods. The envelope-style closure delivers a clean, professional look while eliminating hardware that can break or rust. With accurate cutting (add 6 inches to back panel height), crisp hems, and finished seam allowances, your cover will withstand years of washing and seasonal swaps.
Start with a simple 20×20 pillow using one yard of cotton fabric. Cut, hem, layer, sew, and finish in under 20 minutes. Once you master the basics, experiment with bold prints for the front and coordinating solids for the back. Make a set for every season, and you’ll never return to zippers again.