How to Repair Electric Heating Pad
You plug in your heating pad on a cold evening, expecting soothing warmth, but nothing happens. No heat. No light. Or it turns on, then overheats in one spot. You search for how to repair electric heating pad and wonder if a fix is even possible without creating a fire hazard.
The short answer is that most internal repairs are not safe or practical. While basic troubleshooting can solve simple issues like bad outlets or wrong settings, true repairs to the heating element are out of reach for most users. This guide walks you through what actually fails, what you can safely fix, and when replacement is the only smart move.
By the end, you’ll know how to diagnose your pad, understand why repairs usually fail, and avoid dangerous attempts that could lead to shock or fire.
Verify the Power Source Before Anything Else
Before assuming the pad is broken, rule out external causes. Many “dead” units simply aren’t receiving power.
Test the Outlet and Cord
Plug a working lamp or phone charger into the same outlet. If it doesn’t power on, the problem is your circuit, not the pad.
Next, inspect the entire power cord carefully:
– Look for frays, kinks, or exposed wires
– Gently bend the cord near the plug and controller, since intermittent power often signals a broken internal wire
– Confirm the cord is fully seated at both the wall outlet and pad connection
Check Battery-Powered Models
Some portable pads run on batteries. If yours does:
– Replace old batteries with fresh ones
– Clean battery contacts with a cotton swab and rubbing alcohol
– Confirm correct polarity when inserting new batteries
A pad that won’t turn on is often just starved of power. Fix this first.
Review Settings and Timer Functions
Many heating pads fail not from hardware damage, but from misunderstood controls.
Confirm Heat Level Selection
Ensure the controller is set to an active heat setting. Some units include:
– Multiple heat levels such as Low, Medium, and High
– Auto modes that heat only intermittently
– “Off” positions that can look like valid settings
Turn the dial or press the button repeatedly to cycle through all options. Listen for clicks or feel for resistance, since some controls wear out mechanically over time.
Reset the Timer
Modern pads include automatic shut-off timers ranging from 15 minutes to 2 hours. If your pad heats briefly then stops:
– It may be stuck in a short-timer mode
– Unplug the unit for 30 seconds to reset the electronics
– Plug back in and reselect your desired setting
If it still shuts off too quickly, the timer circuit may be faulty, which often signals deeper electronic failure.
Inspect Indicator Lights for Clues
LEDs and neon lights offer diagnostic hints, but they can be misleading.
Flashing LED Does Not Mean Working Pad
A flashing LED on the controller suggests power is reaching the device, but it does not confirm correct voltage delivery.
When a thyristor (voltage regulator) fails, it often:
– Shorts input directly to output
– Sends full 110V or 230V to the pad
– Keeps the LED blinking normally
This creates a dangerous situation. The pad appears functional, but the heating wire burns out almost instantly.
No Light? Check for Total Failure
If no lights illuminate at all:
– The power supply may be dead
– The internal fuse or resistor has blown
– The PCB (circuit board) suffered thermal damage
You can use a multimeter to test continuity across key components if you’re technically skilled. Otherwise, skip to replacement.
Diagnose Internal Failures Safely
When external causes are ruled out, the fault lies inside the controller or heating element.
Open the Controller With Extreme Caution
Only proceed if you understand electrical risks. Always unplug the device and never open it while powered.
Inside the controller box, look for:
– Burnt smell or blackened areas on the circuit board
– Charred thyristor (such as the C106D model), which is a common failure point
– Blown SMD diodes (like D6) or cracked resistors
– Discolored traces on the PCB indicating overheating
These signs mean the regulator failed and likely sent full voltage to the pad.
Why the Heating Element Cannot Be Repaired

This is the core reason repair fails: the heating wire is destroyed beyond recovery.
Nichrome Wire Burns Out Instantly
The heating element uses Nichrome wire, which is thinner than a human hair and woven into fabric layers.
When the controller fails and sends unregulated voltage:
– The wire heats to red-hot in milliseconds
– It oxidizes and breaks open
– The circuit is permanently severed
Because the wire is:
– Encased in sealed fabric
– Not accessible without destroying the pad
– Too fragile to splice or reconnect
…there is no practical way to repair it.
Understand Combined Faults
Repair isn’t just hard. It’s often pointless due to multiple simultaneous failures.
One Failure Triggers a Chain Reaction
A typical failure sequence looks like this:
1. Thyristor shorts and sends 230V to the pad
2. Nichrome wire overheats and breaks
3. Series resistor burns out
4. SMD diode fails from surge
5. PCB traces degrade
Even if you replace the thyristor, the heating element is already dead. And without factory-grade calibration, the new controller might misfire again.
This is called a combined fault, and it’s common in heating pads and nearly impossible to reverse.
Measure Output Voltage (Advanced Users Only)
For technically experienced readers, voltage testing can confirm internal failure.
Use a multimeter to test the output connector where the cord attaches to the pad:
– Set meter to AC voltage
– Insert probes into connector pins
– Power on the controller at different settings
Normal vs. Faulty Readings
| Condition | Expected Voltage | Danger Sign |
|---|---|---|
| Low setting | 30–60V (varies by model) | Full 110V/230V at any setting |
| High setting | Up to 90V (regulated) | Same voltage across all levels |
| Off mode | 0V | Voltage still present |
If you read full line voltage (110V or 230V) regardless of setting, the regulator has failed. The pad is unsafe and unrecoverable.
Recognize Irreversible Damage Signs
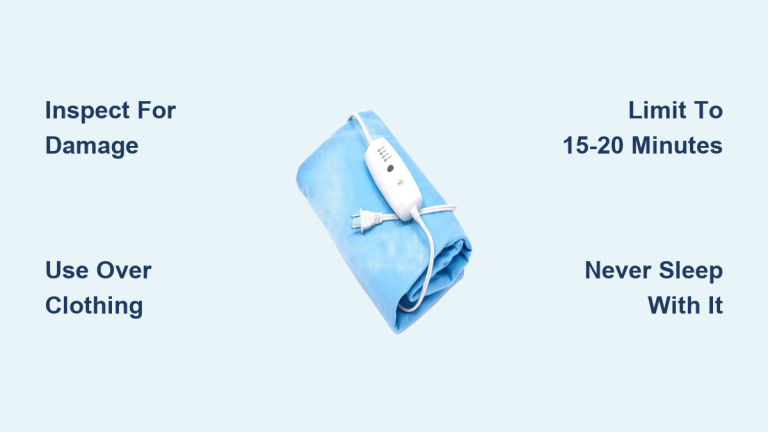
Stop troubleshooting immediately if you observe any of these:
- Visible charring or melting on the pad surface
- Burning smell during use
- Localized hot spots such as a red glow or singed fabric
- Sparks or popping sounds
- Swollen or cracked controller box
These indicate thermal runaway, which is a serious fire hazard. Unplug immediately and discard the unit.
Avoid Dangerous DIY Repairs
Many online tutorials suggest:
– Splicing broken wires
– Replacing controllers with generic parts
– Rewiring with household cables
These are high-risk, ineffective solutions.
Shock and Fire Risks
- The green/yellow wire in some pads carries live current, not ground. Assuming it’s safe to touch can lead to electrical shock
- Homemade splices create hotspots and short circuits
- Mismatched controllers can overvolt the pad, causing instant ignition
Manufacturers design these circuits as sealed systems. Tampering voids safety certifications.
When Replacement Is the Only Option
Accepting replacement isn’t defeat. It’s smart risk management.
Signs It’s Time to Replace
A new heating pad is the right call when you notice:
– No heat after verifying power and settings
– Flashing LED but no warmth
– Burnt smell or visible damage
– Overheating in one area
– Age over 3–5 years
New heating pads cost $20–$60. Attempting complex repairs costs more in time, tools, and risk.
Choose a Safer, Longer-Lasting Replacement
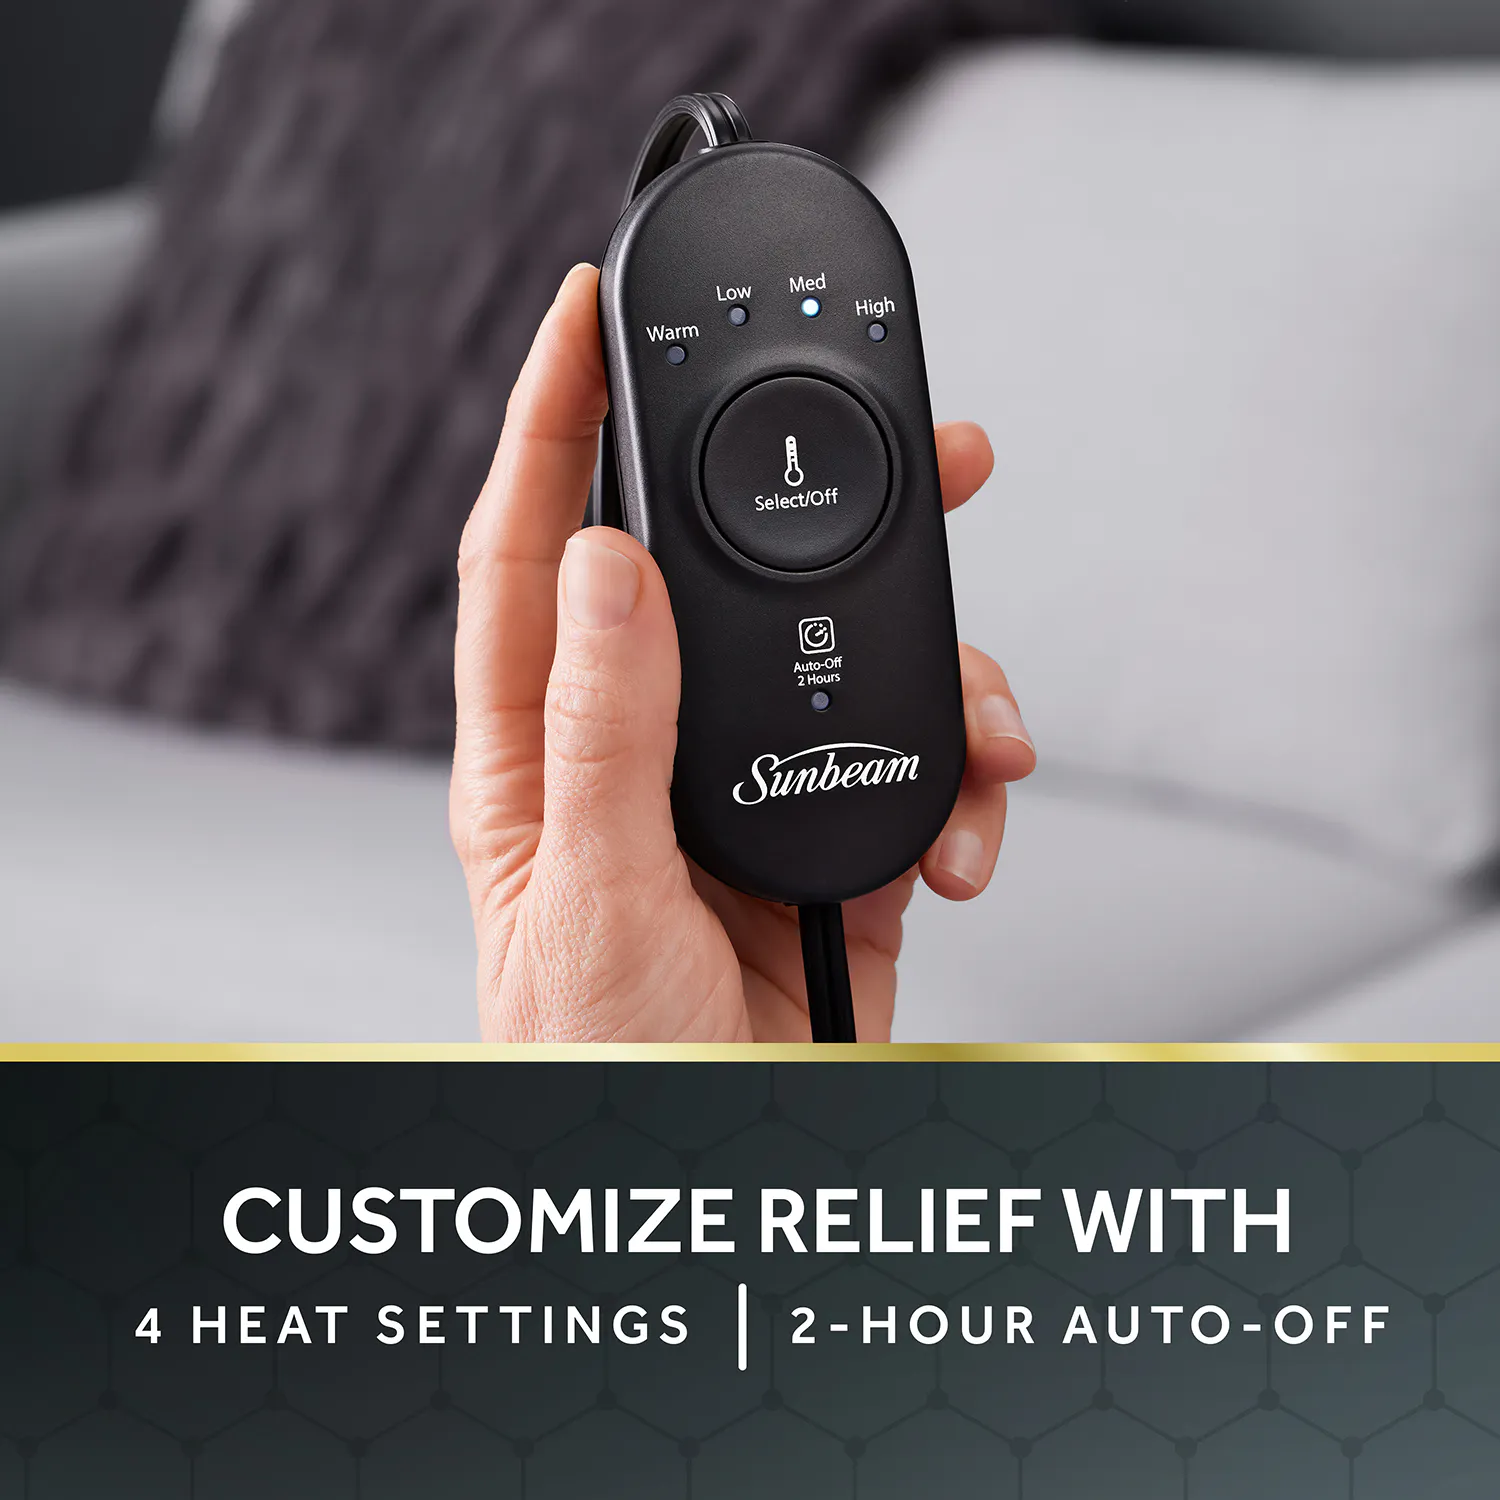
When buying a new pad, prioritize safety and durability.
Look For These Features
- Overheat protection with dual thermal fuses
- Auto shut-off with a 2-hour maximum
- Machine-washable cover that is removable
- ETL or UL certification confirming safety testing
- Warranty of 1+ years
Brands like Sunbeam, UTK, and Homedics often include better circuit protection than budget models.
Prevent Future Failures
Extend your next pad’s life with smart habits.
Don’t Do This
- Fold tightly or crease the pad, which damages internal wires
- Use under heavy weights or sharp objects
- Leave on high setting unattended
- Expose to moisture unless designed for it
Do This Instead
- Store flat or loosely rolled
- Unplug after each use
- Clean per manufacturer instructions
- Replace every 3–5 years, even if still working
Frequently Asked Questions About Electric Heating Pad Repair
Can You Repair an Electric Heating Pad Yourself?
In rare cases, yes, if the issue is just the power cord or controller and you have electronics expertise. For most users, no. The embedded Nichrome wire, combined faults, and high-voltage risks make repair impractical and dangerous.
Why Did My Heating Pad Stop Working Suddenly?
The most common cause is a failed voltage regulator (thyristor) that sent unregulated power to the heating wire, burning it out instantly. This is called a combined fault and is permanent.
Is It Worth Repairing an Old Heating Pad?
No. Given that new pads cost $20–$60 and repairs carry fire and shock risks, replacement is almost always the better financial and safety decision.
What Does a Flashing Light on My Heating Pad Mean?
A flashing LED indicates power is reaching the controller, but it does not confirm the pad is heating correctly. In fact, a flashing light combined with no warmth often signals a failed regulator sending full voltage to a destroyed heating element.
Can a Heating Pad Catch Fire?
Yes. When the regulator fails and the thermal fuse doesn’t trip fast enough, the Nichrome wire can ignite the fabric. This is why pads with dual thermal fuses and auto shut-off are strongly recommended.
How Long Should an Electric Heating Pad Last?
Most quality pads last 3–5 years with proper care. Decreased performance over time is normal and signals that replacement is approaching.
Final Verdict on Repairing Electric Heating Pads
Can you repair an electric heating pad? Technically, only if you have electronics expertise and the fault is limited to the controller or cord. Should you? For 95% of users, no.
The embedded Nichrome wire, combined electronic faults, and high-voltage risks make repair impractical and unsafe. Basic checks are worth doing, but once the internal circuit fails, replacement is the only safe solution.
Bottom Line: Start with the outlet, cord, and settings. If those check out, assume internal failure. Don’t risk fire or shock trying to fix the unfixable. Unplug, recycle safely, and buy a new, certified unit. Your safety is worth far more than the cost of a replacement.