How to Make a Knotted Pillow
Tired of overpriced decor pillows that lack personality? Making a knotted pillow at home is a fast, affordable way to create a designer-looking accent piece in under an hour. This trendy, boho-chic pillow, resembling a soft Celtic or infinity knot, has taken social media by storm, and now you can make one yourself with just fabric, stuffing, and a sewing machine. The key to success lies in using stretchy, slippery fabric like spandex and a zigzag stitch that won’t snap when you tie the knot.
With the right materials and technique, you’ll go from flat fabric strips to a plush, eye-catching floor or bed pillow in no time. In this guide, you’ll learn every step: cutting, sewing, turning, stuffing, and knotting, plus tips to avoid common mistakes and customize your design.
Choose the Right Fabric for a Knotted Pillow

Use Stretchy, Slippery Materials
Choose high-stretch spandex, preferably the shiny type used in swimwear or dance costumes. This fabric glides smoothly during knotting, preventing snags and seam tears. Avoid stiff or low-stretch cotton knits unless they’re thick and flexible. The slipperiness of spandex allows the tubes to slide against each other when forming the knot, which is essential for a clean finish.
Cut Precise Fabric Strips
Cut two fabric strips per pillow, each 7 inches wide and at least 54 inches long. For a fuller knot, use 60-inch lengths. If your fabric bolt is wide enough, cut along the grain to maximize length. A 7-inch width creates an 8-inch diameter pillow; reduce to 6 inches for a slimmer profile. Use sharp fabric scissors to ensure clean, straight edges and prevent fraying or shifting during cutting.
Gather Essential Tools
Prepare Sewing and Stuffing Supplies
You’ll need a sewing machine, polyester fiberfill (16 oz per pillow), pins, and a zigzag stitch setting. A straight stitch will fail under tension, so confirm your machine can handle stretchy seams. Also gather a stiff cardboard tube to help turn and stuff the fabric sleeve. Avoid flimsy paper towel rolls, as they collapse under pressure.
Use the Right Turning Aid
Insert the fabric tube into a rigid cardboard or PVC tube to turn it right-side out and feed stuffing evenly. The tube must be smooth and sturdy to minimize friction. Pair it with a dowel, ruler, or broom handle to push fiberfill all the way to the ends, ensuring consistent fullness without lumps.
Sew the Fabric Tube

Fold and Pin for Clean Seams
Lay each fabric strip flat, then fold it in half lengthwise with the right sides together. Align the edges carefully and pin along the entire long side to prevent shifting during sewing. Keep pins perpendicular to the edge for easy removal as you stitch.
Stitch with a Zigzag Pattern
Sew along the pinned edge using a 3/8-inch seam allowance and a zigzag or knit stitch. This stretchable seam is critical; it will endure the pulling and twisting of knotting without breaking. After sewing, close one short end by stitching across it completely. Leave the other end open for turning and stuffing.
Turn and Stuff the Tube
Thread Fabric onto the Tube
Feed the open end of the sewn fabric sleeve into your stiff cardboard tube. Push it through until it emerges from the other side. Fold the exposed fabric back over the outside of the tube to begin the inversion process. Continue pushing until the entire length is gathered onto the tube, with the closed end at the far tip.
Fill Evenly with Fiberfill
Begin adding small handfuls of polyester fiberfill into the open end of the cardboard tube. Use a dowel or ruler to push the stuffing through the tube and into the fabric. Start by packing the very tip near the closed end to prevent empty pockets. Work your way back, adding and tamping down fiberfill in stages. Over-stuffing makes knotting impossible, so aim for firm but flexible fullness.
Close and Repeat the Process
Seal the Open End Securely
Once fully stuffed, remove the fabric tube from the cardboard aid. Temporarily tie the open end with a knot, or fold and glue it for quick closure. Sewing is more durable, but since this end will be hidden in the knot, glue or a tight fold works for most projects. Trim excess fabric if needed.
Make a Second Identical Tube
Repeat the entire process to create a second stuffed tube of the same length and thickness. The standard knotted pillow uses two tubes: one forms the base knot, and the second traces its path to create a bold, double-stranded look. Consistency in size and stuffing level ensures a balanced final shape.
Tie the Base Knot

Form the Initial Loop
Take the first tube and create a large loop, crossing one end over the other. Hold the crossover point firmly. This forms the foundation of your knot. Keep the loop loose enough to weave through but structured enough to maintain shape.
Weave and Tighten the First Strand
Take the working end of the tube and weave it over the section it crosses, then under the next loop opening. Pull it through to form a single knot strand. Adjust the two protruding ends so one is slightly longer to help guide the second tube later. Gently tug both ends to tighten the knot just enough to hold, but not so much that it can’t expand for the second tube.
Add the Second Tube
Trace the First Knot’s Path
Take the second tube and begin weaving it through the loops of the first, following the exact same route. Push it under and over the same sections, keeping it snug against the first tube. This tracing method thickens the knot and creates a seamless, professional appearance. Move slowly to maintain alignment.
Shape Into a Pillow Ball
As the second tube progresses, the knot will start to puff into a rounded, spherical form. Guide the tubes to lie flat and parallel. Once fully threaded, gently pull all four loose ends outward to tighten the entire structure. Work symmetrically to keep the knot compact and even.
Finish and Secure the Ends
Tuck All Loose Ends
After tightening, you’ll have four fabric ends protruding. Push each one deep into the center of the knot or tuck them into the inner loops where they’re invisible. The tension of the knot often holds them securely, especially with stretchy fabric.
Reinforce for Longevity
For extra durability, especially in high-use pillows or pet beds, tie or sew the four ends together before tucking. A few stitches or a dab of fabric glue prevents gradual unraveling over time. This step is ideal for gifts or baby-safe versions.
Customize Your Knotted Pillow Design
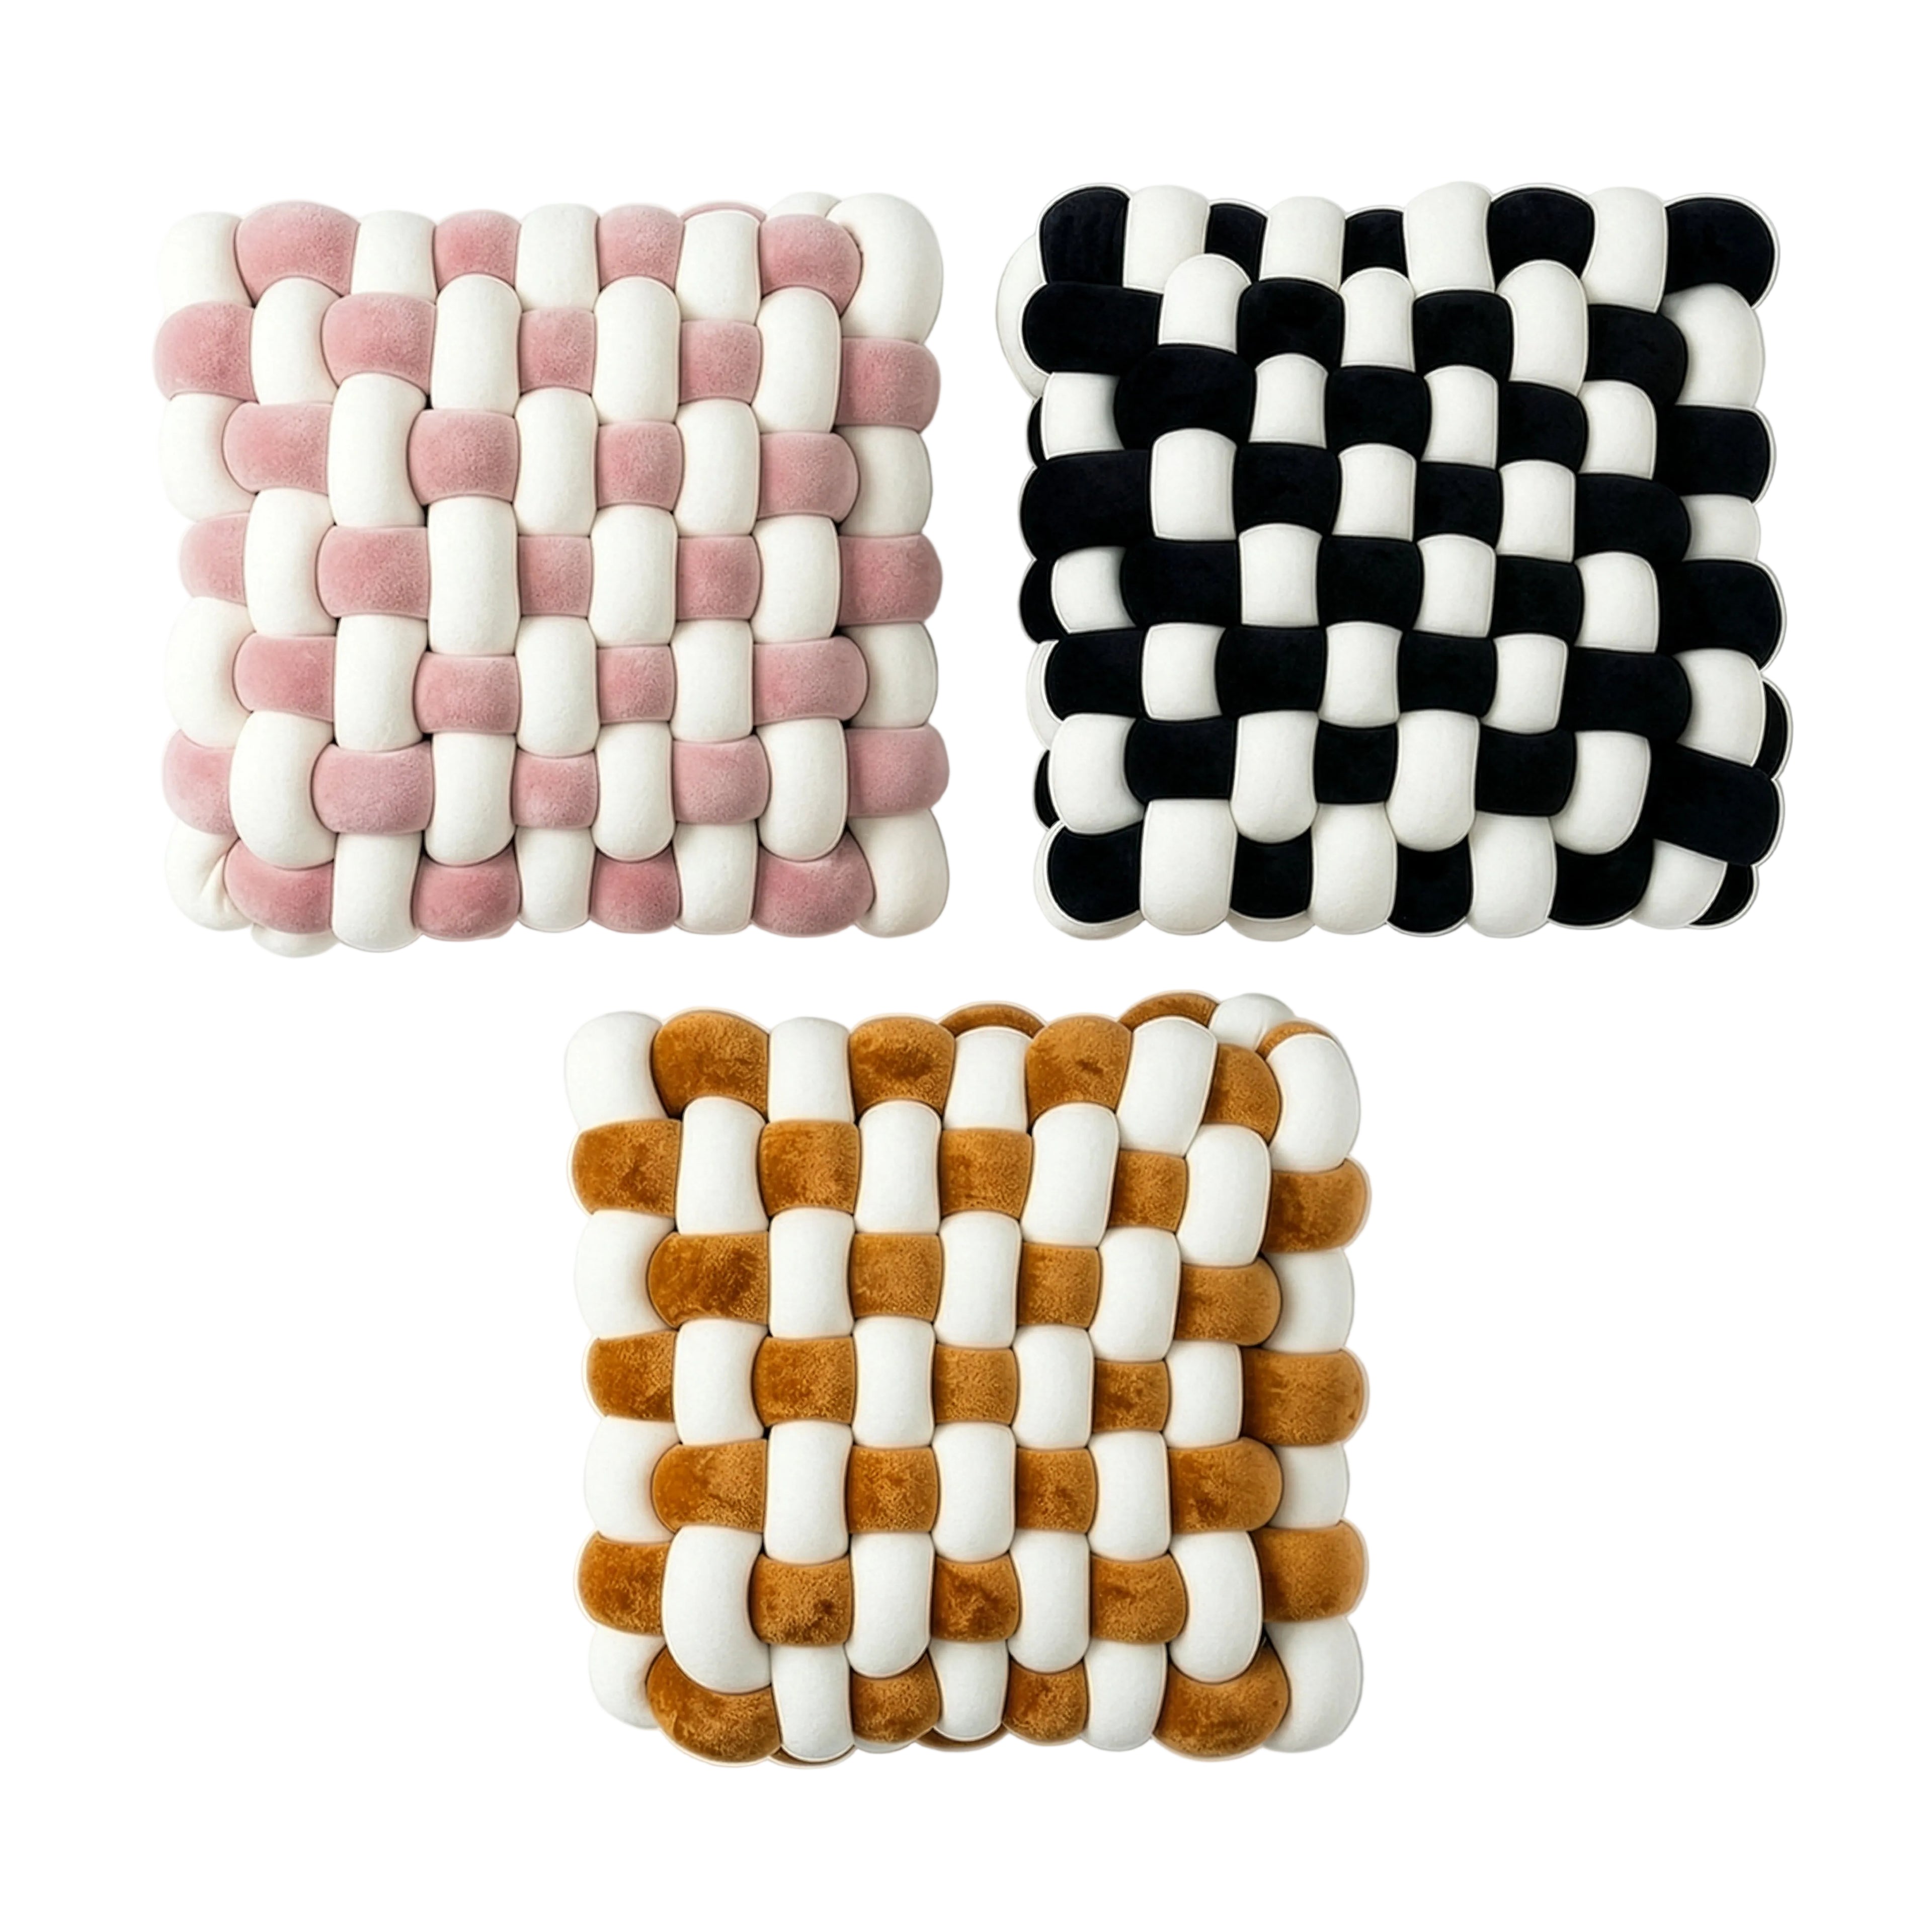
Try Color Blocking
Use two different colored tubes to create a bold, two-tone knot. For example, pair blush pink with cream, or navy with gold. The effect is striking and adds visual depth to your decor. This is an easy way to match room colors or create seasonal variations.
Adjust Size and Shape
Make a giant knot by using longer strips, up to a full yard per tube. For a slim knot, cut 6-inch-wide strips. To create a three-loop knot, which is more intricate than the standard two-loop, use 36+ inches of fabric per strip and repeat the knotting pattern with tighter weaves.
Explore Functional Uses
Turn your knotted pillow into a baby nest or crib bumper (ensure all ends are securely fastened and materials are non-toxic). Scale up with washable fabric for a pet bed, or make a larger version as a floor cushion for seating. The design is versatile across rooms and uses.
Avoid Common Knotted Pillow Mistakes
Don’t Use a Straight Stitch
Straight stitches lack elasticity and will snap when you tie the knot. Always use a zigzag or knit stitch for the long seam. This is the number one reason for project failure, so don’t skip it.
Avoid Over-Stuffing
Too much fiberfill makes the tube rigid and impossible to knot. The fabric needs give to bend and tighten. Use about 16 oz per tube and test flexibility before knotting; squeeze it, and it should compress slightly.
Skip Flimsy Turning Tubes
Gift wrap rolls or paper towel cores crumple under stuffing pressure. Use a thick, industrial cardboard tube from fabric bolts or a smooth PVC pipe. A sturdy aid ensures smooth stuffing and prevents mid-project collapse.
Frequently Asked Questions About Knotted Pillows
What is the best fabric for a knotted pillow?
Shiny, high-stretch spandex (the type used for swimwear or dance costumes) is the best fabric for a knotted pillow. Its slippery texture allows the tubes to glide smoothly during knotting, and its stretch prevents seam tears under tension.
How long does it take to make a knotted pillow?
Most makers complete a knotted pillow in about 30 minutes once they’ve practiced the technique. First attempts may take longer, especially during the knotting phase, which requires patience to achieve symmetry.
Can I make a knotted pillow without a sewing machine?
While a sewing machine is recommended for durable zigzag seams, you can use fabric glue or a hot glue gun as an alternative for closing seams. However, glued seams may not withstand the tension of knotting as well as stitched ones.
How much stuffing do I need for one pillow?
You’ll need approximately 16 ounces (450 grams) of dry polyester fiberfill per tube. Since the standard pillow uses two tubes, plan for about 32 ounces total. Avoid over-stuffing, as the tubes need flexibility to knot properly.
Can I wash a knotted pillow?
Most knotted pillows should be spot cleaned because the cover isn’t easily removable. If you use washable fabric and secure all seams and ends thoroughly, gentle machine washing may be possible, but air drying is preferred to maintain shape.
What size should I cut the fabric strips?
Cut two strips measuring 7 inches wide by at least 54 inches long for a standard pillow. For a fuller knot, use 60-inch lengths. A 6-inch width creates a slimmer profile, and longer strips produce larger finished pillows.
Final Thoughts on Making Your Own Knotted Pillow
Making a knotted pillow is a beginner-friendly project that delivers high-end results with minimal cost and time. The three most important factors for success are choosing stretchy spandex fabric, sewing with a zigzag stitch, and using a sturdy cardboard tube for turning and stuffing. Avoid over-stuffing your tubes, as flexibility is essential for forming a tight, symmetrical knot.
Once you’ve mastered the basic technique, experiment with color blocking, size variations, and functional designs like pet beds or floor cushions. Each pillow takes about 30 minutes to complete, making this an ideal weekend project or handmade gift for housewarmings and baby showers. Grab your fabric and start knotting; your living room, nursery, or office will thank you.