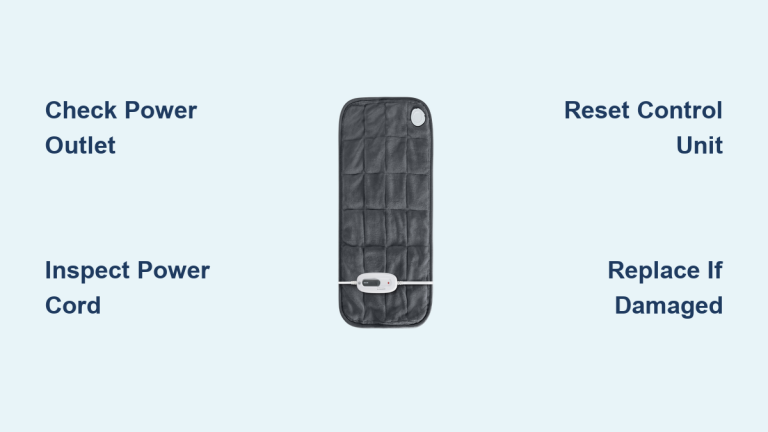
Fix Bodymed Heating Pad Not Working
You plug in your BodyMed heating pad, settle in for some soothing relief, and nothing happens. No warmth. No indicator light. Just silence. You’re not alone. Many users face the same frustration when their BodyMed heating pad stops working. While the name “BodyMed” may appear on packaging or retail listings, most of these units are rebranded versions of older models like the Theratherm Model 1032, which shares the same internal design and common failure points.
This guide targets those exact issues, delivering clear, step-by-step actions to diagnose why your BodyMed heating pad isn’t heating and what to do next. You’ll learn how to rule out simple fixes, identify internal failures, and decide whether repair is possible or replacement is safer.
Confirm Power Source Is Live

Before assuming the pad is faulty, verify the outlet delivers power. A dead outlet mimics device failure.
Test with Another Device
Plug a lamp, phone charger, or small appliance into the same outlet. If it doesn’t work:
– Check your home’s circuit breaker for tripped switches
– Try a different room or wall socket
Pro Tip: Use an outlet tester ($5–$10 at hardware stores) to detect wiring faults like open neutrals or reversed polarity, which are common in older homes.
Avoid Extension Cords
Direct wall plug-in only. Extension cords or power strips can interrupt current flow, especially if overloaded or low-quality.
Inspect Cord and Plug for Hidden Damage
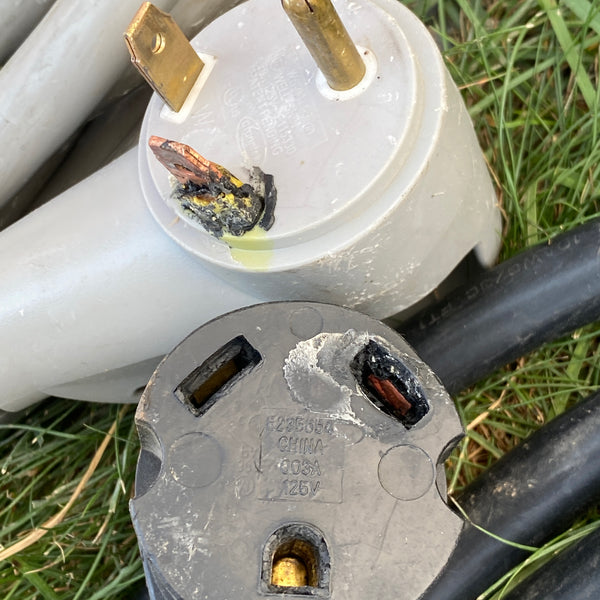
Even without obvious fraying, internal wire breaks can stop power delivery.
Look for These Signs
- Discoloration or melting near the plug or control box
- Stiffness or kinks in the cord, indicating internal strain
- Loose connection when wiggling the cord at entry points
What to Do: Gently bend the cord along its length while the pad is plugged in (do not touch metal parts). If heat briefly kicks on, there’s a broken wire. Replace the unit.
Check Control Unit and Indicator Light
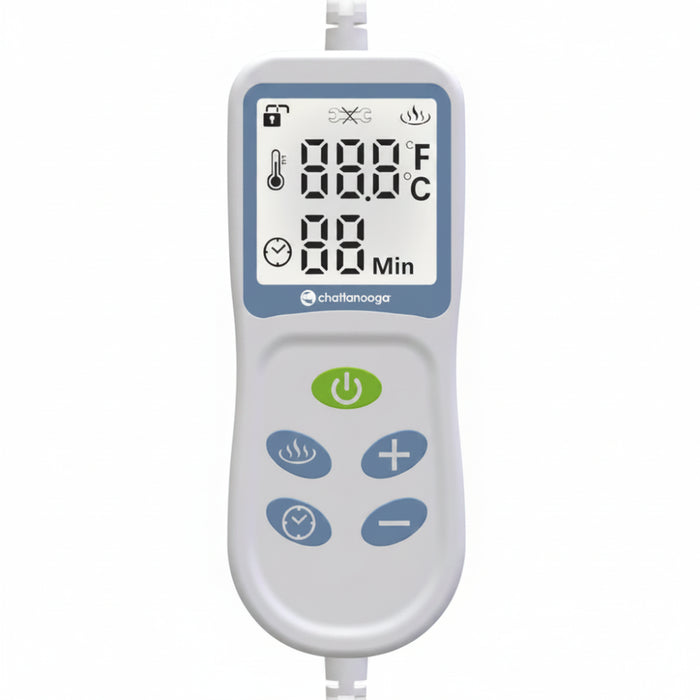
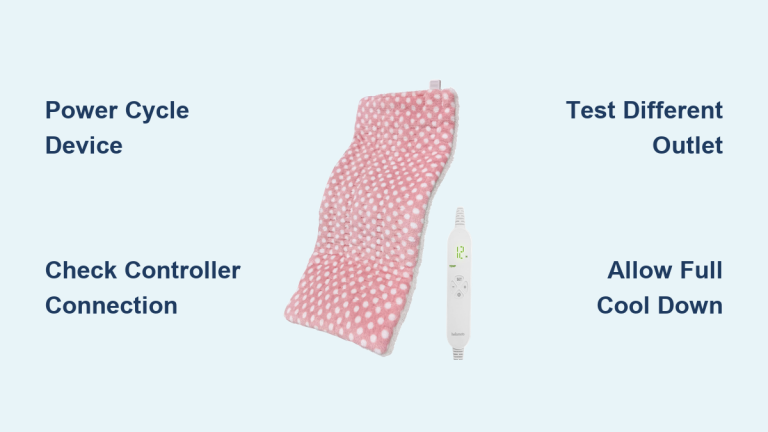
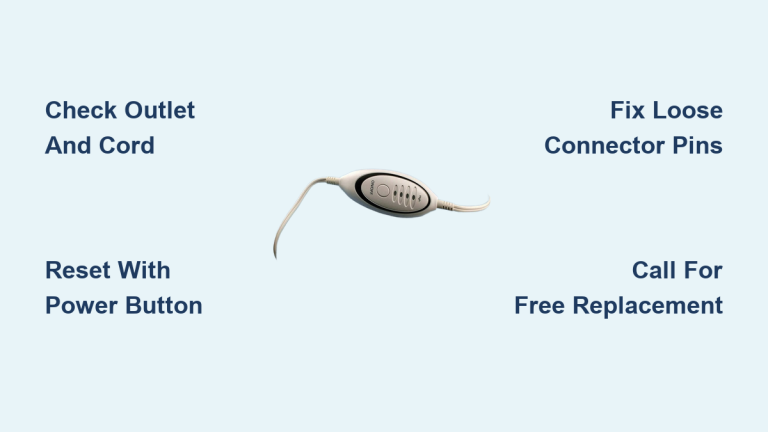
Most BodyMed-style pads have a control box with a power switch and sometimes an indicator light.
No Light When Plugged In?
This usually means:
– Power isn’t reaching the control unit
– Internal fuse is blown
– Switch has failed
Light On But No Heat?
If the indicator glows but the pad stays cold:
– Heating element is likely burned out
– Internal wiring has failed mid-circuit
– Temperature sensor or thermostat is stuck
Note: These components are sealed and not user-serviceable on Theratherm-based models.
Diagnose Internal Electrical Faults
Without opening the unit, you can test for continuity using basic tools.
Use a Multimeter to Test Continuity
Set your multimeter to continuity mode (beep symbol) or resistance (ohms).
Steps:
- Unplug the heating pad.
- Test the power cord:
– Place probes at the plug prongs
– Should read low resistance (~10–50 ohms for most pads)
– Infinite resistance (OL) means a broken circuit - Test through the control switch:
– Turn switch on
– Re-test plug prongs
– Still OL? Switch or internal fuse is dead - Test heating element (if accessible):
– Probes at both ends of the pad’s heating zones
– No continuity means a failed element
Warning: Never power on the pad during testing. Risk of shock or damage.
Identify Common Internal Failures
Even with external integrity, internal components degrade over time.
Blown Internal Fuse
Many heating pads include a thermal fuse that cuts power if overheating occurs. Once blown, it cannot reset.
- Located near the control box or heating element
- Typically rated 130–160°C
- Requires disassembly to access, often glued or sealed shut
Reality Check: Replacement fuses exist, but opening the pad voids safety certifications and risks fire if improperly reassembled.
Failed Heating Element
Heating elements are thin wires or carbon fibers embedded in fabric. Over time, repeated folding or pressure causes microfractures.
- Results in partial or total loss of heat
- Often starts with one side going cold
- Not repairable; the element is non-removable
Defective Thermostat or Timer
If your pad has adjustable heat settings or auto-shutoff:
– A stuck thermostat may block current
– Timer circuit failure prevents activation
These boards are proprietary and not sold separately for BodyMed or Theratherm models.
Safety Risks of DIY Repair
While it’s tempting to cut open the pad and fix a broken wire, risks far outweigh benefits.
Why You Should Avoid Opening the Pad
- Electrical Shock Hazard: Internal wiring connects directly to mains voltage
- Fire Risk: Poor soldering or incorrect fuse replacement can cause overheating
- No Replacement Parts: Manufacturers don’t sell internal components for consumer repair
- Loss of UL Certification: Tampering invalidates safety ratings
Expert Note: Unlike appliances with modular parts, heating pads are designed as sealed, disposable units.
When to Replace Your BodyMed Heating Pad
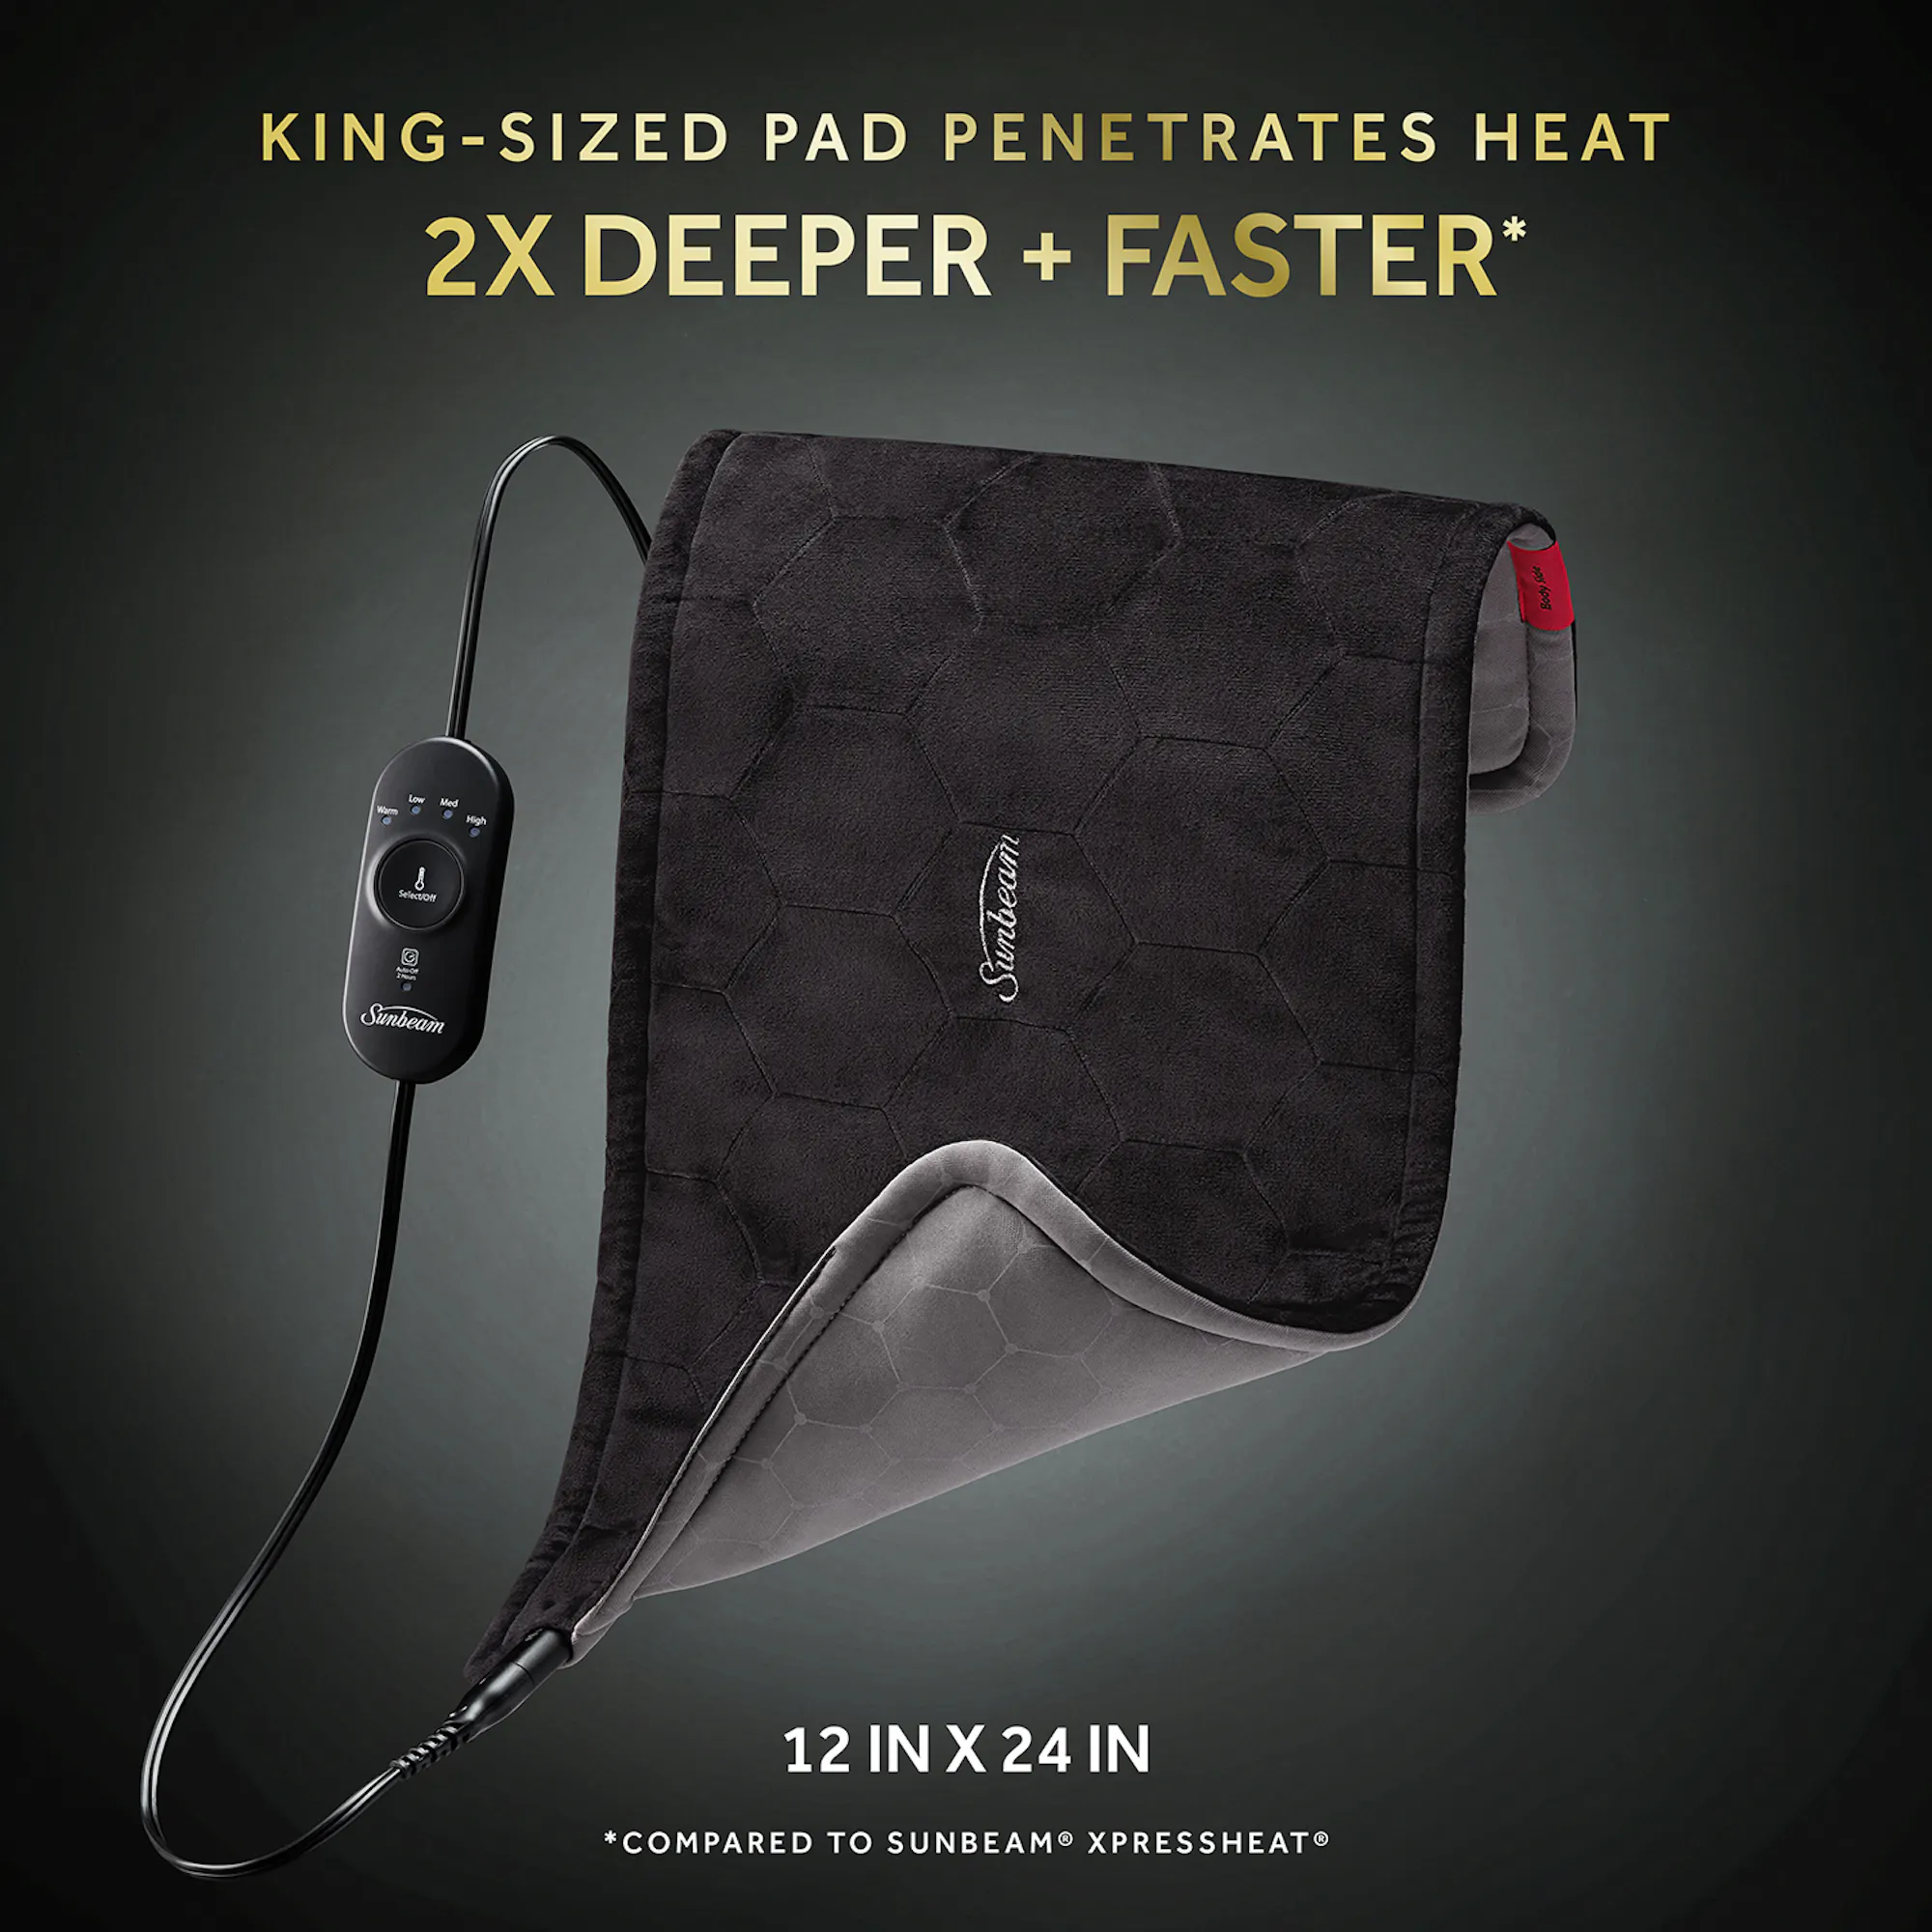
Given the design and lack of support, replacement is often the only safe, effective solution.
Replacement Is Recommended If:
- Unit is over one year old (warranty expired)
- No continuity on multimeter test
- Visible internal damage after accidental opening
- Any burning smell, bubbling, or smoke occurred
Choose a More Durable Model
Upgrade wisely. Look for:
– 3–5 year warranty
– Overheat protection with reset button
– Removable controller or replaceable cord
– Reputable brands: Sunbeam, UTK, HoMedics, or FDA-registered medical-grade pads
Pro Tip: Models with detachable controls allow you to replace just the electronics if they fail, saving the pad itself.
Prevent Future Heating Pad Failures
Extend the life of your next pad with these habits.
Do:
- Lay flat or loosely roll for storage; never fold sharply
- Use on low heat for extended sessions
- Unplug after each use
- Spot clean only; no soaking or machine washing
Don’t:
- Sit or lie directly on controls
- Use under heavy blankets that trap heat
- Place under pets (claws damage wiring)
- Use beyond 2-hour sessions without cooldown
Frequently Asked Questions About BodyMed Heating Pads
Why is my BodyMed heating pad not turning on at all?
The most common cause is a lack of power reaching the unit. Test your outlet with another device first. If the outlet works, the issue is likely a blown internal fuse, a failed control switch, or a broken power cord. These components are sealed inside the unit and cannot be repaired by the user.
Can I repair a BodyMed heating pad myself?
Repair is not recommended. The pad contains sealed electrical components that connect directly to mains voltage. Opening the unit voids safety certifications and poses serious risks of electrical shock and fire. No replacement parts are sold for consumer repair.
How do I test my heating pad with a multimeter?
Set the multimeter to continuity mode. Unplug the pad, then place the probes on the plug prongs. A reading between 10 and 50 ohms indicates a working cord. An “OL” or infinite reading means the circuit is broken. Never test while the pad is plugged in.
Is the BodyMed heating pad the same as Theratherm?
Many BodyMed heating pads are rebranded versions of the Theratherm Model 1032. They share the same internal design, components, and common failure points, which is why troubleshooting steps apply to both.
When should I replace my heating pad instead of repairing it?
Replace the unit if it’s more than one year old, shows no continuity on a multimeter test, or has any signs of burning, melting, or smoke. Since parts are unavailable and warranty has likely expired, replacement is the safest option.
What features should I look for in a new heating pad?
Choose a model with a 3 to 5 year warranty, overheat protection with a reset button, and a removable controller. Brands like Sunbeam, UTK, and HoMedics offer reliable options. Medical-grade pads registered with the FDA provide additional safety assurance.
Final Recommendation on BodyMed Heating Pad Failures
The BodyMed heating pad not working issue typically stems from internal failures like a blown fuse, broken heating element, or defective control switch, especially in units based on the Theratherm 1032 design. Since no replacement parts are available and repair poses serious safety risks, replacing the unit is the safest and most practical solution.
Always confirm outlet power and inspect the cord first. If those check out, assume internal damage. Invest in a higher-quality pad with better warranty and modular design to avoid repeat issues. Your comfort and safety depend on choosing a unit built to last.